Showing posts with label Baby. Show all posts

2.03.2017

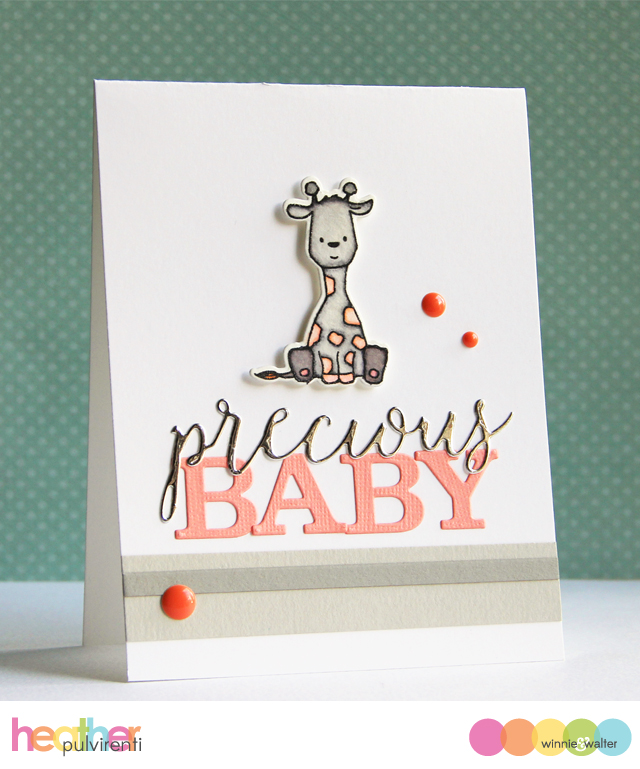
W&W January/February Release - Precious Baby


Hello! It's the final day of previews for the January/February Winnie & Walter Release, and I hope you've been enjoying the products we've been showing thus far.  All the items we've been sharing will be available for purchase on Friday, February 3rd at 10pm.  I have been on a bit of a neutrals plus a punch of color kick lately, and today's card is no exception.  I also decided that giraffes don't need to be their normal color, they can be gray and have coral spots.  Yes, yes, they can. :) Haha

To create my CAS card, I started by first adding two strips of varying width gray cardstock to the bottom of a white card base.  I then stamped this uber cute giraffe from the Welcome to the Family with Evelin T Designs stamp set in Versafine black ink, then heat set it with clear embossing powder before coloring it with Zig Clean Color markers.


Next, I die cut the B A B Y letters from coral cardstock using the Typecast: Cary Letters Cutaways, then adhered them to the card front.  I then used the In a Word: Precious Script Cutaway on a strip of silver foil cardstock, and adhered the die cut to the card front slightly overlapping the other die cut letters.  Once the giraffe was dry, I cut it out using the Welcome to the Family with Evelin T Designs Cutaways, and adhered it to the card base with foam tape.  To finish up, I embellished with orange enamel dots.

Would you like to be entered for your chance to win some of the goodies revealed today? Please hop over to the Winnie & Walter blog for more details! :)

Have a great one!

1.31.2017

W&W January/February Release - Welcome Sweet Baby


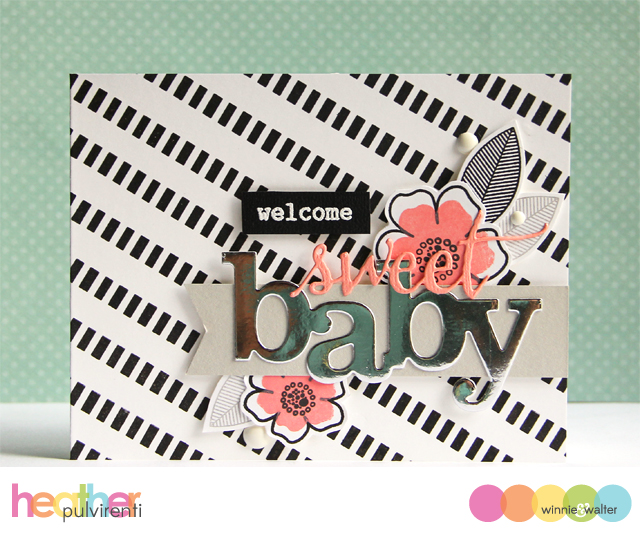
Hello! It's the first day of previews for the new Winnie & Walter release, and today my card is showcasing the new The Big, the Bold and Baby (and Cutaways), Scenery: Stripes 2, and In a Word: Baby Cutaway die.

To create my card, I started by first creating my stamped background using one of the stamps in the Scenery: Stripes 2 stamp set and stamping it in black ink.  Next, I stamped several of the flowers from In Bloom: Lola's Bouquet in black and coral ink, then cutting them out.  I then stamped one of the leaves from a Tree For All Seasons with black and gray inks, then cut them out.  The flowers and leaves were then adhered behind a strip of light gray cardstock.


I then die cut my focal sentiments using The Big, the Bold and Baby Cutaways on coral cardstock, and then the In a Word: Baby Cutaway on silver foil carstock.  Next, I stamped one of the small sentiments from the Big, the Bold and Baby in Versamark onto black cardstock before heat setting it with white embossing powder.  To finish up, I assembled all the elements, and adhered them to the card front with foam tape before embellishing with white enamel dots.

Would you like to be entered for your chance to win some of the goodies revealed today? Please hop over to the Winnie & Walter blog for more details! :)

Have a great one!

8.05.2016

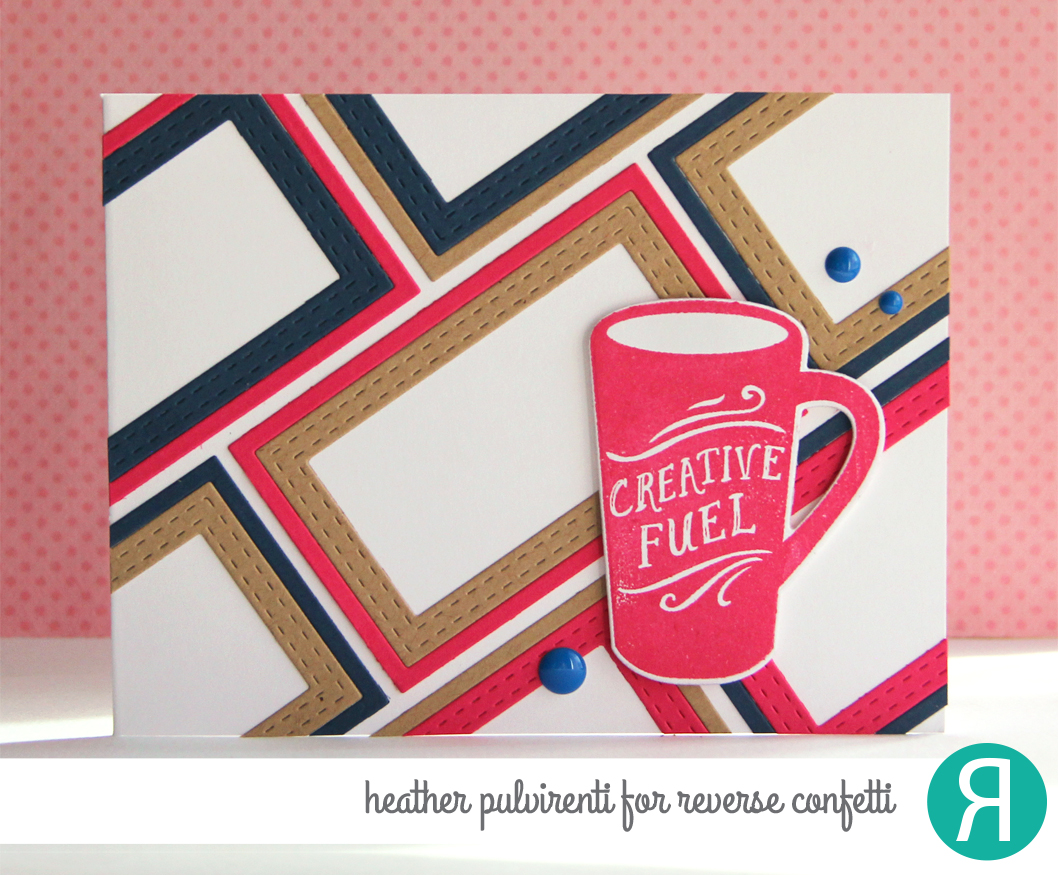
RC Sneak Peek Day 1 - Creative Fuel


Hello! It's the first day of sneak peeks for the Reverse Confetti August Release, and there is so. much. awesomeness. coming your way! Today, we're showcasing cards/projects made using the new Just Brew It and Cute as a Button stamp sets.

For my first card, I started by using the new All Framed Up Confetti Cuts on hot pink, kraft and navy cardstock, then mixing and matching some of the die cuts and negatives together to form a fun retro, geometric pattern.  The rectangles were then adhered on an angle to a white card base.  Next, I stamped one of the adorable coffee mugs from Just Brew It in fuchsia ink, then cut it out with the coordinating Just Brew It Confetti Cuts.  To finish up, the die cut was adhered to the card front with foam tape, then I embellished with blue enamel dots.


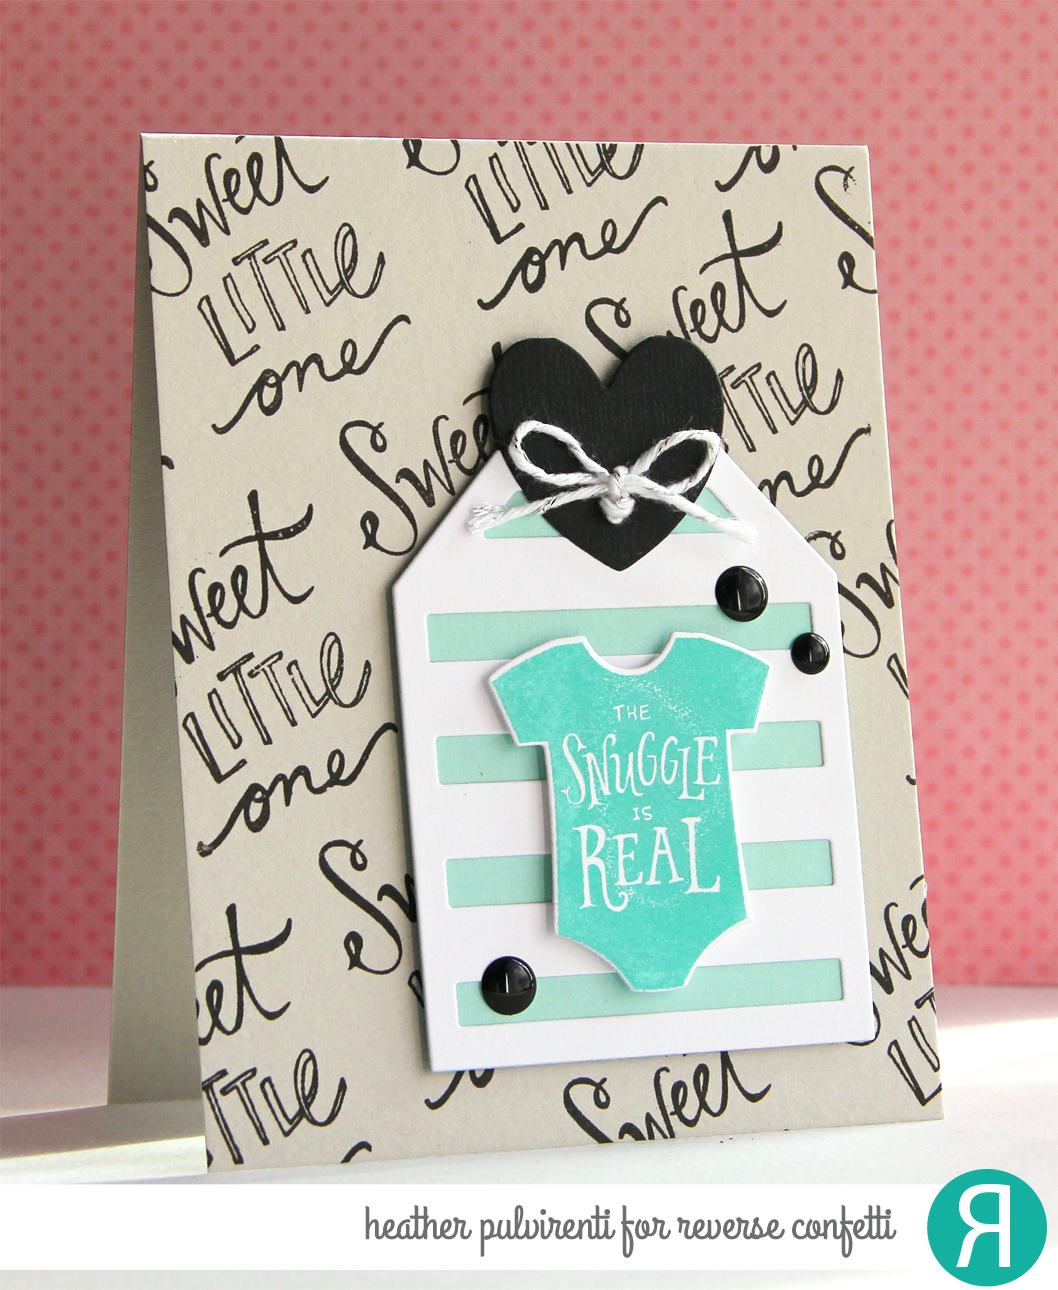
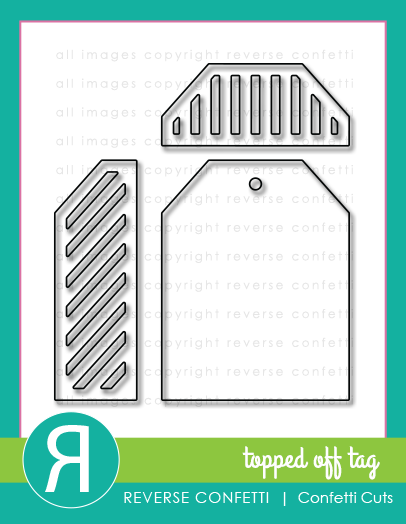
For my second card, I started by repeat stamping the sentiment from Cute as a Button in black ink onto light gray cardstock.  Next, I used the Big Stripes Tag Layer Confetti Cuts on a piece of white cardstock, and adhered it to a tag base made from aqua cardstock die cut using the Topped Off Tag Confetti Cuts.  The Hang Ups Too Confetti Cuts heart die was used on black cardstock to create the tag topper, which was embellished with silver metallic twine.  I then stamped one of the baby onesie images from Cute as a Button in teal ink, then cut it out using the coordinating Cute as a Button Confetti Cuts.  The onesie was adhered to the tag with foam tape, then attached to the card front with foam tape.  To finish up, I embellished with black enamel dots.


Would you like to be entered for your chance to win one of two gift certificates to RC (one for blog commenters, and one for Facebook commenters)? To enter, simply leave comments on the RC DT blogs, then hop on over to the Reverse Confetti Facebook page. (Full details can be found over on the RC Blog.)

Have a great one!

4.07.2016

Countdown to Confetti: Welcome, Little One


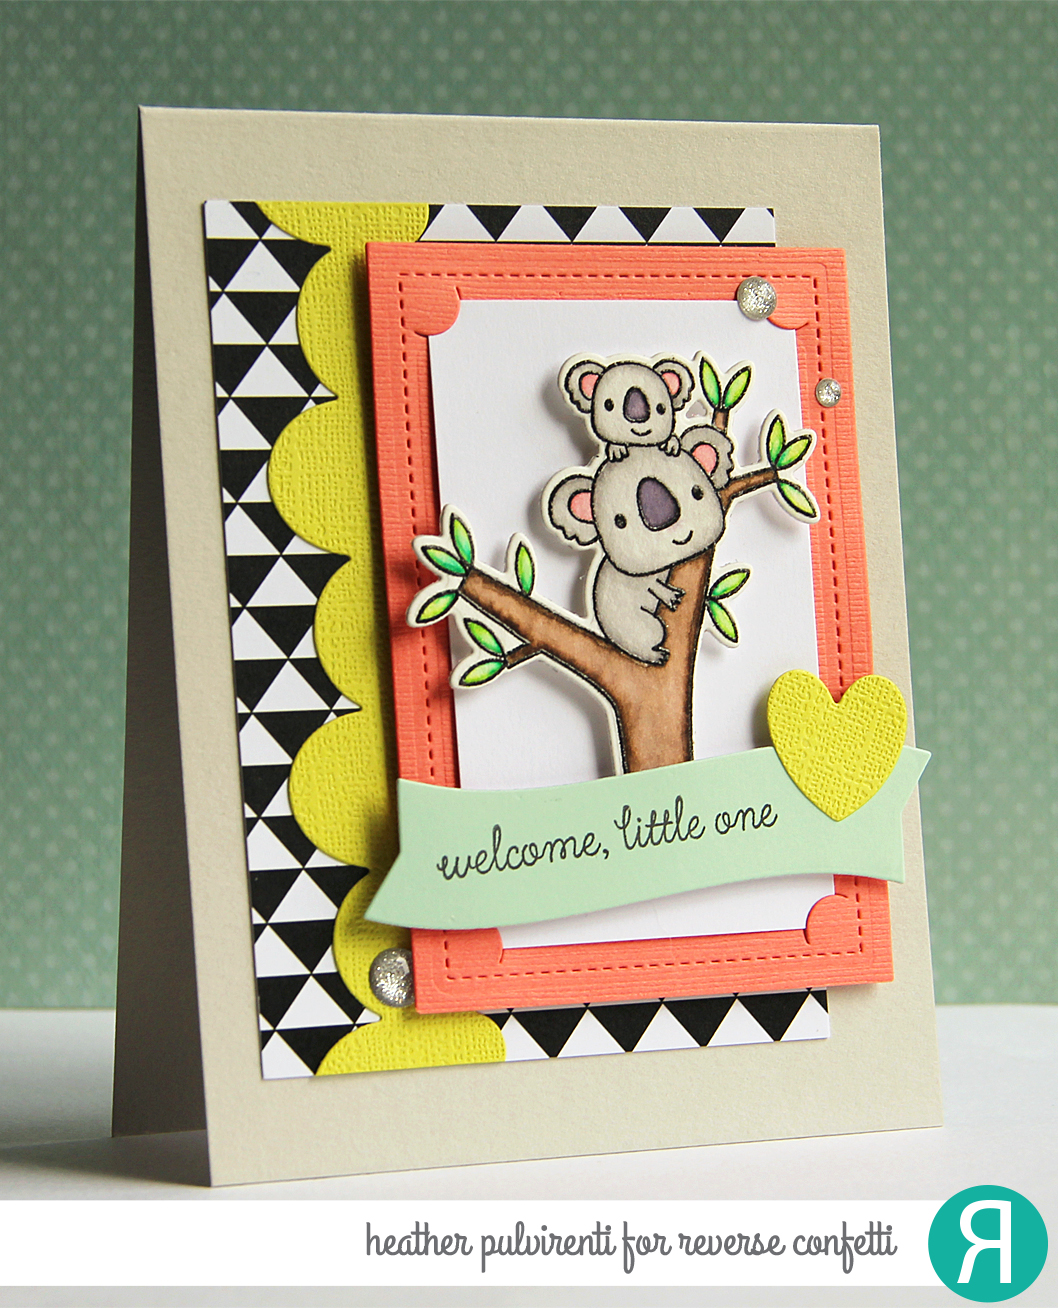
Hello! It's the final day of Reverse Confetti previews, and today we're showcasing projects using my favorite set of this release, Bear Hugs... KOALAS! I am a huge nerd when it comes to anything Australia, so I can't even begin to tell you how excited I was when I saw this stamp set. ♥♥♥

To create my card today, I started by die cutting a piece of green CS with the Wonky Double Edge Scallop Border Confetti Cuts, then adhering it to one of the School Days Quick Card Panels.  I then stamped one of the koala images from Bear Hugs in Versafine ink onto watercolor paper, then heat set it with clear embossing powder.  The image was then colored with Distress Inks and Zig Clean Color watercolor markers before being set aside to dry.  While I was waiting, I used the InstaFrame Confetti Cuts on a piece of coral CS, then cut a small insert to go inside the tabs from white CS.  


The frame was then adhered to the QCP before attaching to a light gray card base.  Next, I die cut a banner using the Flowers For Mom Confetti Cuts on mint CS, then stamped it with one of the sentiments from Bear Hugs.  To finish up, I adhered the koala image and banner to the card front, die cut a heart from green CS, adhered to the banner and embellished with silver enamel dots.


Would you like to be entered for your chance to win one of two gift certificates to RC (one for blog commenters, and one for Facebook commenters)? To enter, simply leave comments on the RC DT blogs, then hop on over to the Reverse Confetti Facebook page. (Full details can be found over on the RC Blog.)

Have a great one!

11.07.2015

Countdown to Confetti: Bundle of Joy


Hello! I'm back again today with a fun set of tags featuring some of the different items available this month from Reverse Confetti.  

To create my tags, I started by first die cutting the tag shape using the new Topped Off Tag CCs from kraft CS, then heat embossing one of the sentiments from With Love in white.  I then used the Bubbly Tag Toppers on orange, yellow, coral and white CS before mixing and matching the bubbles. 


The Hang Ups CC were used on white CS to create the little hole reinforcers, which were adhered to the tag base once die cut.  Pink Sorbet, Mandarin and Marigold and jute twine were used to tie off the tags.  I then used the Gift Card Holder CCs to die cut mini scallops to add to the tag front as accents. 


Would you like to be entered for your chance to win one of two $15 gift certificates to RC (one for blog commenters, and one for Facebook commenters)? To enter, simply leave comments on the RC DT blogs, then hop on over to the Reverse Confetti Facebook page. (Full details can be found over on the RC Blog.)

Have a great one!

7.23.2015

Welcome to the World


Hello! I can't believe another week has almost come to an end... This summer is FLYING by! Only a little over 2 weeks to go until we leave for Disney, and 4 weeks until school starts.  Yikes!

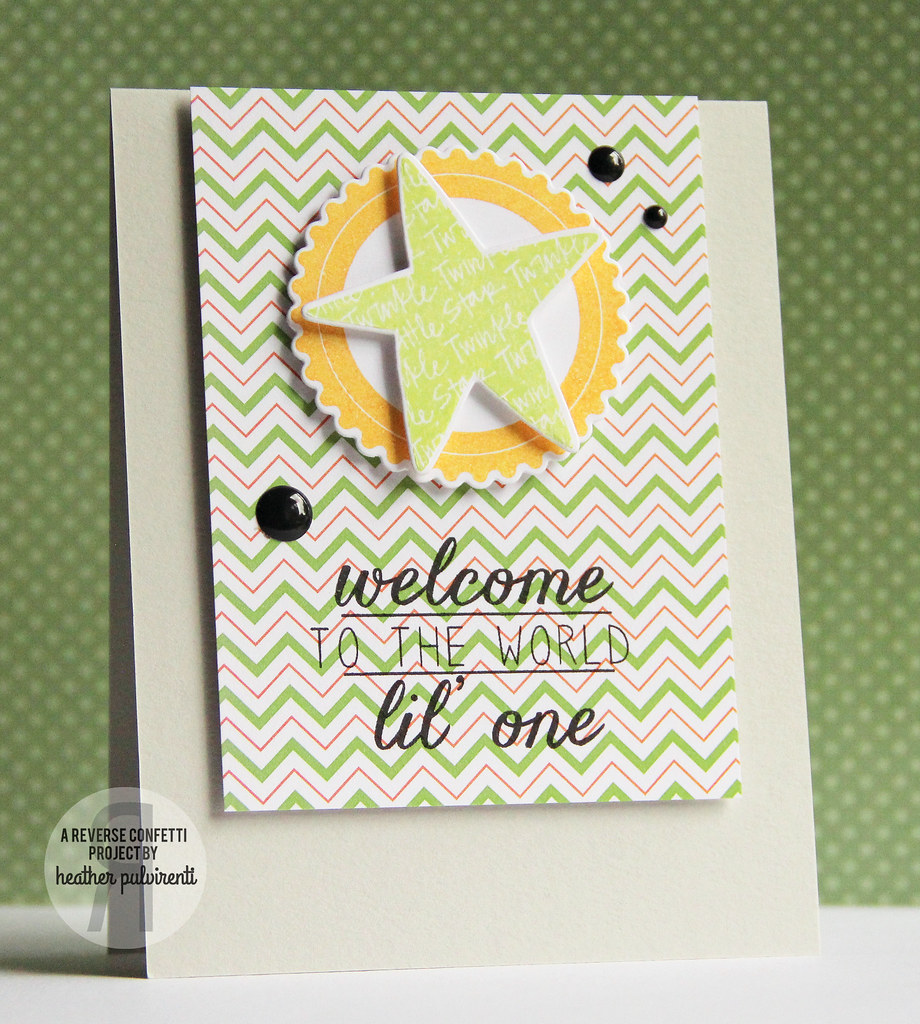
I'm popping in to share a card I created using some Reverse Confetti goodies.  To create my card, I started by stamping the scallop image from Circle Sentiments in orange, then cutting it out with the Scalloped Circle Confetti Cuts.  I then stamped one of the stars from You Are a Star in lime ink, then cut it out with the coordinating You Are a Star Confetti Cuts


I adhered the star die cut to the scallop circle with pop dots before attaching it to one of the cards from the Weather or Dot Quick Card Panels.  Next, I stamped one of the sentiments from My World in versafine ink onto the bottom of the QCP.  To finish up, I adhered the QCP to a light gray card base with pop dots, then embellished with black enamel dots.


Have a great one!

5.06.2015

Countdown to Confetti: Circle Sentiments


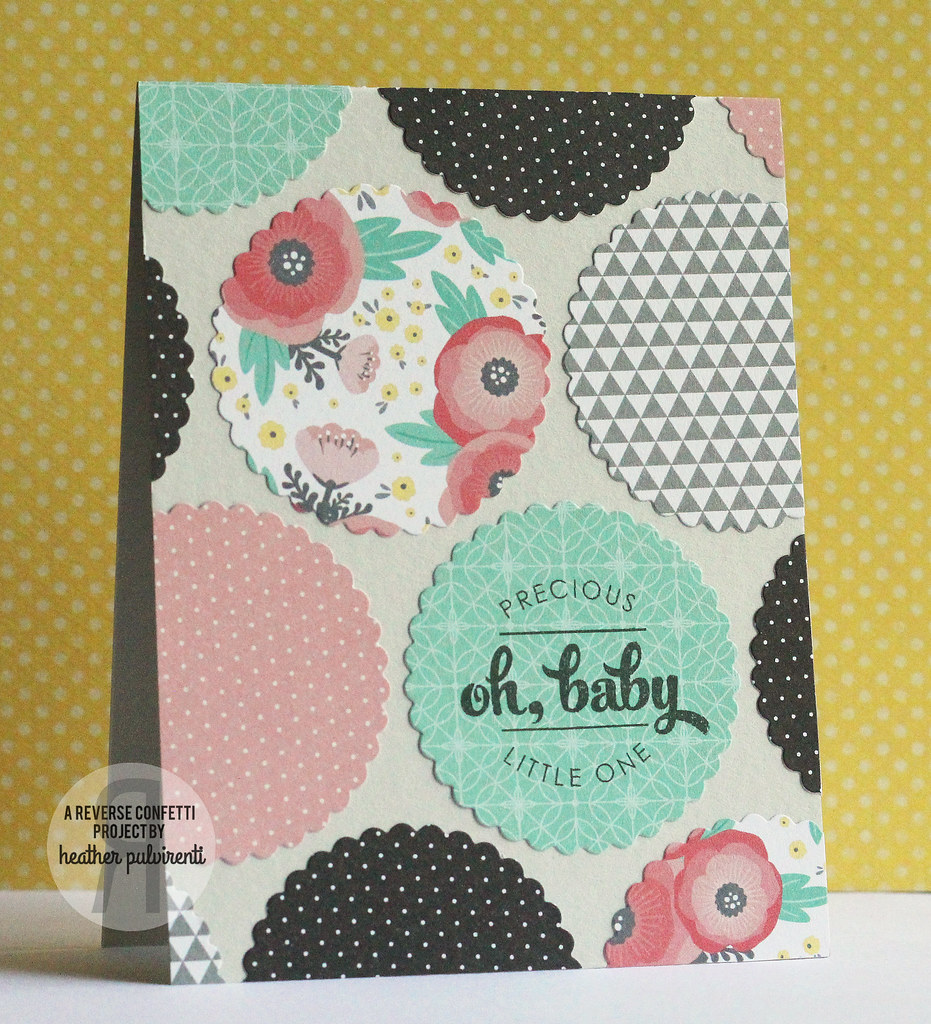
Hello! It's the second day of previews for the new Reverse Confetti release, and today we're showcasing projects created using the new Circle Sentiments and God is Good stamp sets.  For my card today, I decided to make a graphic design using only the Circle Sentiments and Circle Sentiments Confetti Cuts, and some beautiful mint, coral, black and gray patterned paper.

To create my card, I started by die cutting a bunch of different scalloped circles using the Circle Sentiments Confetti Cuts, then fiddling with their arrangement on the card base.  As always, this took what felt like eons.  Lol, I so wish I was more decisive when it comes to card making sometimes! :) 


Once I figured out how I'd like them to lay on the card front, I secured them with adhesive, trimming off any excess.  I then stamped one of the sentiments from Circle Sentiments onto the card front.  And there you have it, my slow-yet-faster-than-normal card! Hehe :)

Would you like to be entered for your chance to win one of FOUR $25 gift certificates to RC (two for blog commenters, and two for Facebook commenters)? To enter, simply leave comments on the RC DT blogs, then hop on over to the Reverse Confetti Facebook page. (Full details can be found over on the RC Blog.)

Have a great one!

4.07.2015

Countdown to Confetti - Fancy Word Coordinates


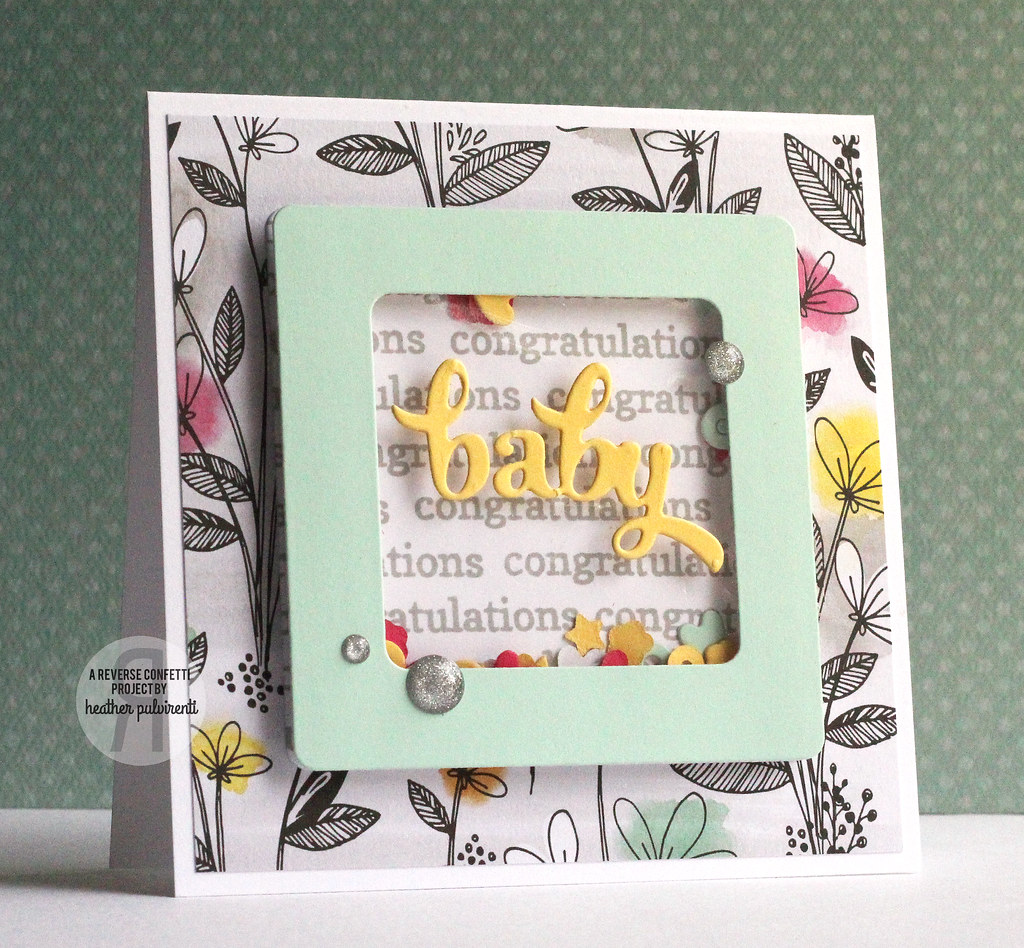
Hello! It's the third day of previews for the new Reverse Confetti release, and today we're showcasing projects using the new Fancy Word Coordinates set and the Fancy Word Confetti Cuts dies, which I've paired with the Shakers 'n Frames Confetti Cuts.  Shaker cards are all the rage right now, so i guess it's about time I made my very first one! :D

To create my card, I started with a white card base, and adhered a piece of patterned paper on top.  I then die cut the frame, acetate, and insert piece using the Shakers 'n Frames Confetti Cuts on white and mint CS.  I then stamped the white CS layer with one of the sentiments from Fancy Word Coordinates in light gray ink.


Next, I die cut baby from yellow CS using the Fancy Word Confetti Cuts and adhered it to the acetate.  To create the confetti for the shaker card, I die cut little shapes using hot pink, yellow, and mint CS.  Once I had all my pieces, I assembled the shaker then attached it to the card base.  To finish up, I embellished with silver enamel dots.


Want to be entered to win one of two $15 gift certificates? One winner will be chosen from blog comments left for the RC designers, and the other from Facebook comments.  Please see the Reverse Confetti blog for full deets! :)

Have a great one!