Showing posts with label Thank You. Show all posts

9.06.2017

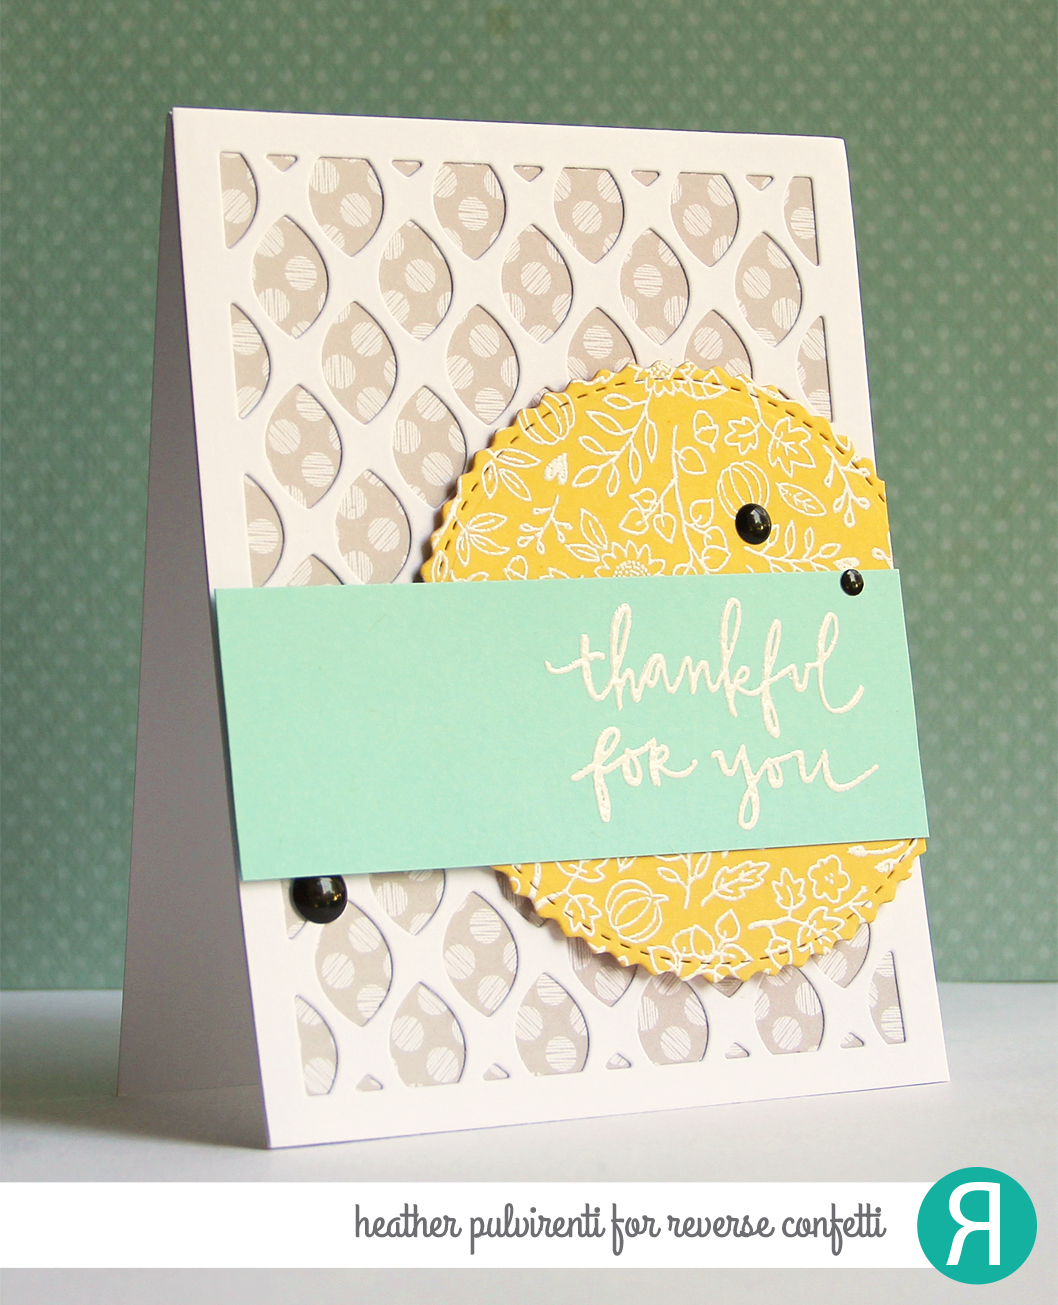
RC Sneak Peek Day 2 - Thankful for You


Hello! It's the second day of Reverse Confetti September sneak peeks, and today I'm sharing a card created using the new Autumn Blessings stamp set, the Leaf Lattice Cover Panel Confetti Cuts and Fa La La Circle Confetti Cuts dies, and my newest 6x6 patterned paper pad, Every Little Bit. :)

To create my card, I started by first creating a Cloud White card base and topping it with a piece of gray polka dot patterned paper from the Every Little Bit paper pad.  I then die cut a piece of Cloud White cardstock using the Leaf Lattice Cover Panel Confetti Cuts and adhered it to the card front.  Next, I stamped the outline floral image from Autumn Blessings in Versamark ink onto yellow cardstock, and heat set it with white embossing powder before die cutting it using the Fa La La Circle Confetti Cuts. 


The circle die cut was then adhered to the card front with foam tape.  One of the sentiments from Autumn Blessings was stamped in Versamark ink onto Iced Aqua cardstock, heat set with white embossing powder, then adhered to the card base.  To finish up, I embellished with black enamel dots.


Would you like to be entered for your chance to win one of two gift certificates to RC (one for blog commenters, and one for Facebook commenters)? To enter, simply leave comments on the RC DT blogs, then hop on over to the Reverse Confetti Facebook page. (Full details can be found over on the RC Blog.)

Have a great one!

8.11.2017


Hello! I don't know about you, but I love a great sale! :) This weekend our fearless leader, Jen del Muro, is celebrating her birthday with a 20% off sale over at Reverse Confetti... It's a great time to stock up on card stocks, inks, stamps, you name it. :)


I'm also posting a card today that features some of the goodies from the latest release.  I love these ginormous strawberries, they are absolutely darling! To create my card, I started with a Cloud White card base and topped it with a piece of patterned paper from the Under the Umbrella paper pad.  I then die cut a piece of Iced Aqua card stock using the Thanks Square Confetti Cuts and adhered it to the card base.


Next, I stamped two strawberries from Berry Sweet using Versamark and Black ink onto Lime Green and Salsa card stocks, and cut them out using the coordinating Berry Sweet Confetti Cuts. One of the sentiments from Berry Sweet was stamped in black ink onto a strip of white card stock, and trimmed into a flag shape.  To finish up, the berries and sentiment were secured to the card front, and I embellished with green enamel dots.


Have a great one!

7.07.2017

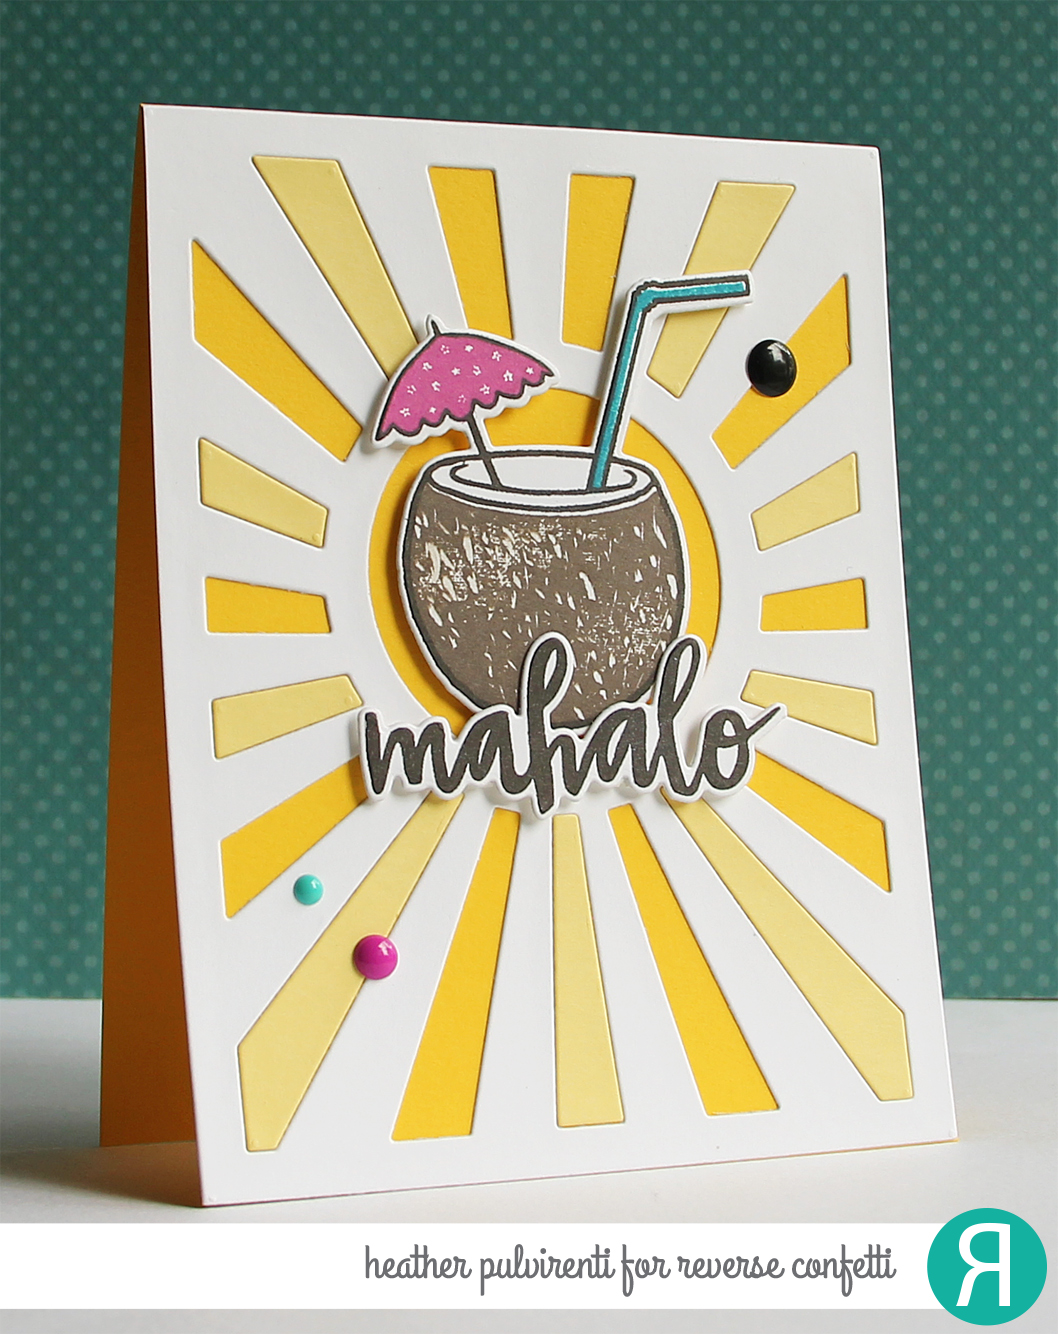
RC Sneak Peek Day 3 - Mahalo


Hello! It's the 3rd day of sneak peeks for the Reverse Confetti July Release, and today I'm sharing this sweet card created with the new Mahalo stamp set & coordinating dies.

To create my card, I started by first die cutting a sunburst background using Cloud and Buttercup card stocks.  I then adhered the white sunburst background to a Bumblebee Yellow card base and filled in some of the rays using the Buttercup die cut pieces.  Next, I stamped the coconut drink outline image from Mahalo in Midnight ink onto Cloud card stock, then die cut using the coordinating Mahalo Confetti Cuts dies.


I wanted the image to have a vintage/retro feel, so when I was inking up the coconut solid image with Dark Roast ink, I didn't thoroughly cover the image with ink (and also used the sharp end of my bone folder to scrape some little notches into the inked surface).  I then stamped the umbrella using Magenta ink, and the straw using Abyss ink.  To finish up, I stamped and die cut the sentiment from Mahalo in Midnight, adhered the image to the card base with foam tape and added some enamel dots for interest.


Would you like to be entered for your chance to win one of two gift certificates to RC (one for blog commenters, and one for Facebook commenters)? To enter, simply leave comments on the RC DT blogs, then hop on over to the Reverse Confetti Facebook page. (Full details can be found over on the RC Blog.)

Have a great one!

4.21.2017

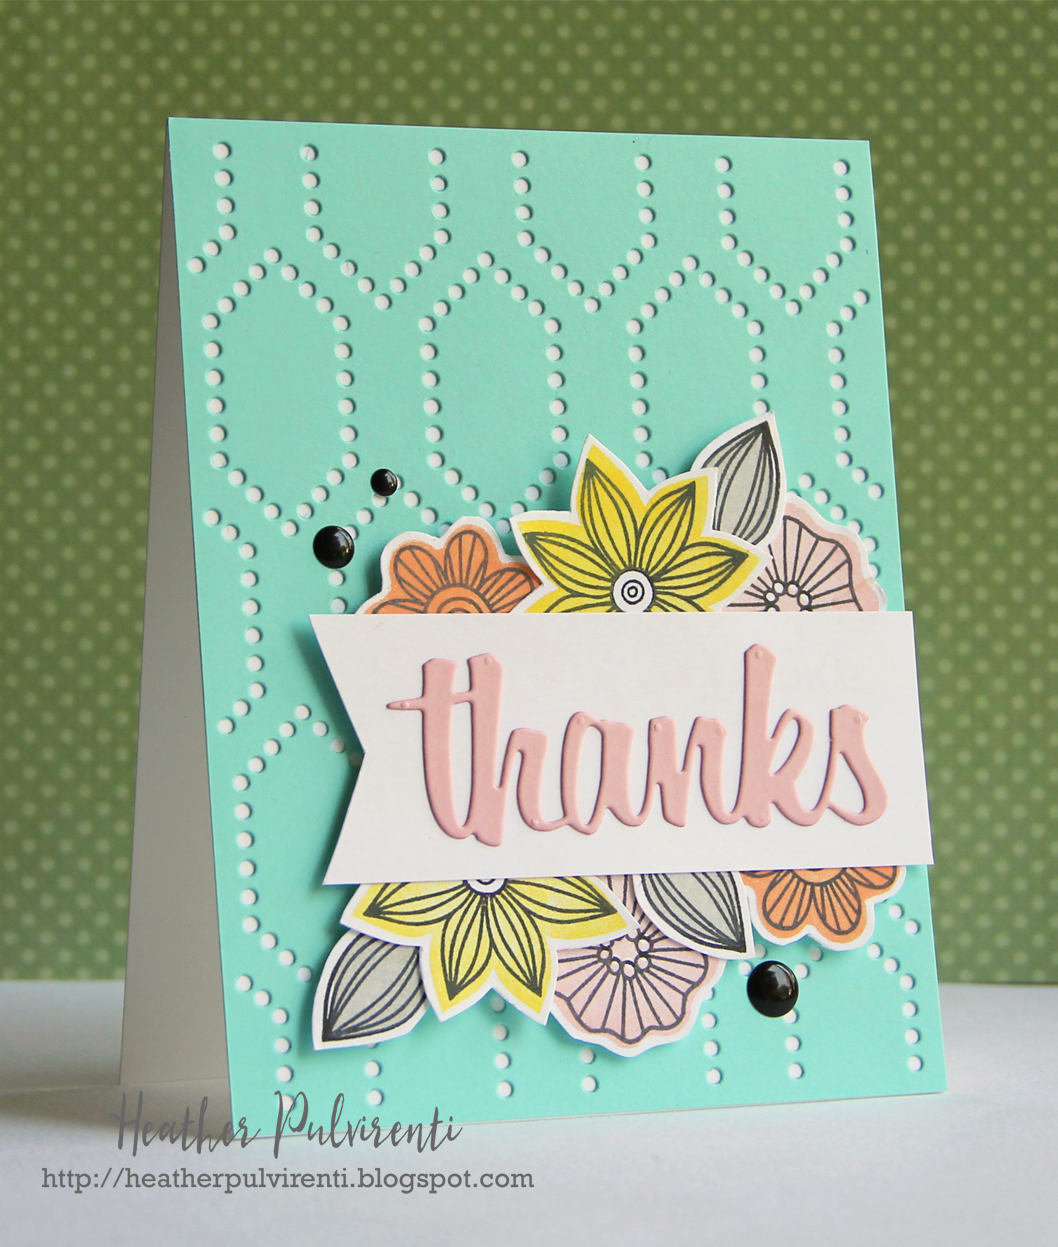
Lil' Inker Blog Hop - Thanks!


Hello! CardMaker Magazine has teamed up today with Lil' Inker Designs for a blog hop to showcase some of their awesome products. :) Hopefully you've reached my blog by way of the CardMaker blog, but if you'd like to start at the beginning of the hop, please click HERE.

To create my card, I first started with a white card base and topped it with a piece of aqua cardstock that had been die cut using the Pointelle Cover Up die.  I think this die is probably one of my favorite dies out there, the pattern is just gorgeous... I would love this for so many things: throw pillows, blankets, wallpaper, you name it! :) 


Next, I stamped and cut out several of the leaf and flower images from the Doodled Daisies Stamps set, and adhered them to the back of a piece of white cardstock that had been trimmed into a banner shape.  I then die cut the sentiment from pink cardstock using the Thanks Word Die.  To finish up, the sentiment was adhered to the banner before adhering the panel to the card front with foam tape, then I embellished with black enamel dots.

Want to be entered for your chance to win a $35 gift certificate? Head on over to the Lil' Inkers Blog for full details... :) Thanks for stopping by today, next up on the hop is Amy Kolling's blog. (To see the full list of today's participants, please click HERE.)

Have a great one!

3.27.2017

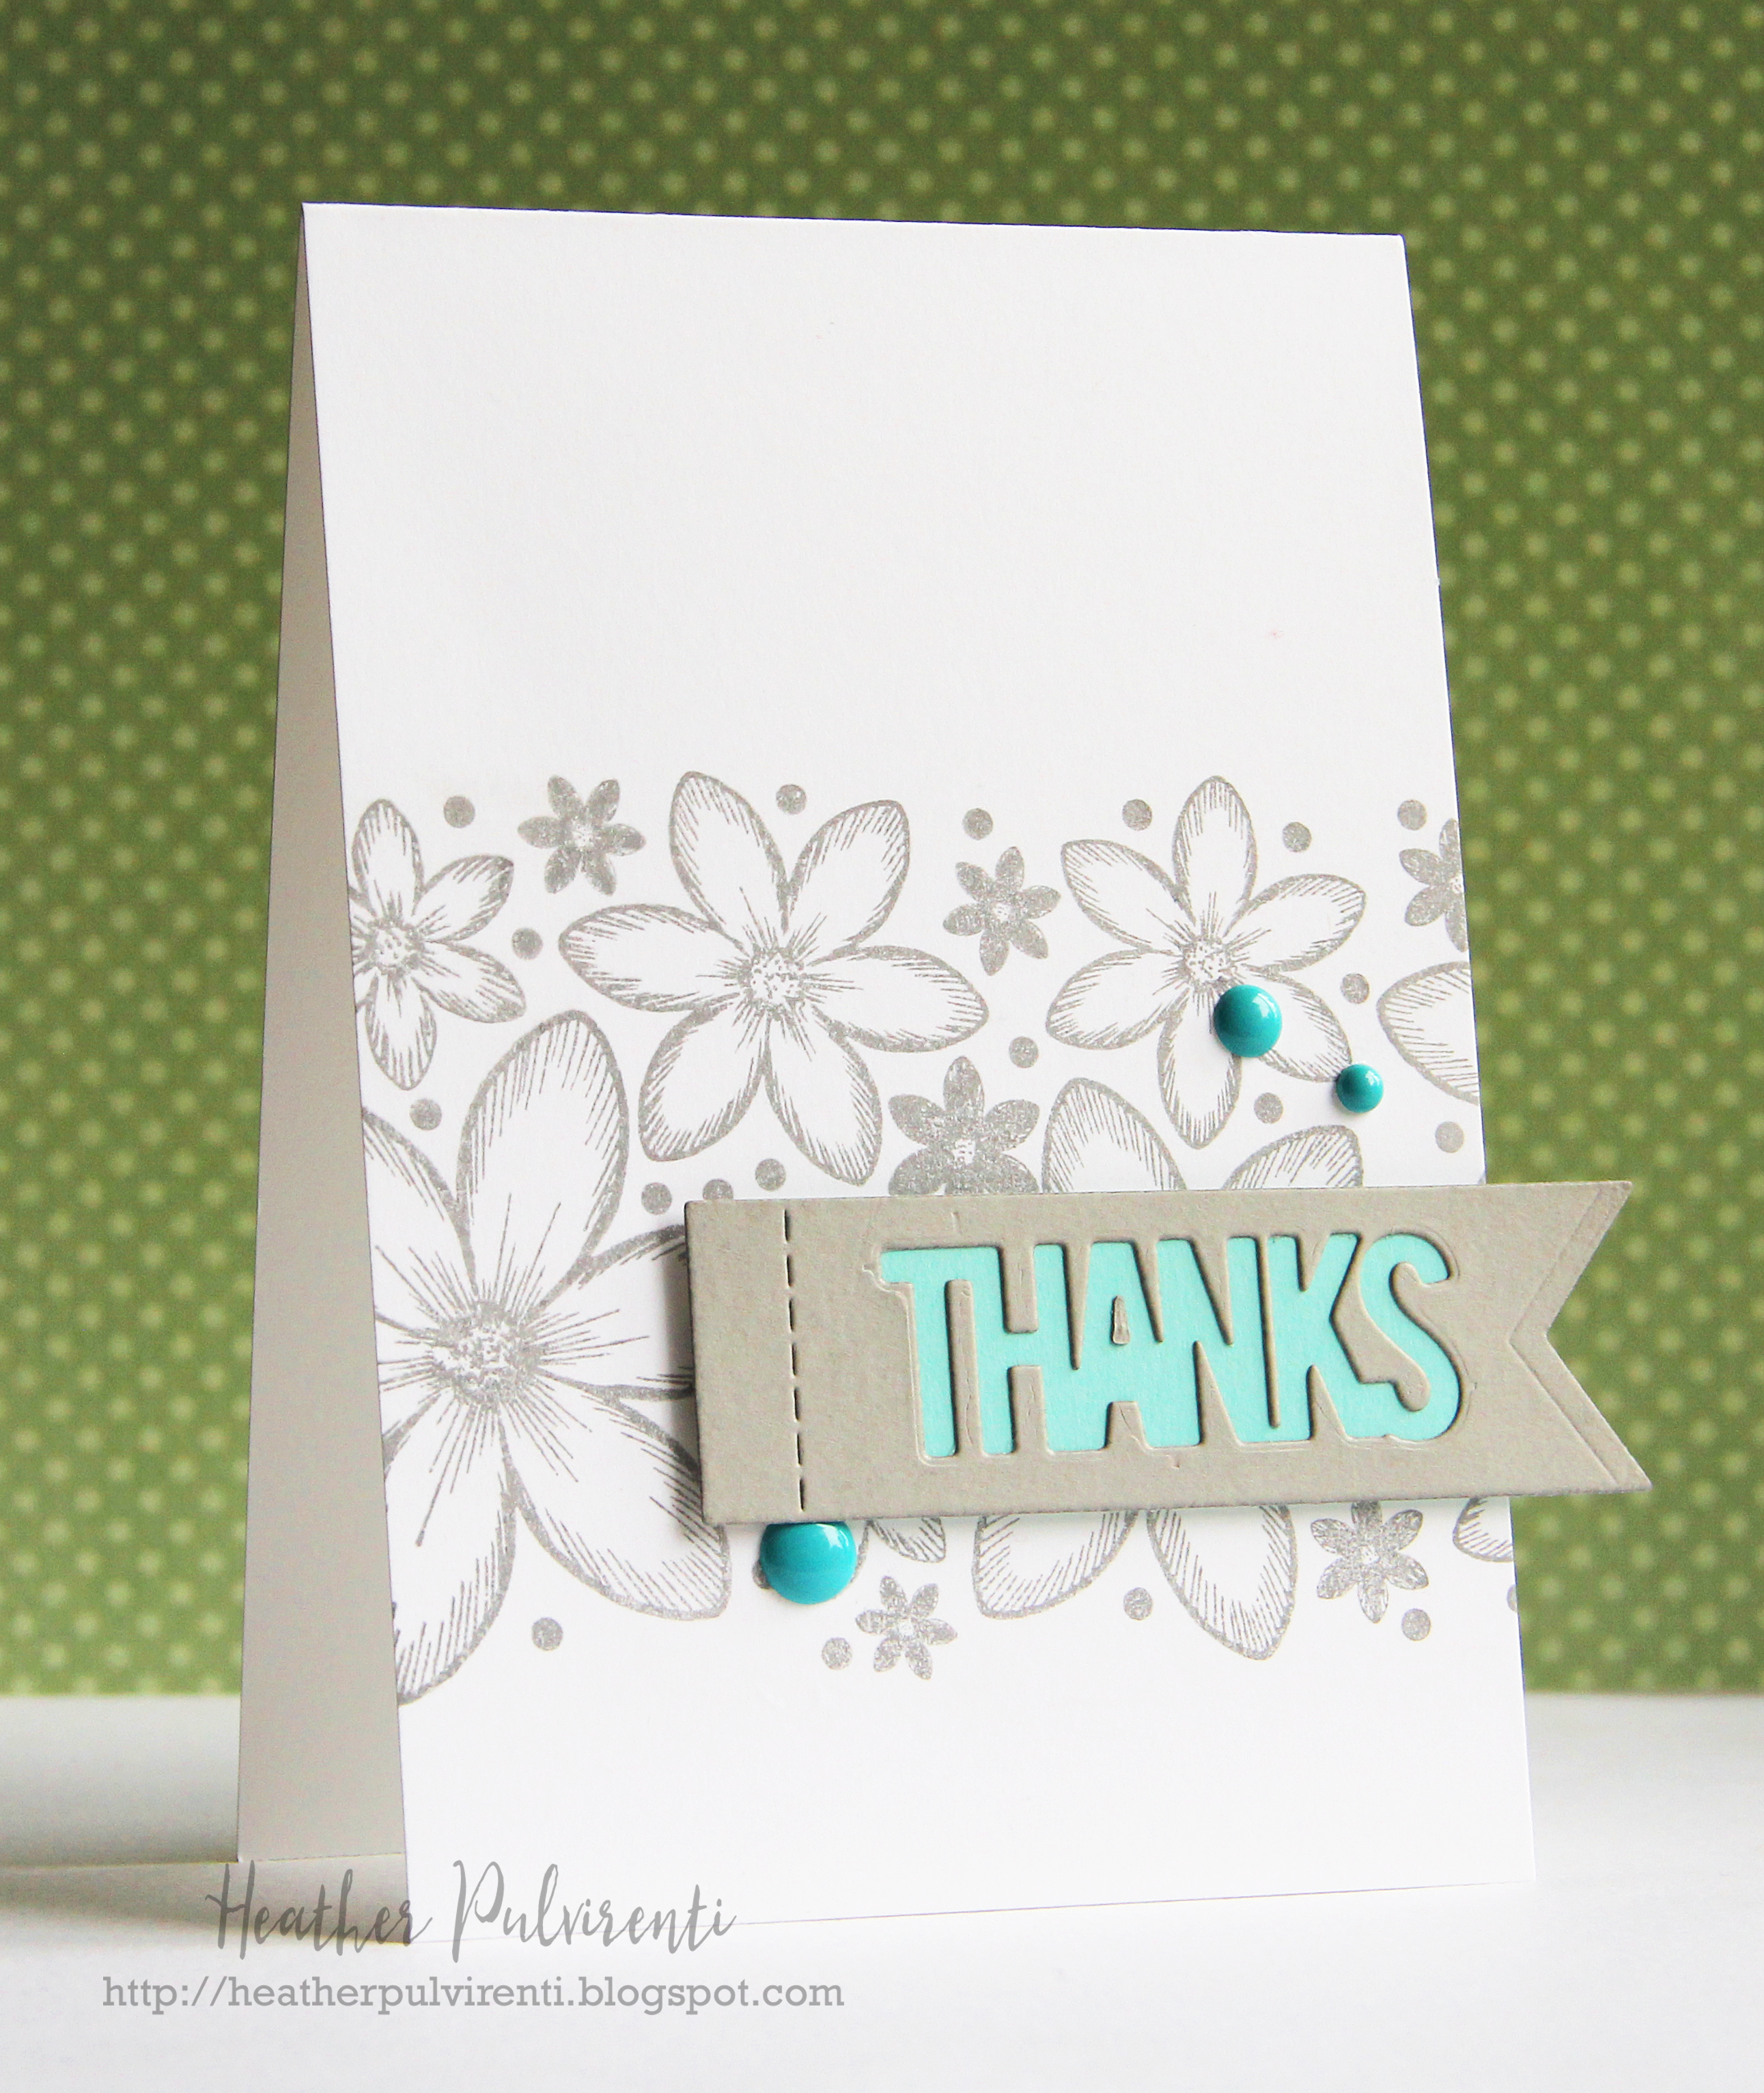
TopFlight Stamps Blog Hop - Thanks!

Image may contain: text


Hello! I'm participating with a lovely group of ladies today to celebrate the grand opening of Topflight Stamps, LLC! :) TopFlight will be specializing in hard to find, international stamps and offers free shipping for US addresses for orders over $50. :) To kick off the grand opening of her new shop, Donna's offering an amazing Grand Opening Special Discount - 20% off ALL orders (use code TFS-GO20).

Today, I’m sharing a project made with the Flower Medley stamp set by Magenta.  When I was browsing through the store, I was immediately drawn to this stamp set, the flowers are absolutely gorgeous!

To create my card, I started with a standard A2 white card base.  I then stamped the floral image in gray ink across the card front two times to create a solid floral strip.  


I then die cut the sentiment onto a medium gray flag, and backed it with a piece of teal blue cardstock.  Next, I trimmed off 3/4" from the card base to allow room for my sentiment to hang over the edge of the design.  To finish up, I adhered the sentiment strip with foam tape, then embellished with teal blue enamel dots.

Want to be entered to win a prize? Be sure to comment on my blog and all the blogs on the hop to be eligible for the GRAND PRIZE, a $50 store credit!!!  PLUS - each of the designers participating in the blog hop are giving away a $10 gift certificate to one of the commenters on their post. I will announce my winner here on Monday, April 3. The $50 Grand Prize winner will be announced on the Topflight Stamps Blog on the same day. Good luck!!

Now, be sure to check out all these blogs and comment for your chance to win the grand prize!!

Have a great one!

2.23.2017

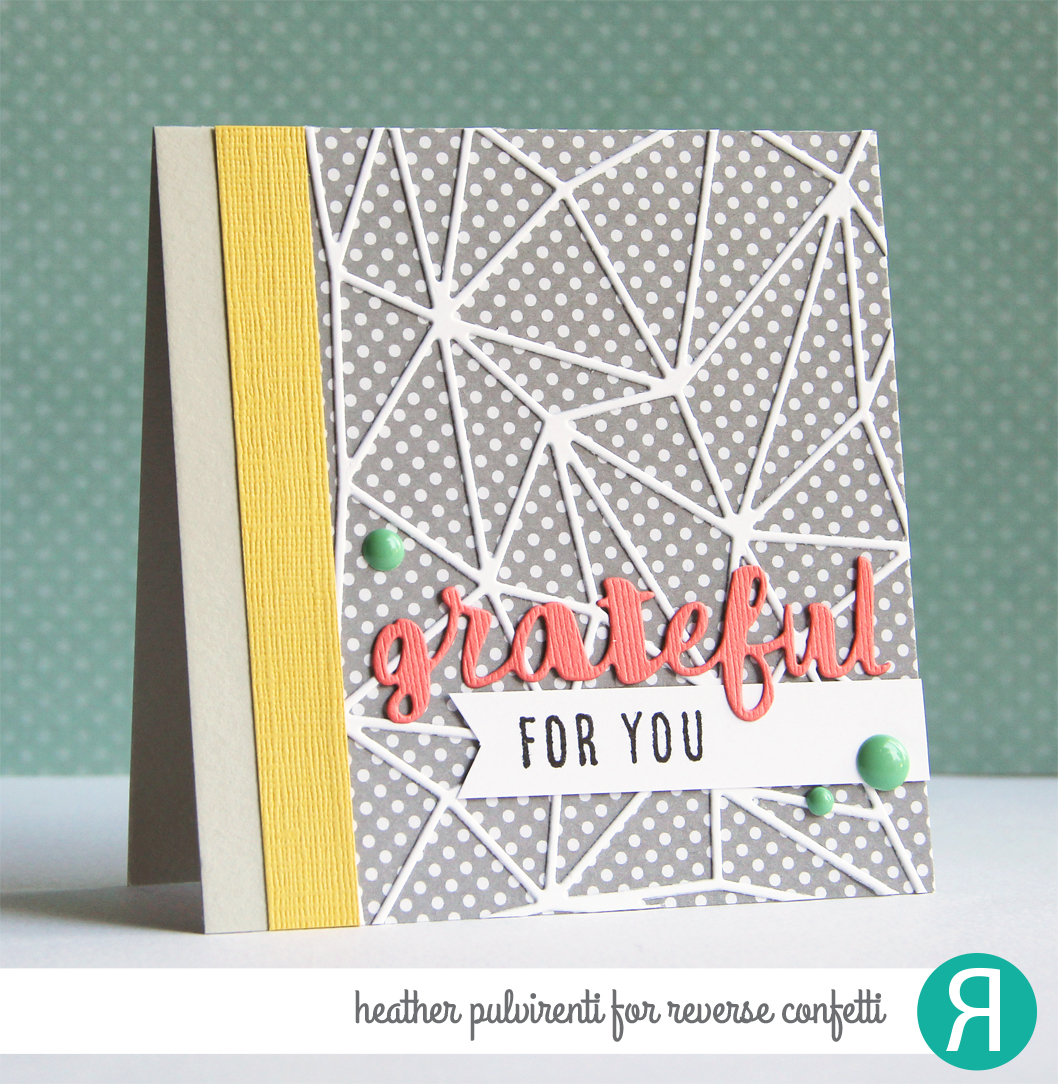
Grateful For You...


Hello! Just popping in to share the card I created using some of my favorite Reverse Confetti goodies. :) 

I started by first creating a 4.25" square card base, then topping it with a piece of white polka dot paper.  Next, I used the Geometric Confetti Cuts on Cloud White cardstock, and adhered the die cut to the card front.  I then cut a small strip of yellow textured cardstock, and adhered it to the card front.


Next, I die cut coral textured cardstock using the Grateful, Thankful, Blessed Confetti Cuts, and trimmed off part of the sentiment.  The For You from Because of the Brave was stamped in black ink onto white cardstock.  To finish up, the sentiments were adhered to the card front, then I embellished with teal enamel dots.


Have a great one! :)

2.01.2017

W&W January/February Release - Thanks


Hello! It's the second day of previews for the January/February Winnie & Walter Release, and today I'm featuring a card made using From the Bottom of My Heart (free with qualifying $25 purchase), Mini Scenery: Bed of Roses, and the Essentials: Lana Cutaways.

To create my card, I started by first die cutting a super fun yellow mat layer using the Essentials: Lana Cutaways.  I then stamped the Mini Scenery: Bed of Roses image twice in black ink onto a piece of white CS, and cut it down to fit nicely onto the yellow layer.  Since I was combining two small images to create a larger image that could cover a bigger piece of cardstock, to hide my seam I added a small strip of gray cardstock.  Lol, yes, I'm a cheater! :)


Next, I stamped the large heart from From the Bottom of My Heart in black ink and fussy cut it out once the ink had dried fully.  I then adhered the stamped rose panel to the yellow mat, and adhered the panels to the card front with foam tape before securing the heart with foam tape.  To finish up, I embellished with some cheery yellow enamel dots.  

Would you like to be entered for your chance to win some of the goodies revealed today? Please hop over to the Winnie & Walter blog for more details! :)

Have a great one!

12.29.2016

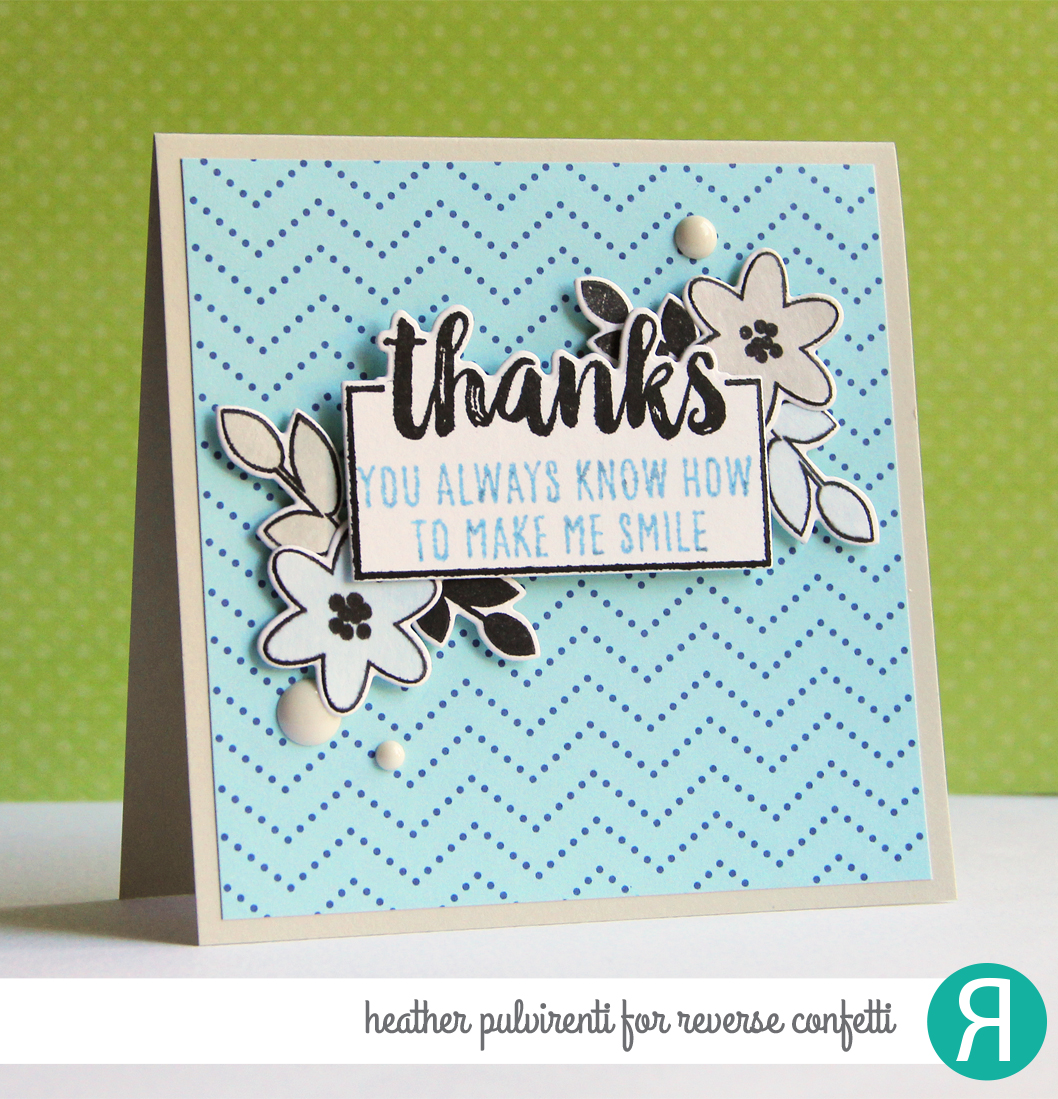
You Always Know How to Make Me Smile


Hello! Feels like forever since I last posted here, but I wanted to pop in and share a card I created for a previous Reverse Confetti release that I hadn't had a chance to share yet.  

To create my card, I started with a Stone card base, then topped it with a piece of patterned paper from the Warm Heart paper pad.  I then stamped the thanks text box from Whole Lotta Thanks in black ink, then die cut it with the coordinating Whole Lotta Thanks Confetti Cuts.  The remainder of the sentiment was then stamped in Iced Aqua ink.


I then stamped several flower and leaf outline and solid images from Whole Lotta Thanks in Iced Aqua, Stone and black inks, then die cut them with the coordinating Whole Lotta Thanks Confetti Cuts.  The focal sentiment was attached to the card base using foam tape, then the flowers and leaves were layered behind the sentiment.


Have a great one!
12.07.2016

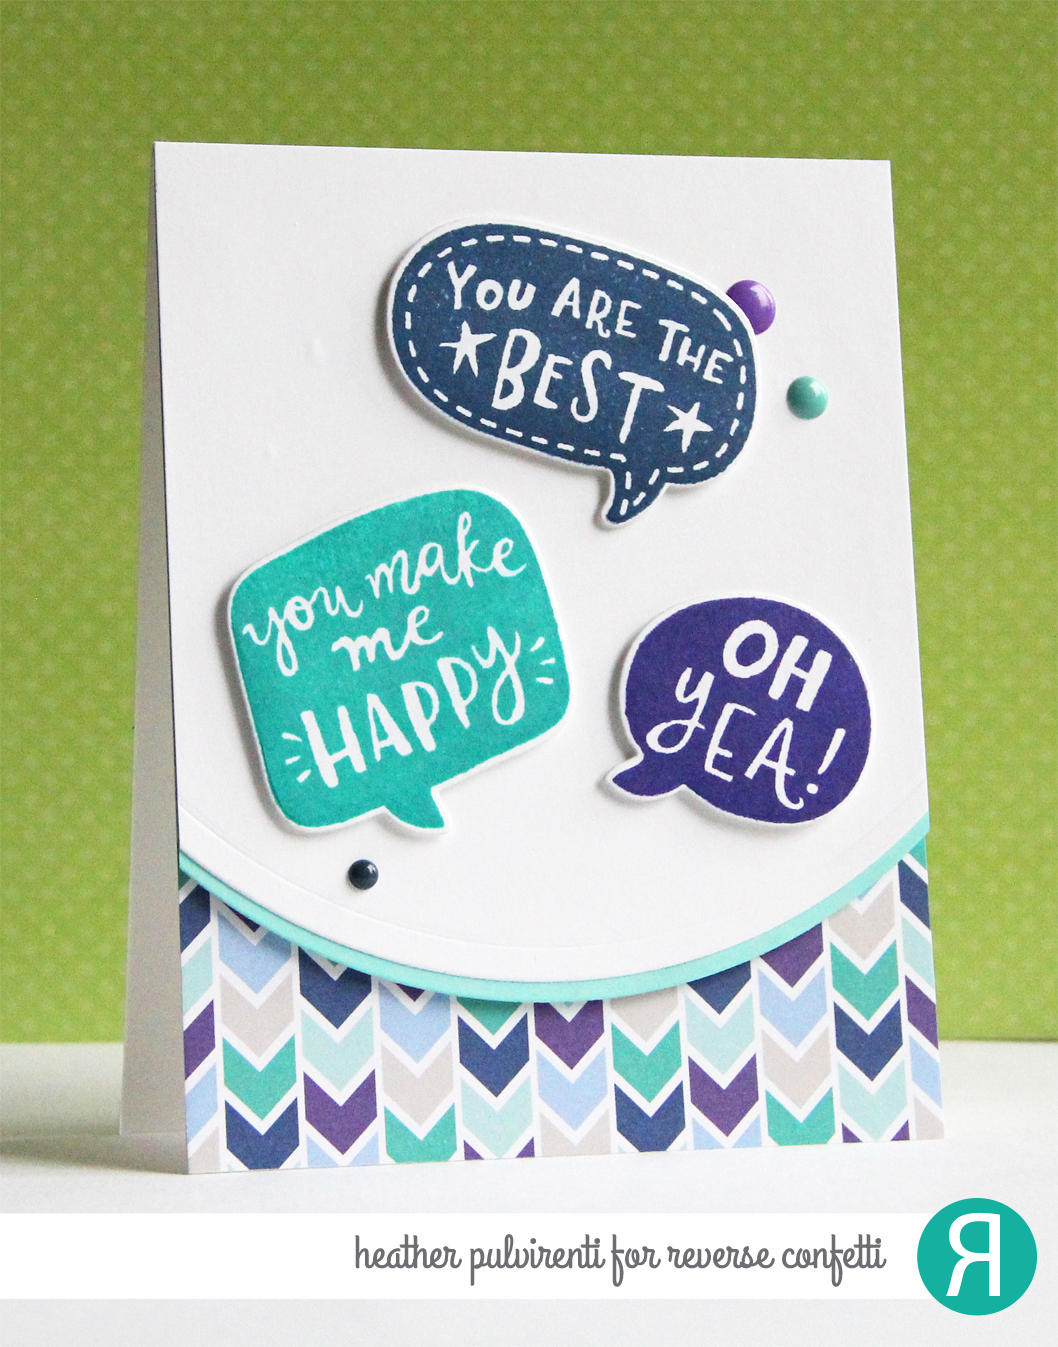
RC Sneak Peek Day 3 - Oh Yea!


Hello! It's the final day of Reverse Confetti December sneak peeks, and today I'm sharing a card created using the new Figure of Speech stamp set.

To create my card, I started by first stamping three of the uber fun speech bubbles from Figure of Speech in Royal Purple, RC Aqua and Navy inks onto Cloud White CS.  I then die cut them with the coordinating Figure of Speech Confetti Cuts.  Next, I used one of the Edger Confetti Cuts on Iced Aqua and Cloud White CS, then adhered the pieces together.  


Next, a strip of chevron patterned paper from the Warm Heart paper pad was adhered to a white card base before attaching the die cut panel to the card front with foam tape.  To finish up, the speech bubbles were adhered to the white panel with foam tape, then I embellished with enamel dots.


Would you like to be entered for your chance to win one of two gift certificates to RC (one for blog commenters, and one for Facebook commenters)? To enter, simply leave comments on the RC DT blogs, then hop on over to the Reverse Confetti Facebook page. (Full details can be found over on the RC Blog.)

Have a great one!