Showing posts with label Celebrate. Show all posts

7.08.2017

Reverse Confetti Blog Hop - Party Like There's No Tomorrow


Hello! It's the 8th of the month, which means it's Reverse Confetti blog hop time *AND* all the goodies we've been showcasing for the past few days are now available! Yaaas! :) 

To create my card, I started by first die cutting a piece of Stone card stock using the Squared Off Cover Panel Confetti Cuts, and adhering a piece of 6x6 Under the Umbrella patterned paper behind it.  I then turned the die cut on an angle and adhered it to a Cloud White card base.  Next, I cut two 1/4" strips of Baby Blue card stock and adhered them to the card front above and below the die cut.


The dinosaur and leaf images from No Tomorrow were stamped in Versafine ink onto watercolor paper before heat setting with clear embossing powder.  The images were then die cut using the No Tomorrow Confetti Cuts and colored with watercolor markers.  Once the images were dry, they were adhered to the card front using foam tape.  To finish up, the sentiment was stamped in Midnight ink onto the smallest Pierced Round Top Layers Confetti Cuts, adhered to the card front with foam tape, then black enamel embellishments were added for extra interest.


I hope you've enjoyed hopping with us today. Be sure and hop with us on the 8th of every month for more Reverse Confetti inspiration! 

Here's the full list of today's hop participants:


Have a great one!

5.08.2017

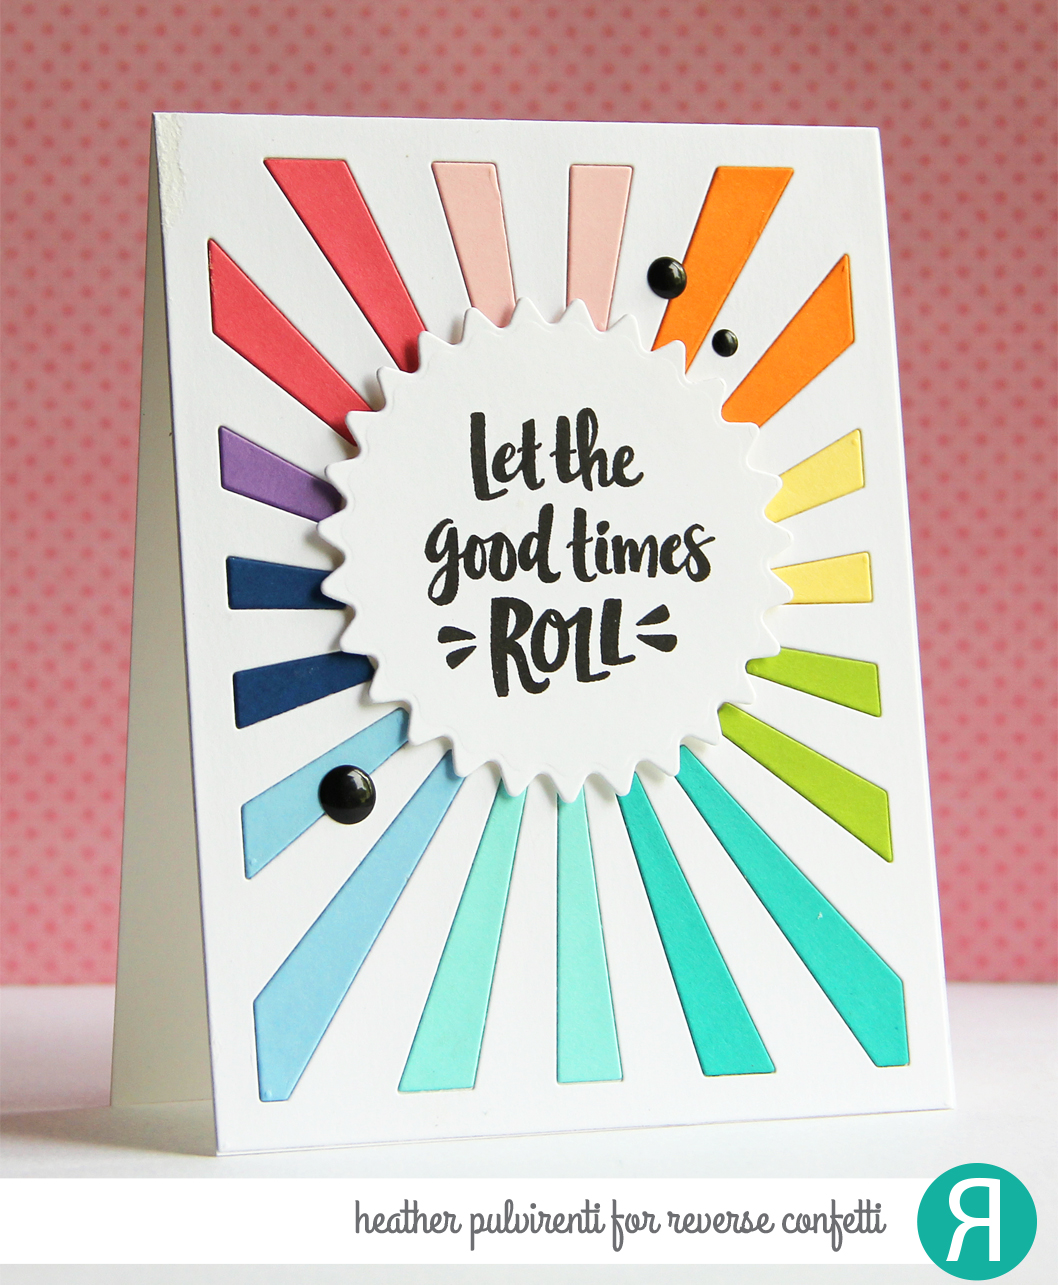
RC Blog Hop - Let the Good Times Roll


Hello! It's the 8th of the month, which means it's Reverse Confetti blog hop time *AND* all the goodies we've been showcasing for the past few days are now available! Woohoo! :) 

To create my card, I started by first die cutting a piece of white cardstock using the Sunburst Cover Panel Confetti Cuts and adhering it to a white card base.  I then went back and die cut the insert pieces using a variety of RC colors:  flamingo, piggy bank, tangerine, buttercup, lime green, RC aqua, iced aqua, baby blue, navy and grape soda.  


Next, I die cut a piece of white CS using the Flowers for Mom Confetti Cuts and stamped it with one of the sentiments from Rollin'.  To finish up, I then adhered the die cut to the card front using foam tape, and embellished with black enamel dots.


I hope you've enjoyed hopping with us today. Be sure and hop with us on the 8th of every month for more Reverse Confetti inspiration! 

Here's the full list of today's hop participants:


Have a great one!

5.26.2016

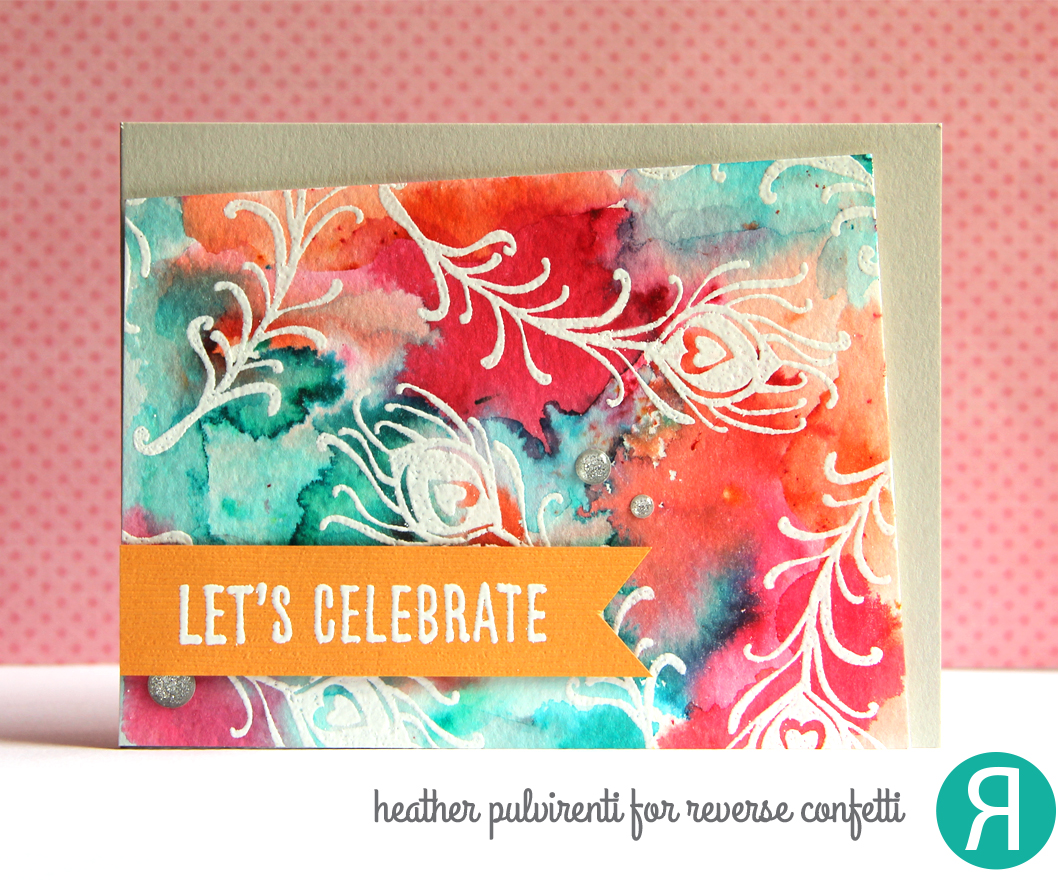
CardMaker Magazine Blog Hop - Let's Celebrate!


Hello! Reverse Confetti & CardMaker Magazine are teaming up today for a blog hop, and I'm here to share this bright little number! :) Hopefully you've reached my blog by way of Lisa Silver's blog (the blog hop started over on the CardMaker Magazine blog, so if you'd like to start at the beginning, please click ***here***.)

To create my card, I first started with a piece of 4.25 x 5.5 watercolor paper, and covered it with a light coating of water.  I then sprinkled the layer with Turquoise, Orange and Fuchsia Color Burst watercolor powders.  I tried to leave them alone to do their thing, but I'm a hoverer, so I dabbed the watercolor paper here and there with a wet brush to help speed things along, and used a paper towel to soak up the excess water/color in any areas that were getting muddled. 


Since I'm not the most patient person when it comes to watercolor, I grabbed my heat tool to help speed up the drying process.  Once the panel was dry, I stamped the feather image from Pretty Peacocks in Versamark ink, then heat set them with white embossing powder.  I then trimmed the layer on an angle, and adhered it to a light gray card base with foam tape.  The sentiment from Celebrations was stamped in Versamark ink onto orange textured CS, then heat embossed with white powder.  To finish up, I adhered the sentiment to the card front with foam tape, then embellished with silver enamel dots.


Want to be entered for your chance to win a fun prize? For full details, please be sure to stop by the RC Blog (last stop on the hop)...

Thanks for stopping by today, next stop on the hop is Kim Klinkovsky!

1.28.2016

Celebrate!


Hello! I'm popping in to share a little gift bag I created previously, but hadn't had a chance to share here on my blog yet.  We're still in the midst of digging out from our big snow (30"-ish), and I am so looking forward to sunny skies, warmer weather and for my kiddo to get back in school (we're on day 5 of cancelled school)! Lol. In the mean time, I'll just have to settle for looking at pretty, pastel things. ;)

To create my little gift bag, I first started by die cutting two panels from light gray striped CS using the Tagged Tote CC, then adhering the pieces together.  I then die cut a coordinating panel for the front from watercolor paper.  The front of the panel was stamped with one of the sentiments from Big Notes in Versamark, then heat embossed with white embossing powder.  I then used a combination of diluted Distress Ink watercolor washes to add some color to the panel.


While the stamped image was drying, I used the Hang Ups CC on a piece of mint CS.  Once the image was dry, I adhered it to the front of the tote  I then inserted a small gift enclosed in a purple, polka dot bag, then used the tab to close the tote.  I then secured the tab using silver metallic twine, and finished up by embellishing with silver enamel dots.


Have a great one!

9.11.2015

Let's Party!


Hello! I'm popping in to share this sweet little card I created using the new Party Pooper and Big Time sets from the Alley Way Stamps.  I love this little bear!

To create my card, I started by stamping the bear and balloon image from Party Pooper in Versafine black ink onto watercolor paper.  I then colored the images using watercolor pencils before setting them aside to dry.  Next, I cut a 4 x 4 piece of white CS and stamped it with the Party sentiment from Big Time in Versafine black ink before adhering the panel to a turquoise card base with foam tape.


Once the images were dry, I fussy cut them out.  Realizing I forgot to stamp part of my sentiment before attaching it to the card base (d'oh!), I went back and stamped the remainder of the sentiment.  Thankfully, it stamped perfectly! Lol.  Next, I attached the bear and balloon images to the card front with pop dots.  That's it! So easy and super cute! :)

Have a great one!


8.01.2015

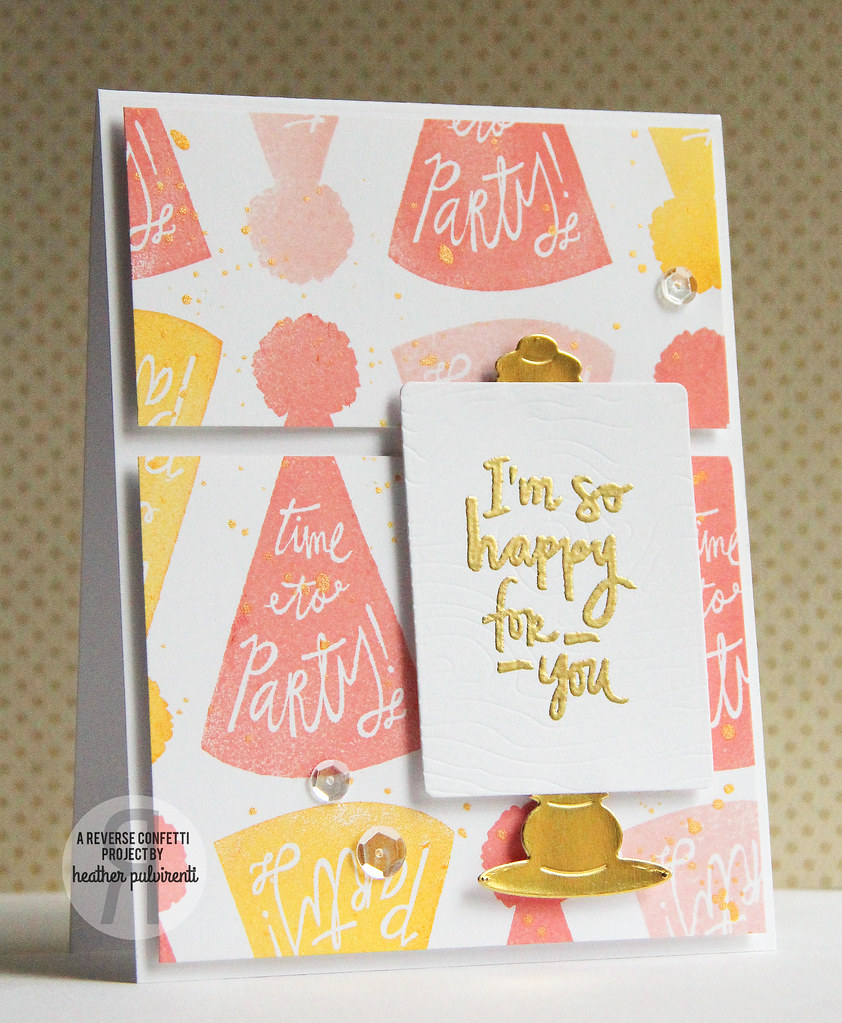
August SFYTT - So Happy For You & a Giveaway!


Hello! I created this card using this month's Sketch For You To Try (SFYTT) from Reverse Confetti, as well as a couple different stamp sets and dies.

To create my card, I started by stamping one of the images from Party Hats in light pink, coral and yellow-orange ink onto a piece of white CS.  I then flicked yellow shimmering mist onto the background I created before cutting the panel in two, then adhered it to a white card base with pop dots once dry.  


Next, I used the rectangle die from the Posted Note Confetti Cuts on a piece of white CS, then embossed it with the Woodgrain Confetti Cuts.  I then stamped one of the sentiments from Posted Note Sentiments in versamark ink, then heat embossed with gold powder.  Some additional pieces from the Posted Note Confetti Cuts were then cut from gold foil, then adhered to the woodgrain panel.  To finish up, I adhered the die cut to the card front with pop dots, then embellished with clear sequins.


Want to play along with us this month and be entered to win a $20 GC to the RC store? All you need to do is create a card based on the sketch below using RC stamps, and link it up to the post HERE on the Reverse Confetti blog by noon CST on the 31th... Easy peasy! :)


GIVEAWAY TIME... If you've made it this far, hooray! :) Today, I am giving away a new copy of the Party Hats stamp set! To be entered to win, all you need to do is comment on this blog post by Friday, August 7th at 11:59pm (EDT).  So easy, right? :) One winner will be chosen at random, and announced on Saturday, August 8th.  Good luck!

Have a great one

4.08.2015

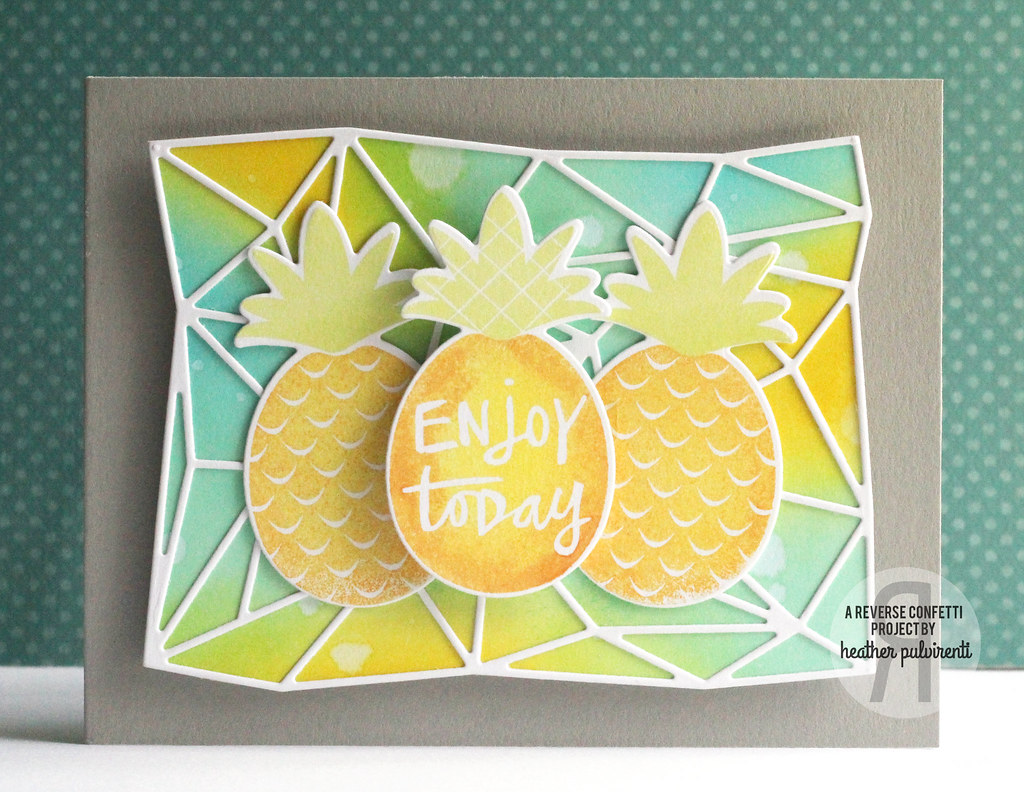
RC Blog Hop - Enjoy Today


Hello! Release day is upon us and all of the Reverse Confetti goodies we've been previewing for the past few days are available for sale.  Woohoo!! :) It's the 8th of the month, which means it's also blog hop time.  The hop started over on the Reverse Confetti blog, and you should have made it here from Lisa Adessa’s blog. (If you'd like to start at the beginning of the hop, please click here.)

To create my card, I started by first blending a few different colors of distress ink together on a piece of white CS, then adding drops of water.  While I set that aside to dry, I used the Geometric Background Confetti Cuts on a piece of white CS.  Once I popped out all the little triangles, I adhered it to the distressed CS layer, then trimmed off the excess.  


Next, I stamped three of the pineapple images using a combination of tops and fruit from the Pineapples Aplenty set, using the rock-n-roll technique on the body of the fruit.  I then cut them out using the coordinating Pineapples Aplenty Confetti Cuts dies.  The diecut background was then adhered to the gray card base using pop dots.  To finish up, I adhered two pineapples to the diecut background, then popped up the third with pop dots to help it stand out a bit.


I hope you've enjoyed hopping with us today. Be sure and hop with us on the 8th of every month for more Reverse Confetti inspiration! Now it’s time to hop on over to Tara Godfrey’s blog. If you get lost along the way, you can find the hop order and list of all the participating designers over on the Reverse Confetti blog.

Have a great one!