Showing posts with label Christmas. Show all posts

9.08.2017

RC Blog Hop - Fa La La


Hello! It's the 8th of the month, which means it's Reverse Confetti blog hop time *AND* all the goodies we've been showcasing for the past few days are now available! WOOT! :) 

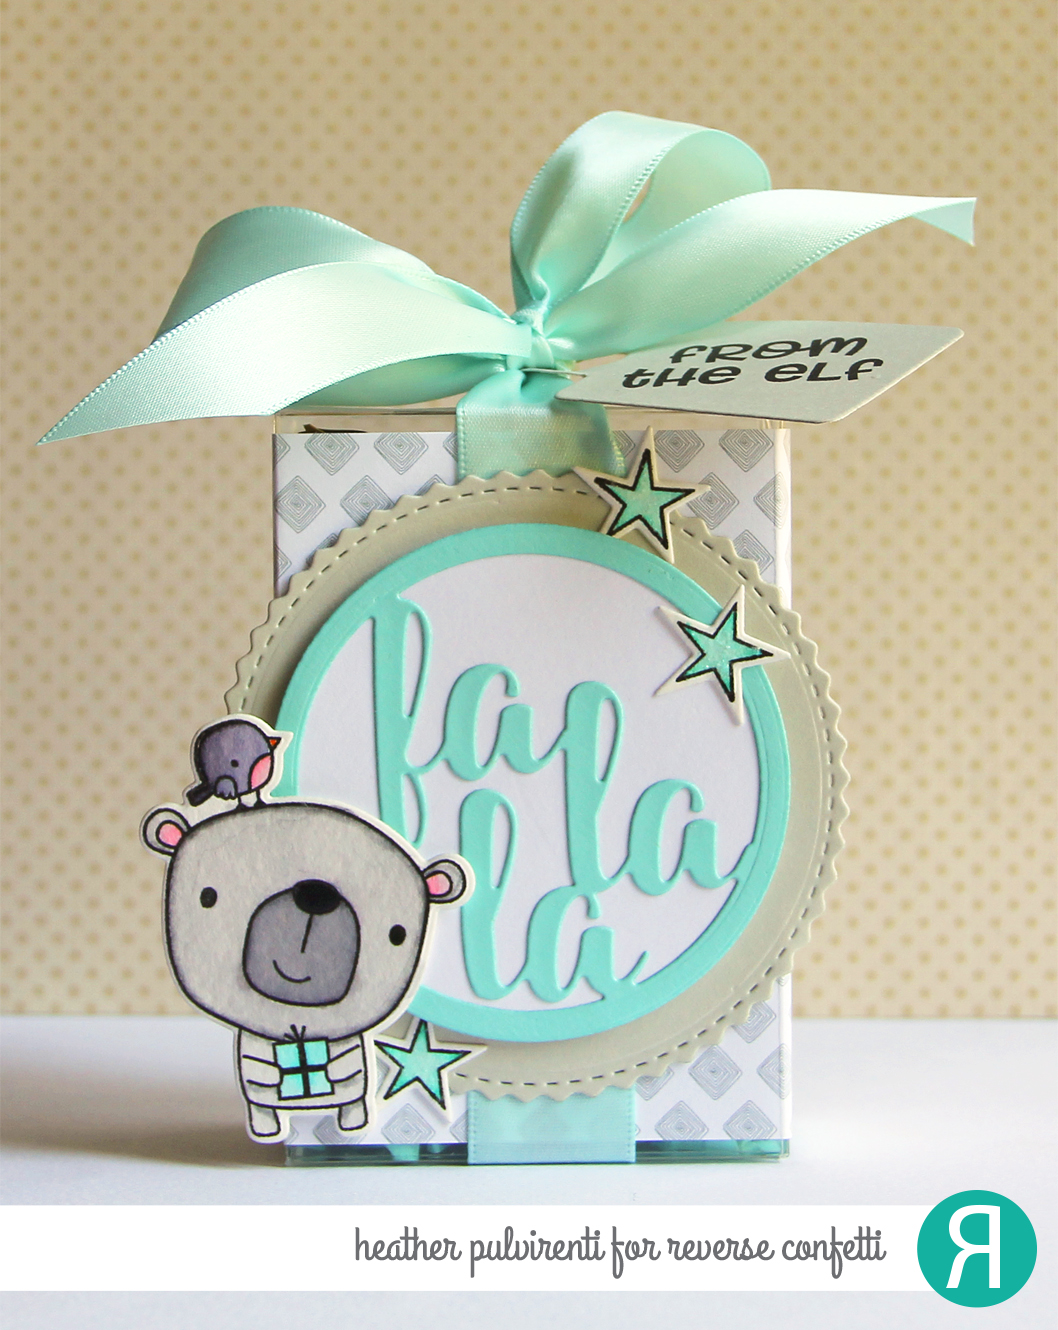
To create my project, I started by first wrapping one of the Clear Treat Boxes with a piece of patterned paper from the Free Spirit paper pad.  Next, I filled my box with some goodies, and then wrapped it with an aqua ribbon and bow.  I then stamped the uber cute bear and star images from Christmas Bear in Versafine ink, and heat set it with clear embossing powder before coloring the image with Zig Clean Color markers.  Once the images were dry, I then die cut them with the coordinating Christmas Bear Confetti Cuts.


Next, I die cut Stone, Cloud White and Iced Aqua cardstocks using the Fa La La Circle Confetti Cuts, layered them together, and then secured them to the treat box using Scor-tape.  To finish up, the bear and stars were adhered to the treat box front, then I covered the stars with Sugared Distress Stickles.


I hope you've enjoyed hopping with us today. Be sure and hop with us on the 8th of every month for more Reverse Confetti inspiration! 

Here's the full list of today's hop participants:


Have a great one!

12.08.2016

RC Blog Hop - Mouse Mail


Hello! It's the 8th of the month, which means it's Reverse Confetti blog hop time *AND* all the goodies we've been showcasing for the past few days are now available! :) 

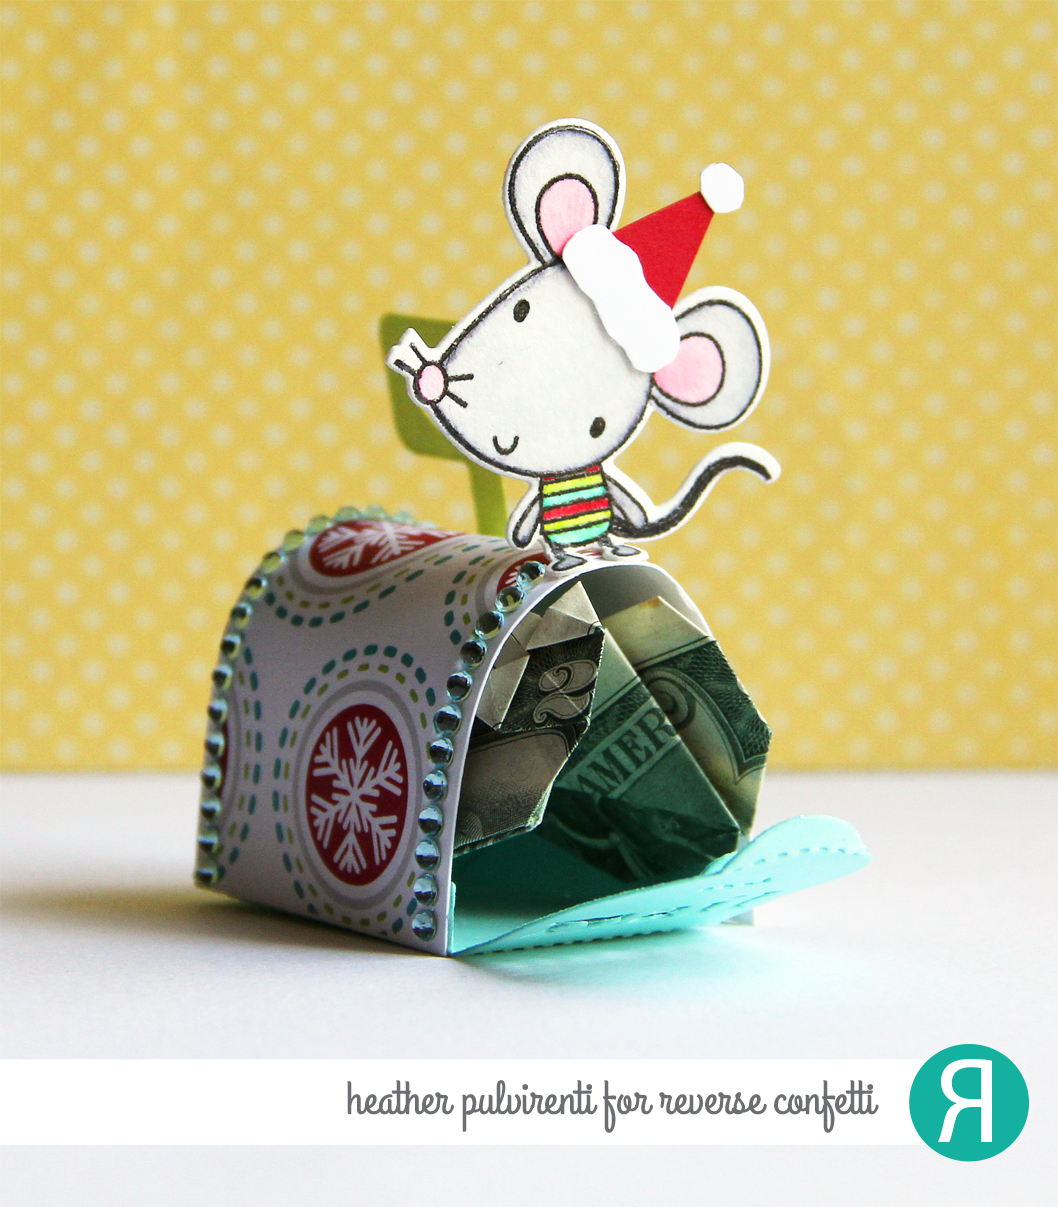
To create my little mailbox ornament, I started by first die cutting the mailbox base using the Mailbox Starter Confetti Cuts die on Iced Aqua CS.  I then cut a strip of Cloud White CS to 1.75" x 3.5", and topped it with a piece of patterned paper from the Very Merry paper pad.  I then glued the the paper strip to the mailbox base, pressing the tabs securely.  


I then stamped one of the mouse images from Mouse Mail in Versafine ink, then heat setting it with clear embossing powder before coloring it with Zig Clean Color markers.  Once the image was dry, I cut it out with the coordinating Mouse Mail Confetti Cuts and adhered it to the mailbox top.  To finish up, I added aqua rhinestones to the outside of the mailbox, cut a little santa hat for the mouse, and stuffed the mailbox with origami cash. :) (The $ was folded into a heart shape, but it was a little large, so I gently folded it in half before putting it inside the mailbox.)


I hope you've enjoyed hopping with us today. Be sure and hop with us on the 8th of every month for more Reverse Confetti inspiration! 

Here's the full list of today's hop participants:


Have a great one!

11.23.2016

25 Days of Tags w/Reverse Confetti - Merry Christmas


Hello! I'm so happy to be participating in Tracey McNeely's 25 Days of Christmas Tags Day 23 event today using some of my favorite Reverse Confetti stamps/dies and a fun, albeit unusual, holiday color combo. :)

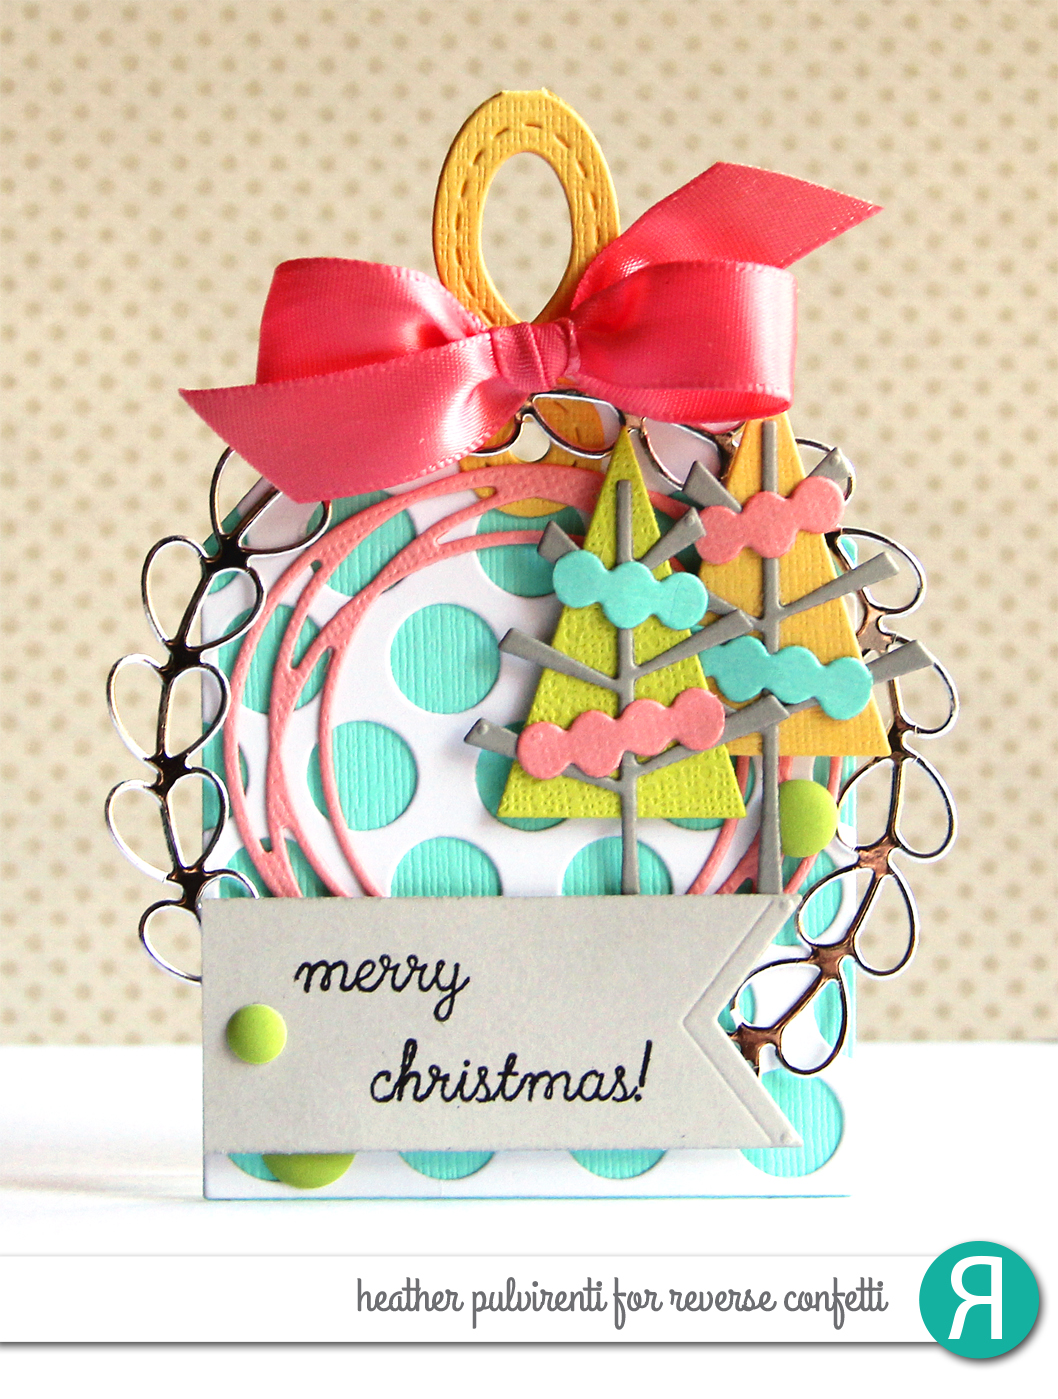
To create my tag, I started by first die cutting a piece of aqua CS using the Topped Off Tag Confetti Cuts, then topping it with a piece of white CS that had been die cut with the Dots Tag Layer Confetti Cuts.  I then die cut a piece of silver foil using the Wreath Confetti Cuts, and nestled a light coral die cut Swirlie inside.  


Next, I die cut the trees using the Branch Out Confetti Cuts on gray, aqua, coral, green and yellow CS, then assembled the pieces before adhering them to the card front.  The sentiment from Jolly Holiday was stamped in black ink onto a piece of light gray CS cut out using the Stitched Flag Trio Confetti Cuts. A yellow tag topper was cut using the Hang Ups Too Confetti Cuts, then it was adhered to the tag front before tying it off with a coral bow.  To finish up, the sentiment was adhered to the tag front using foam tape, then I embellished with green enamel dots.


As a little something extra, Reverse Confetti is having a Black Friday sale! Here are the deets:


Have a great one!

11.17.2016

Crazy for Christmas - Decor & More


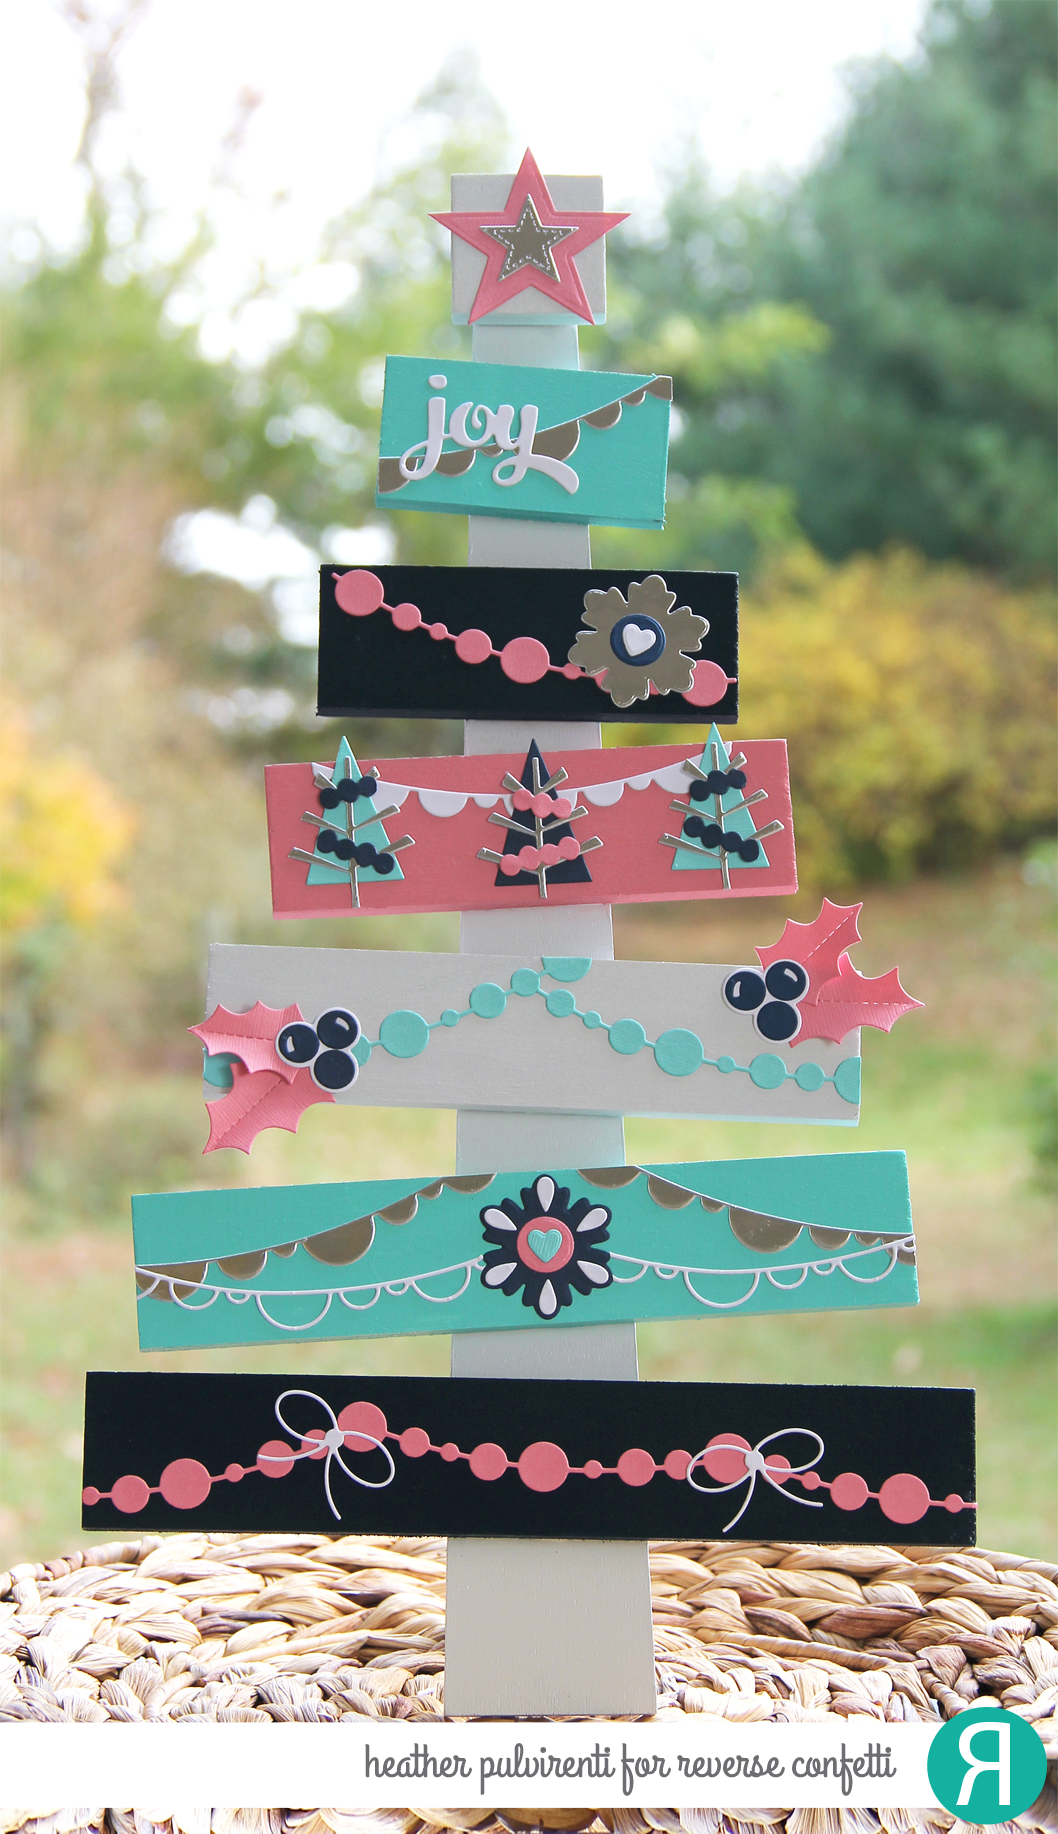
Hello! We're on the final day of Reverse Confetti's Crazy for Christmas event, and today's them is Decor & More.  I wasn't sure what I wanted to do create at first, so I did what any self-respecting crafter would do... I walked the aisles of my local craft store! ;) While browsing, I came across this adorable unpainted tree and I just loved the touch of whimsy the tilted branches added.  

To create my project, I started by first giving the tree a base coat of white.  I then went back and painted some of the other branches navy, pink and light teal.  Once the paint dried, I sprayed the tree with a protective gloss coat, then die cut all my pieces before assembling:


Pink CS, Cloud White CSNavy CS, Silver Foil CS, Light Teal CS


Once all the die cuts were adhered to the tree, I then went back and sprayed my project again with another two coats of protective gloss coat.  Hopefully it'll stand up to wear and tear inflicted by little hands. Lol... 

Thanks for stopping by, I hope you enjoyed my project! For more holiday inspiration, be sure to hop on over and check out the rest of today's participants:


Have a great one!

11.15.2016

Crazy For Christmas - Treat Tubes


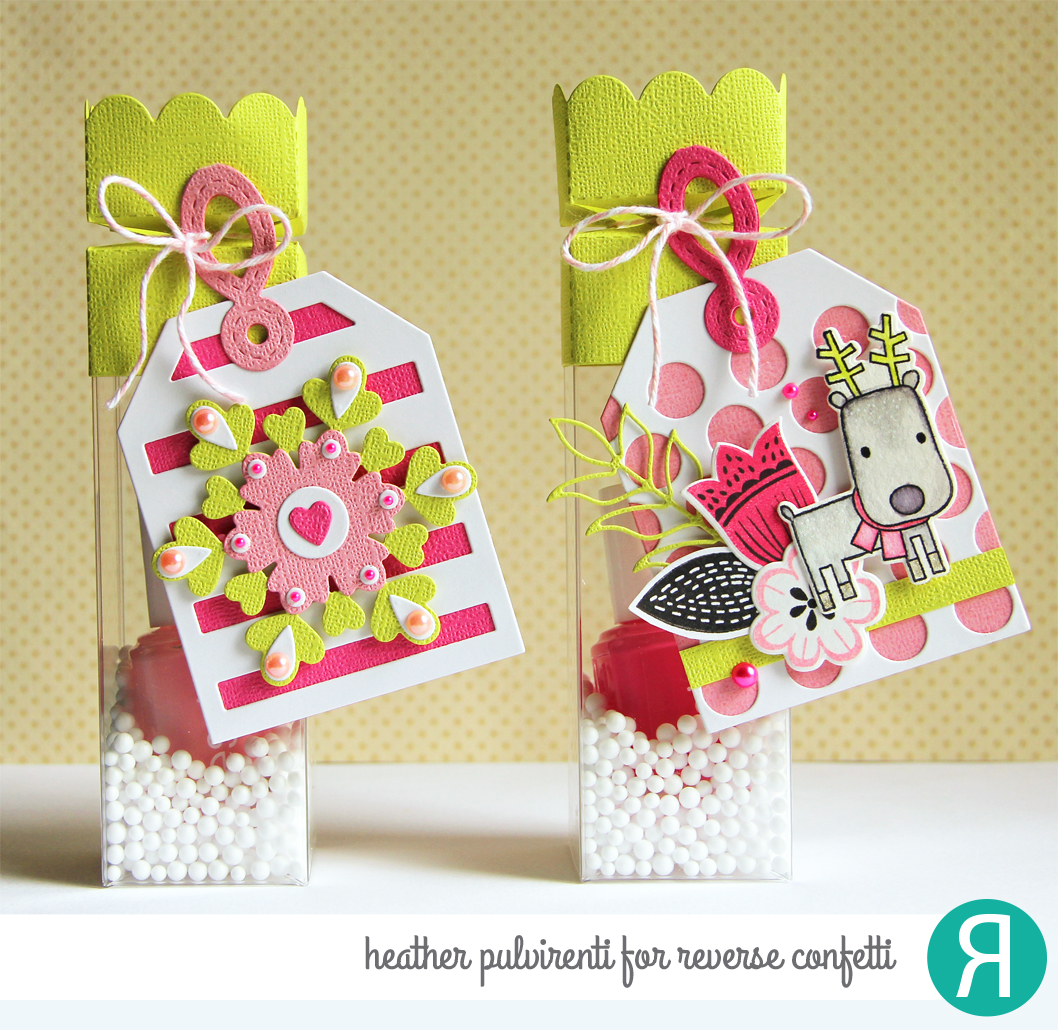
Hello! We're all getting into the Christmas spirit over at Reverse Confetti, and over the next few days we'll be sharing lots of fun project ideas.  Today's projects all center around RC's fun treat tubes, and for my project I decided to make these little cuties! My daughter is obsessed with all things pink, and when I saw these two nail polish colors from Essie, I thought they would make great stocking stuffers.  Hey, it's never too soon to start shopping, am I right?? Lol :)

To create the tubes, I started with two Treat Tubes, and filled them with some tiny styrofoam beads.  I then gently placed the bottles into the tubes, nestling them into the beads.  Next, I used Treat Tube Topper Confetti Cuts on charteuse CS, then adhered the toppers to each tube.  


Reindeer Tag:

The Topped Off Tag Confetti Cuts was used on light pink CS, then adhered behind a white polka dot tag die cut from the Dots Tag Layer Confetti Cuts.  Several images from Blooms 'n Buds were stamped in black and pink inks, then die cut with the Blooms 'n Buds Confetti Cuts.  The Wheat Confetti Cuts was then used on chartreuse CS, then adhered behind the flower die cuts.  I then stamped the adorable deer from Jolly Holiday in versafine black ink, and heat set it with clear embossing powder before coloring it with zig clean color markers.  Once the image was dry, it was cut out with the Jolly Holiday Confetti Cuts, then adhered on top of the flowers.  A strip of chartreuse CS was adhered to the tag front, then the flowers and deer were attached using foam tape.  To finish up, I embellished with pink pearls, die cut a topper with one of the Hang Ups, Too Confetti Cuts dies and secured it to the treat tube with pink twine.


Snowflake Tag:

The Topped Off Tag Confetti Cuts was used on dark pink CS, then adhered behind a white striped tag die cut from the Big Stripes Layer Confetti Cuts.  I then die cut several elements using the Layered Snowflake Confetti Cuts on chartreuse, pink and white CS.  The snowflake pieces were adhered together, then attached to the tag front with foam tape. To finish up, I embellished with light and dark pink pearls, die cut a topper with one of the Hang Ups, Too Confetti Cuts dies and secured it to the treat tube with pink twine.

I also added a small loop of silver cord to the back of each treat tube, which will serve as a way to hang the little gifts from the Christmas tree. :)


Here's the full list of today's participants:


Have a great one!

11.05.2016

25 Days of Christmas Tags with Winnie & Walter - Merry


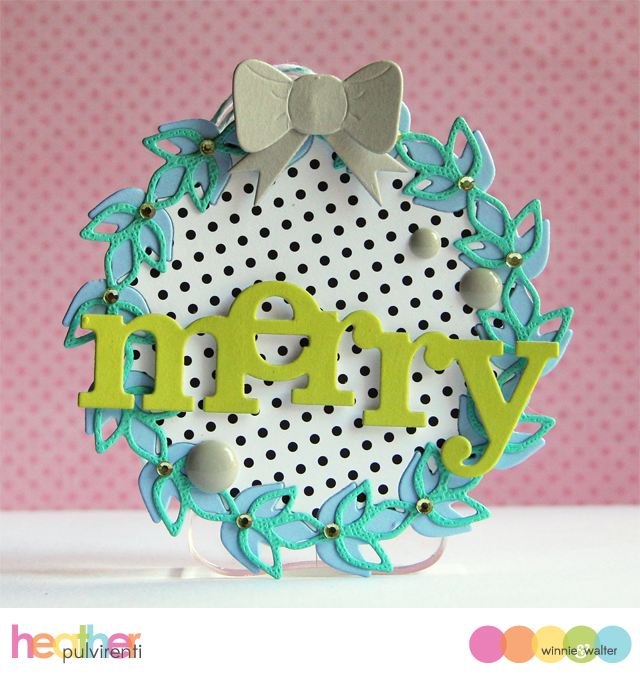
Hello! I'm so happy to be participating in Tracey McNeely's 25 Days of Christmas Tags Day 5 event today using some of my favorite Winnie & Walter dies and a fun holiday color combo. :)

To create my tag, I started by first die cutting light blue and textured teal cardstock using the wreaths from the In Bloom: Paulina's Greenery Cutaways.  I then used the solid wreath die on a piece of black and white polka dot paper, and adhered the negative patterned die cut and blue die cut to a white CS circle.  The teal outline wreath was then adhered to top of the blue wreath in a slightly offset placement.  


Next, I used the In a Word: Merry Cutaway on chartreuse CS, then adhered it to the tag front using foam tape.  One of the smaller bows from the Take a Bow Cutaways was then used on light gray CS, adhered together, then attached to the tag front.  To finish up, I added a teal/white twine loop for hanging, then embellished with green gems and gray enamel dots.

Have a great one!

11.01.2016

November SFYTT - O Come Let Us Adore Him


Hello and happy November! :) It's the start of a new month, which means it's also time for a new Reverse Confetti sketch challenge.  I hope you had a wonderful Halloween yesterday! Can you believe we're just plowing through this year? Thanksgiving and Christmas are right. around. the. corner.  Yikes! Lol

To create my card, I started with a Stone CS base and topped it with a strip of patterned paper from the Very Merry paper pad on an angle.  I then used the Lacy Scallop Frames Confetti Cuts on Cloud White CS, and stamped it with one of the sentiments from Christmas Blessings.


I then used the Wreath Confetti Cuts on a piece of Lime Green CS, then adhered the die cut to the scallop frame.  The Holly Confetti Cuts were then used on RC Aqua, Cloud White and Brick CS, then adhered together before attaching to the scallop frame with foam tape.  To finish up, the scallop frame die cut was adhered to the card front, then I embellished with aqua enamel dots.


Want to play along with us this month and be entered to win a gift certificate to the RC store? Please see the Reverse Confetti blog for full details! :)

Have a great one!

10.20.2016

Happy Fall-idays with Reverse Confetti - Christmas!


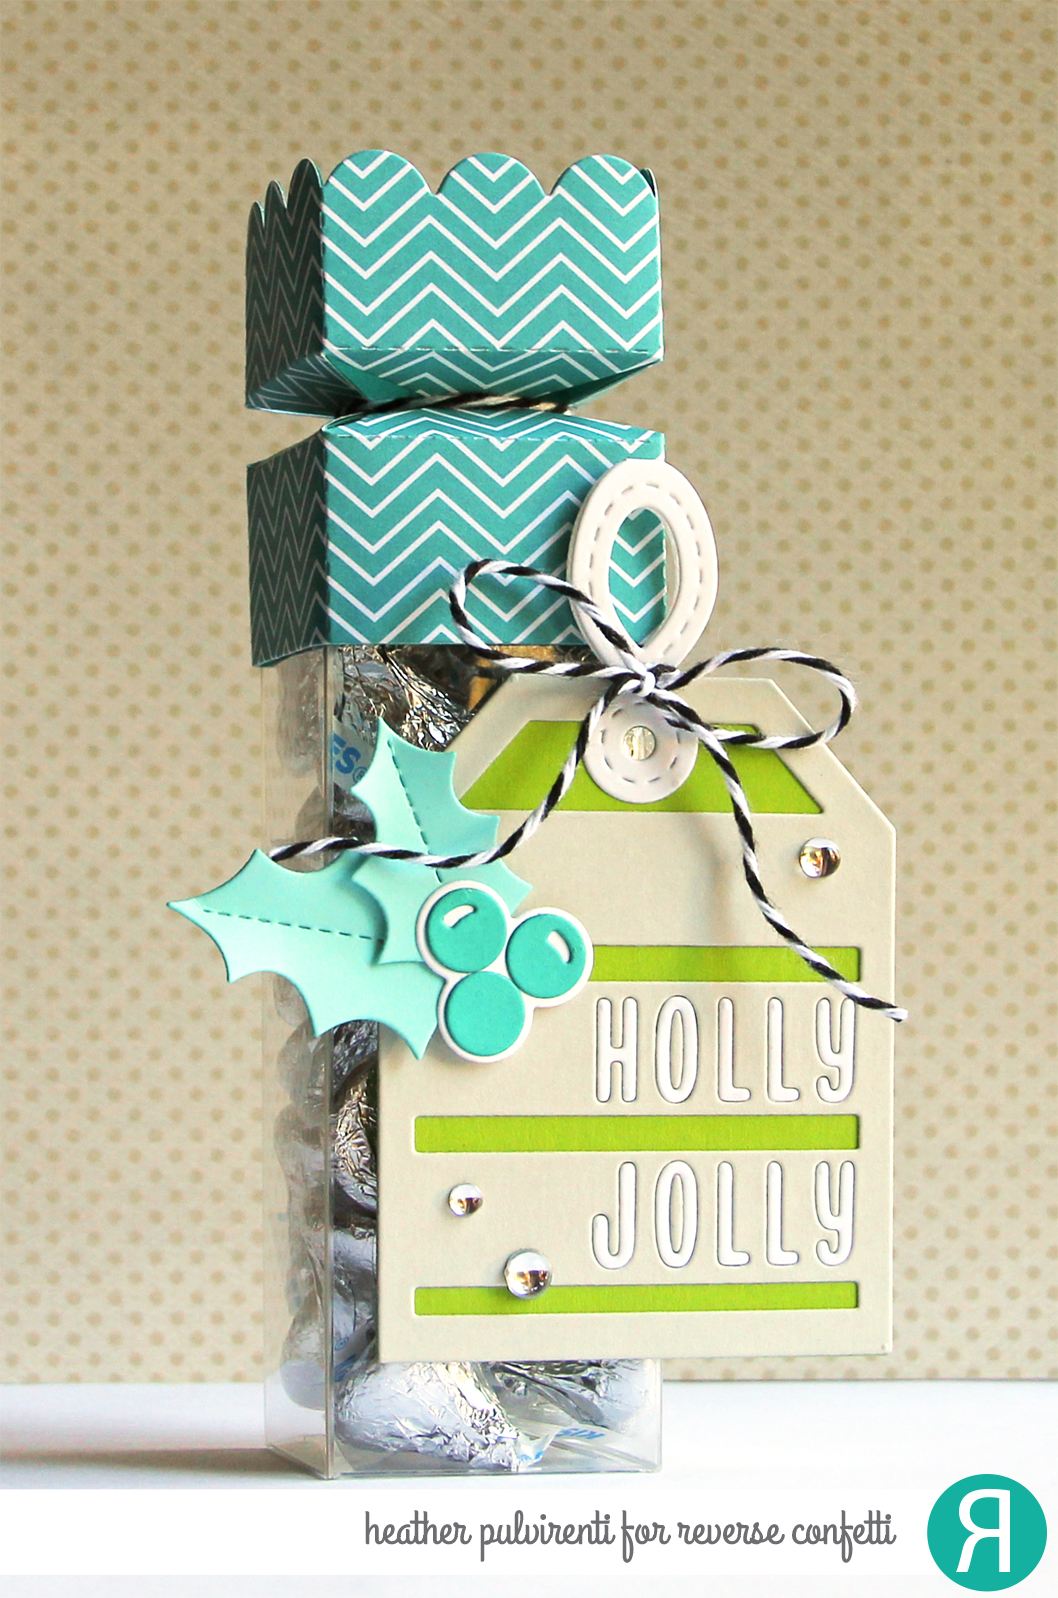
Hello! I'm back again today with a festive little treat I created for today's Reverse Confetti Happy Fall-idays Christmas event.  I love these treat tubes, they are the perfect size for giving. :)

To create my project today, I started by first filling a treat tube with Hershey's kisses.  I then used the Treat Tube Topper Confetti Cuts on a piece of Very Merry patterned paper and RC Aqua cardstock.  The two die cuts were then adhered together before folding along the perforations and securing to the treat tube with scor-tape.  I then wrapped the topper with a little bit of Charcoal Striped Twine and secured it with a small knot in the back.


The Holly Jolly Tag Layer Confetti Cuts was used on Cloud White and Stone cardstock, then adhered to a Lime Green tag base created using the  Topped Off Tag Confetti Cuts.  Next, I used the Holly Confetti Cuts on RC Aqua, Cloud White and Iced Aqua cardstock, adhered the pieces together, then attached them to the tag front with foam tape.  The Hang Ups, Too Confetti Cuts was used on Cloud White cardstock, then adhered to the tag.  To finish up, the tag was secured to the treat tube with foam tape, and I embellished with clear gems and more Charcoal Striped Twine.


Here's the full list of today's hop participants:


Have a great one!