Showing posts with label Fall. Show all posts

9.29.2016

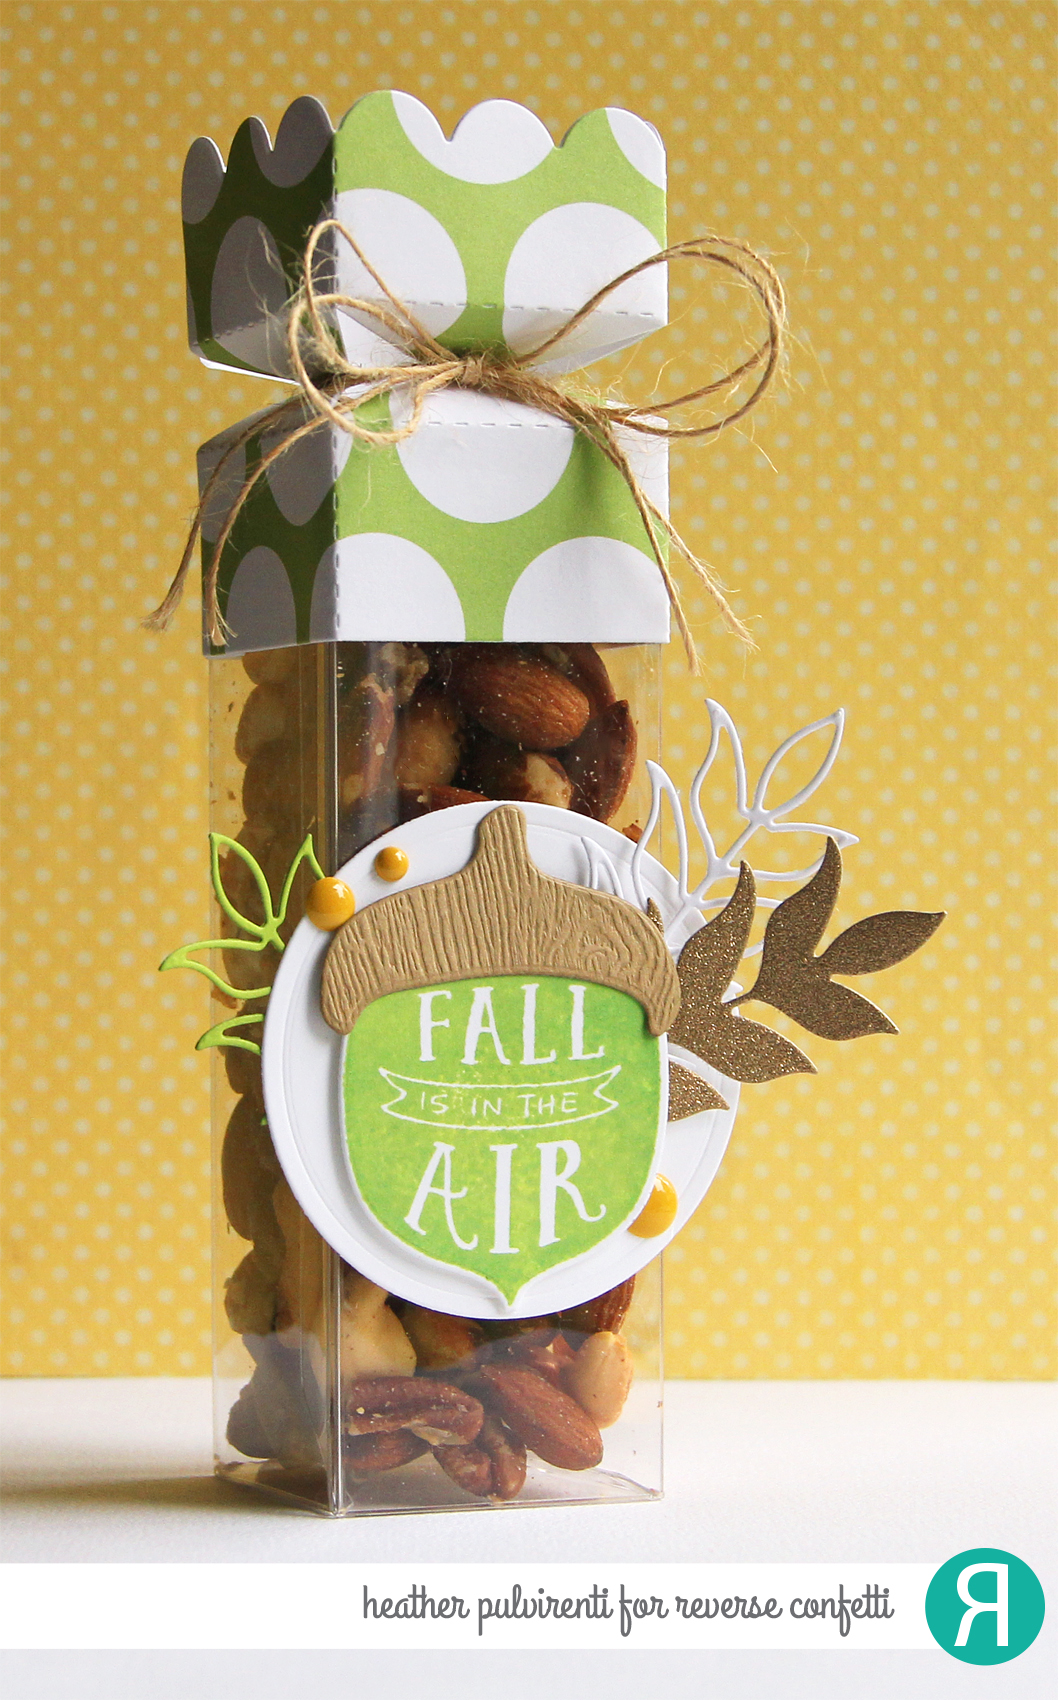
Fall is in the air


Hello! The weather here has finally started to turn and temps are much more appropriate for this time of year.  While fall is one of my favorite seasons and I absolutely love the cooler temps, I sure could do with a little less monsoon-like rain. Lol :) I had a little incident this morning involving flip flops and ankle deep water.  Let's just say it wasn't pretty! Haha

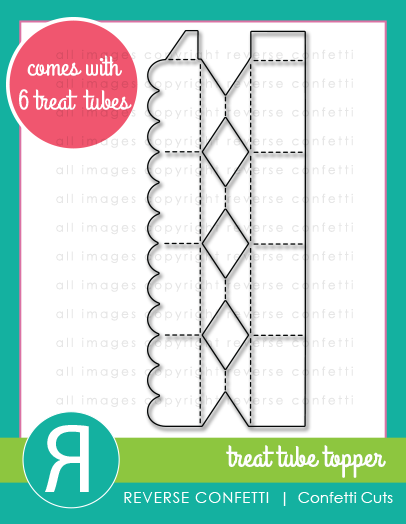
To create my project today, I started by filling one of the plastic Treat Tubes with a nut mixture, then started working on the topper.  I die cut the large dot patterned paper from the Fright Night paper pad using the Treat Tube Topper Confetti Cuts.  The topper was folded along the perforations, then adhered to the top of the tube with scor-tape before being wrapped with jute twine.


Next, I stamped one of the acorn images from Happy Harvest in Lime Green ink, then die cut it with the coordinating Happy Harvest Confetti Cuts.  The acorn topper was die cut from kraft woodgrain CS, then adhered to the acorn base.  I then used the Wheat Confetti Cuts on gold, Cloud White and Lime Green cardstocks, and adhered the die cut pieces behind the acorn.  The Circles 'n Scallops Confetti Cuts were used to die cut a Cloud White CS circle, and the acorn and wheat die cut pieces were then attached using foam tape.  To finish up, I adhered the acorn layer to the treat tube front using foam tape, then I embellished with yellow enamel dots.


Have a great one!

9.06.2016

RC Sneak Peek Day 2 - Give Thanks


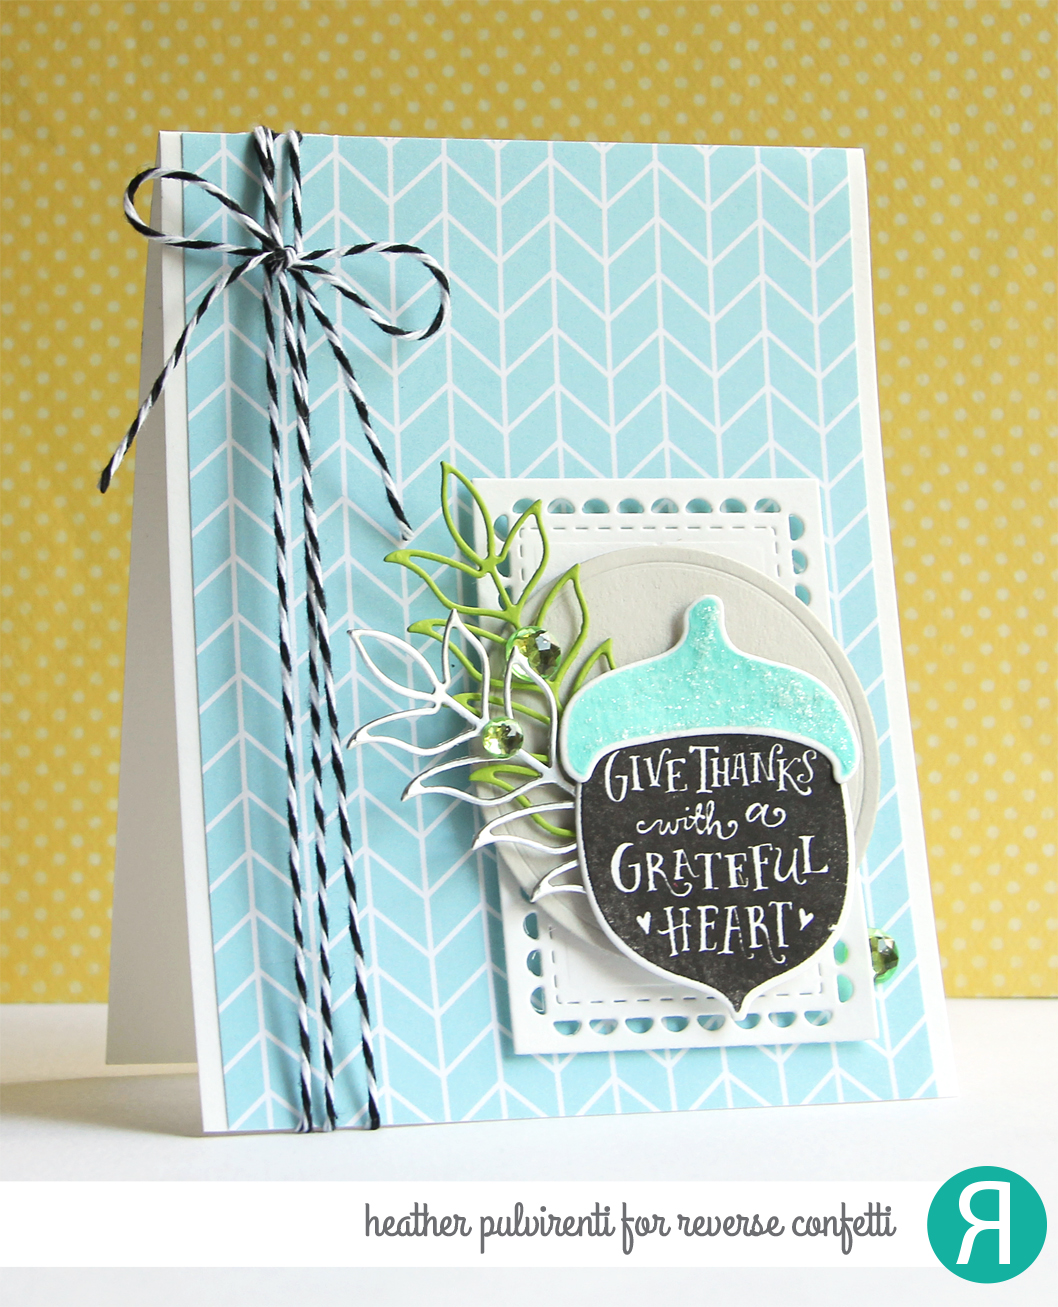
Hello! It's the second day of Reverse Confetti September sneak peeks, and today I'm sharing a card created using the new Happy Harvest stamp set, as well as some new coordinating dies, twine and the Fright Night paper pad.  I love every. single. thing. in this month's release, but I'd be lying if I didn't say the paper pad makes me a little giddy every time I pick it up... ♥♥♥ 

To create my card, I started by first cutting a piece of aqua blue herringbone patterned paper from the Fright Night paper pad to 4 x 5.5", and adhered it to a Cloud White CS base before embellishing with Charcoal Twine.  I then used the Lacy Scallop Frames Confetti Cuts on Cloud White CS and adhered it behind a gray CS circle die cut using the Circles 'N Scallops Confetti Cuts.  Next, I stamped one of the acorn bases and the topper from Happy Harvest in black and Iced Aqua inks, die cut them using the Happy Harvest Confetti Cuts and adhered them together.


I then used the Wheat Confetti Cuts (love love LOVE these dies!) on silver foil and Lime Green CS, and adhered them behind the acorn.  To finish up I adhered the acorn to the gray die cut circle, covered the acorn top with sugared stickles and embellished with green gems.


Would you like to be entered for your chance to win one of two gift certificates to RC (one for blog commenters, and one for Facebook commenters)? To enter, simply leave comments on the RC DT blogs, then hop on over to the Reverse Confetti Facebook page. (Full details can be found over on the RC Blog.)

Have a great one!

9.17.2015

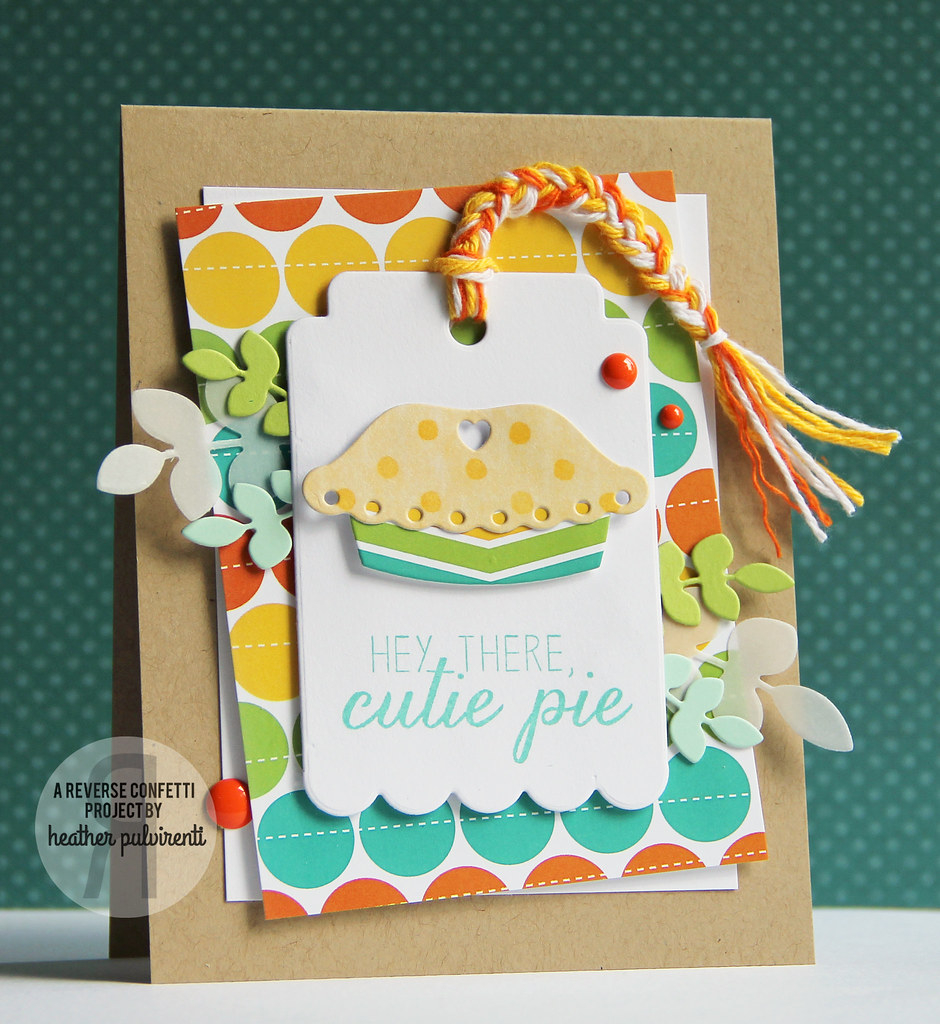
Hey There, Cutie Pie


Hello! It's a gorgeous day today, and I thought I would share one of the Reverse Confetti cards I made for the last release, but hadn't had a chance to share yet. :)

I created this card by die cutting a tag using the Thanks Tag Confetti Cuts on a piece of white CS, then stamping it with one of the sentiments from Easy As Pie.  Next, I die cut several leaves from mint, green and vellum using the Leafy Confetti Cuts, and adhered them to the back of the tag.


I adhered a piece of white CS to the back of the polka dot Fall Fun Quick Card Panel using pop dots, then adhered them to a kraft card base.  The pie was die cut using the Easy As Pie Confetti Cuts on a piece of yellow patterned paper, and another Fall Fun QCP.  I adhered the pie pieces together, then attached them to the tag with pop dots.  A yellow, orange and white twine braid was then added to the tag before attaching the tag to the card base.  To finish up, I embellished with orange enamel dots.


Have a great one!

9.27.2014

C4C255 - Hello Gorgeous


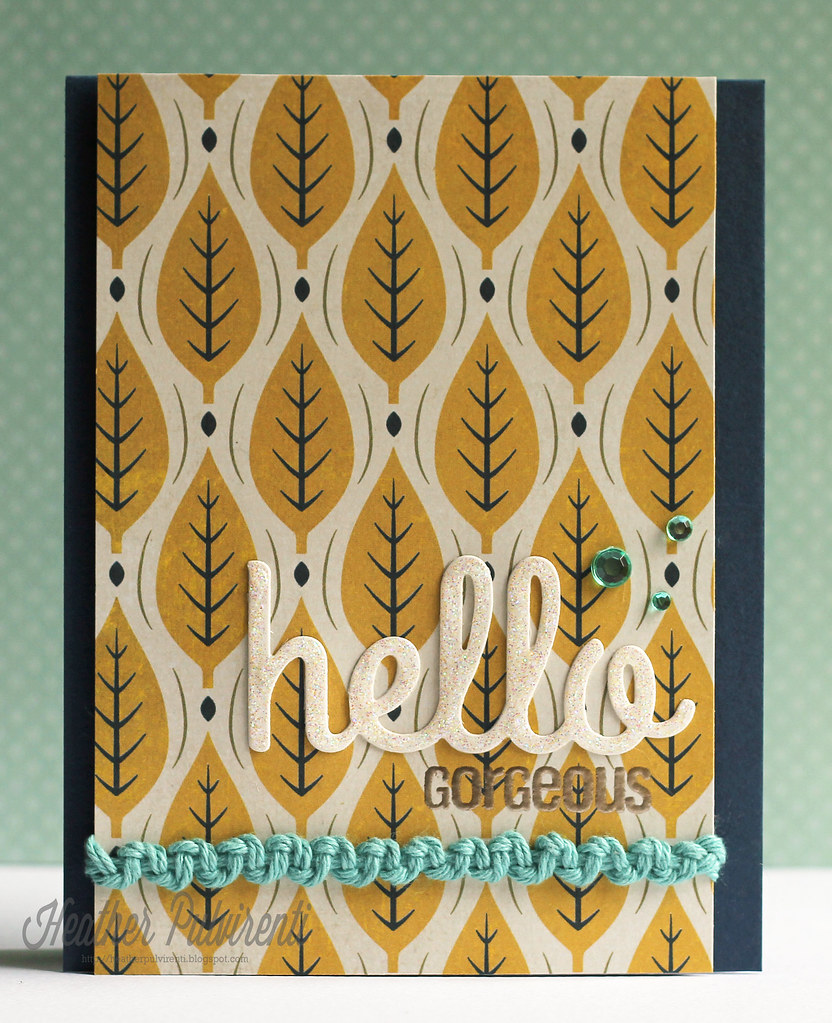
Hello! :) I'm popping in to share a card I created for the current Crazy 4 Challenges C4C255 challenge, which is to create a card featuring leaves.

To create my card, I started by trimming a piece of leaf patterned paper, and stamping it with the word Gorgeous from Clearly Whimsy Stamps' Happy Hello set, then heat embossing with platinum powder.  I then die cut the Hello using the Hello Large Word DIe from cream CS.  Next, I created a snake braid using Whisker Graphics' Solid Teal Divine Twine, and secured it to the patterned paper.


I then adhered the patterned paper to the card base using pop dots before attaching the hello sentiment to the card front.  To finish up, I embellished with turquoise gems and covered the word die cut with stickles.

Want to play along with us this week? All you need to do is create a card/project featuring leaves, and upload it to the linky found on the C4C255 post HERE.

Have a great one!
9.26.2014

Retro Sketches #133 - Autumn Greetings


Hi, everyone! Heather P. here today with a fall-themed card I created using one of my favorite Winnie & Walter sets, The Big, the Bold and Seasons, a somewhat unusual color combo, and a fantastic sketch from RetroSketches.  I am obsessed with gray these days, and I love that it pairs up nicely with the patterned papers I selected for today's card.  Rust, gray, cream and aqua aren't colors that I would normally use together, but I really like how they turned out!

To create my card, I started by cutting two pieces of patterned paper, and used a 1/4" corner rounder on two of the edges on each piece.  I wrapped the plaid pattern paper with jute twine, and adhered it to the card base with pop dots.  Next, I stamped the flourish pattern paper with Autumn in versamark ink, then heat embossed with platinum powder before adhering it to the card front with pop dots.

I then cut a 1/8" strip of light gray card stock, and adhered it to the card front (making sure to slide it underneath the twine) before covering it with stickles.  I tied the jute twine and secured with a double bow.  To finish up, I embellished with aqua buttons.

Have  great one!

11.01.2013

November SFYTT - Thankful for You


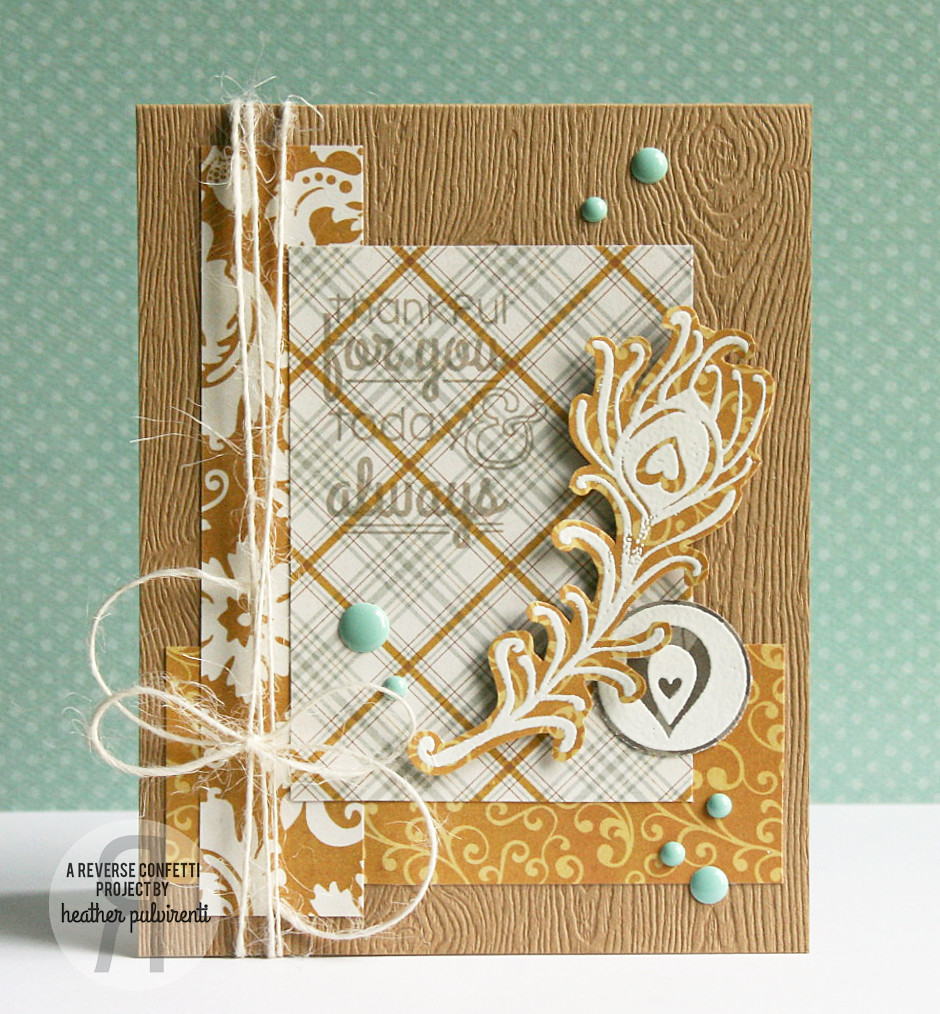
It's the beginning of a new month, which means it's time for another SFYTT from Reverse Confetti.  Fall is one of my favorite seasons, I just LOVE the color of the changing leaves! 


To create my card, I started with a kraft woodgrain card base, and added the two mustardy-orange patterned strips of cardstock to the card front.  Next, I heat embossed the feather and round image onto patterned paper, then cut/punched them out.  I then stamped the sentiment onto the plaid paper, and adhered it to the card front.  To finish up, I added the twine, enamel dots and popped up the feather with pop dots.

Want to play along with us this month? Here's the November sketch:


To be entered for a chance to win a fabulous prize (a $20 gift certificate to the RC Store), create a card/project using the sketch shown above, and link your creation between November 1st and November 14th on the Reverse Confetti blog... 

A few things to note:
  • New sketches are posted on the 1st of every month on the Reverse Confetti blog.
  • The sketch link list will be open from the 1st until noon CST on the 14th. The sketch will be posted in the sidebar and you will be able to click on it to get to that month’s SFYTT post with the link list during this time.
  • We originally stated that you must play with Reverse Confetti stamps to win; however, we are allowing “anything goes” until the end of the year. Note, that we will be adding this requirement in January.
  • You may enter as many times as you wish.
  • There will be a winner each month and that person will receive a $20 gift certificate to the Reverse Confetti store and claim the title of ‘Fetti Fave. The winner of SFYTT will be posted on the Reverse Confetti blog on the 15th of each month.

Have a great one! 

Supplies:
Stamps - Forever Fall, Peacock Pretties (Reverse Confetti)
Paper - Kraft Woodgrain (Simon Says Stamp), Fall Reflections (Echo Park)
Ink - Versamark (Tsukineko), Pumice Stone Distress Ink (Ranger)
Miscellaneous - White Embossing Powder (Hero Arts), Twine (PTI), Enamel Dots (Doodlebug Designs)

10.24.2013

Happy Fall


Our weather is finally starting to cool off and feel more like fall, so I thought I'd step out of my normal color zone and make something with a little more seasonal palette. :) I visited my LSS yesterday, and while I was there, I picked up some patterned paper from Echo Park.  I'm not usually drawn to neutrals, but fell in love with the patterns and mix of colors in their collection while I was thumbing through the pack.

To create my card, I started by heat embossing my sentiment from Forever Fall onto kraft woodgrain cardstock.  Next, I adhered the plaid patterned paper to the brown cardstock layer, then wrapped it with twine before attaching it to the card base with pop dots.  


After that, I heat embossed the feather from Peacock Pretties, and trimmed them down before wrapping them together with a twine bow.  To finish up, I attached the feathers to the card front, and added a few yellow enamel dots.


Have a great one!

Supplies:
Stamps - Peacock Pretties, Forever Fall (Reverse Confetti)
Paper - Kraft Woodgrain Cardstock (Simon Says Stamp), Dark Chocolate (PTI), Echo Park Patterned Paper
Ink - Versamark (Tsukineko)
Miscellaneous - White Embossing Powder (Hero Arts), Twine (PTI), Yellow Enamel Dots (Doodlebug Designs)