Showing posts with label Waltzingmouse Stamps. Show all posts

7.29.2015

Happy Birthday


We've been having some crazy weather here today.  One minute the sun is shining and the sky is blue, and the next it's raining so hard you can barely see.  At least these little mini pop up storms only last a few minutes at a time! :) 

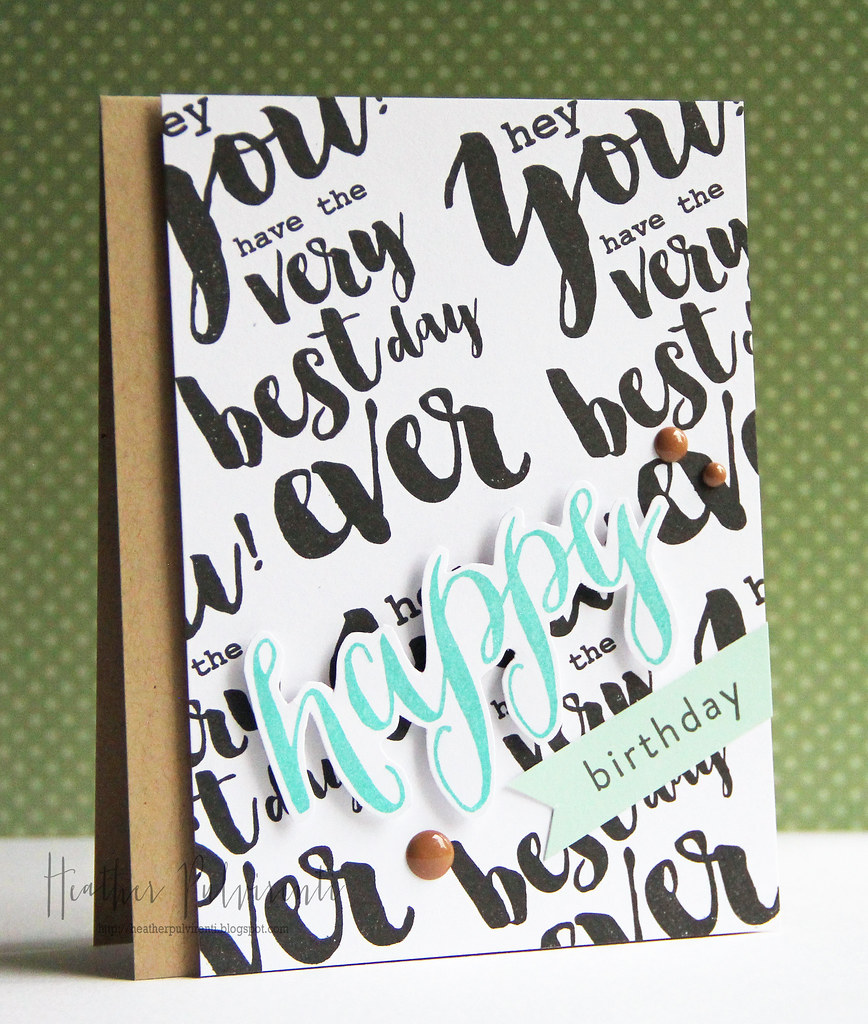
For my card today, I used a couple of different stamp sets from Waltzingmouse Stamps, and paired them up with an unusual color combo.  Call me crazy, but I think it works! :) To create my card, I started by stamping a piece of white CS with the stamp from Best Day in black ink.  I then adhered the stamped panel to a kraft card base.


I then stamped one of the larger key words from the Hello Happy Thanks set in teal, then fussy cut it out once the ink was dry.  Next, I stamped one of the smaller words from the set in black ink onto mint CS, then trimmed one end into a banner shape.  The fussy cut word was adhered to the card front on an angle with pop dots, then covered with clear winks of stella glitter.  To finish up, I adhered the sentiment strip on an angle to the card base, then embellished with brown enamel dots.

Have a great one!

7.18.2015

We Go Together...


Hello! I hope your weekend is off to a great start! :) I'm popping in to share another card I created with the We Go Together set from Waltzingmouse Stamps

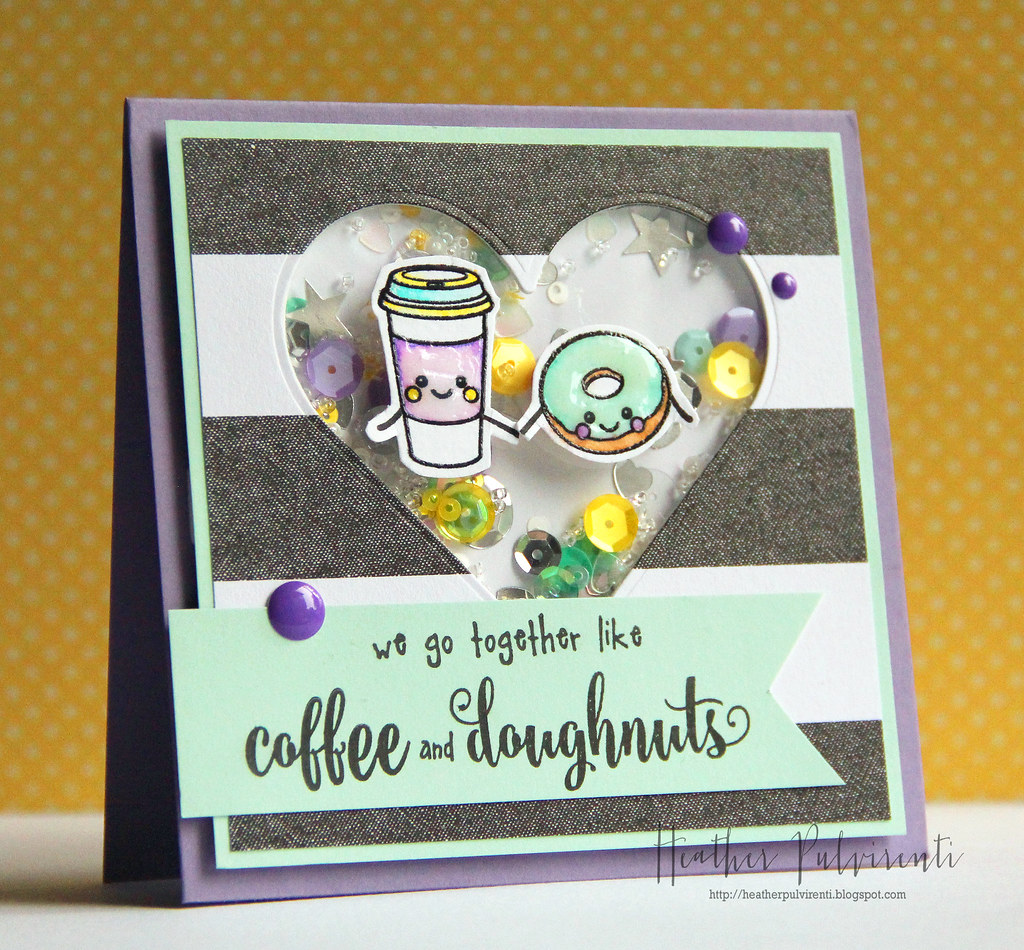
To create my card, I started by cutting a piece of striped patterned paper, then adhering it to a piece of mint CS.  I then die cut a heart out of the top center of each layer before adhering a piece of acetate to the back.  The area surrounding the heart was outlined with foam tape, then the cavity was filled with an assortment of sprinkles before attaching a piece of white CS to the back to secure the shaker.  I then stamped two of the images from We Go Together in versafine ink and heat embossed with clear powder.


I colored in the images using watercolors, then set them aside to dry.  Once they were dry, I fussy cut them out and adhered them to the front of the shaker with pop dots.  The shaker panel was then adhered to a purple card base.  Next, I stamped the sentiment in versafine ink onto mint CS, banner trimmed one end, then adhered it to the card front.  To finish up, I embellished with purple enamel dots. 

Have a great one!

7.07.2015

Doughnut Know What I'd Do Without You


Hello! I'm popping in to share another card I created using the We Go Together and Dinky Doughnuts sets from Waltzingmouse Stamps.  

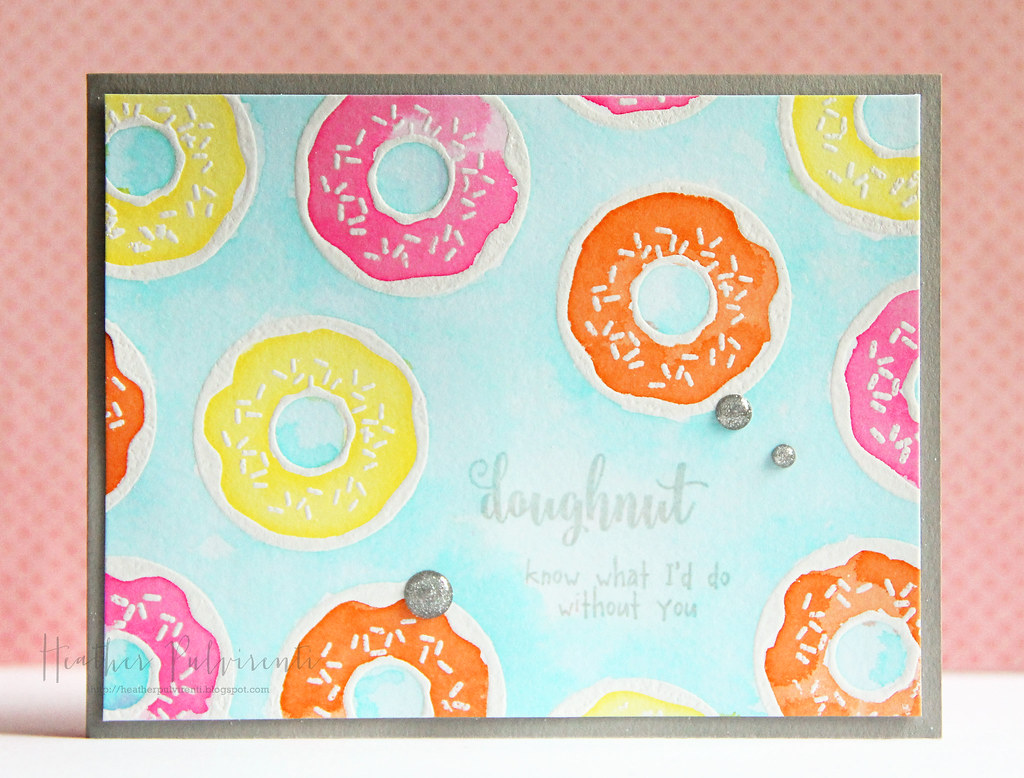
To create my card, I started by stamping the donuts and sprinkles from Dinky Doughnuts in versamark ink before heat embossing with white powder.  I then stamped the sentiment from We Go Together in light gray ink.


I then used various distress inks to watercolor the donuts as well as the background, then set it aside to dry.  Once the white CS layer was dry, I adhered it to a medium gray card base.  To finish up, I embellished with silver glitter enamel dots.

If I had it to do over again, I would have used a darker gray ink to stamp the sentiment.  The light gray ink is just a bit too washed out, even though it is somewhat easier to see in person. :)

Have a great one!

6.22.2015

Sprinkled With Love


Hello! I am so excited to be guest designing for Waltzingmouse Stamps for the next month!! :) I fell in love with this doughnut set as soon as I saw it, so many fun icing combinations are possible... Yum!

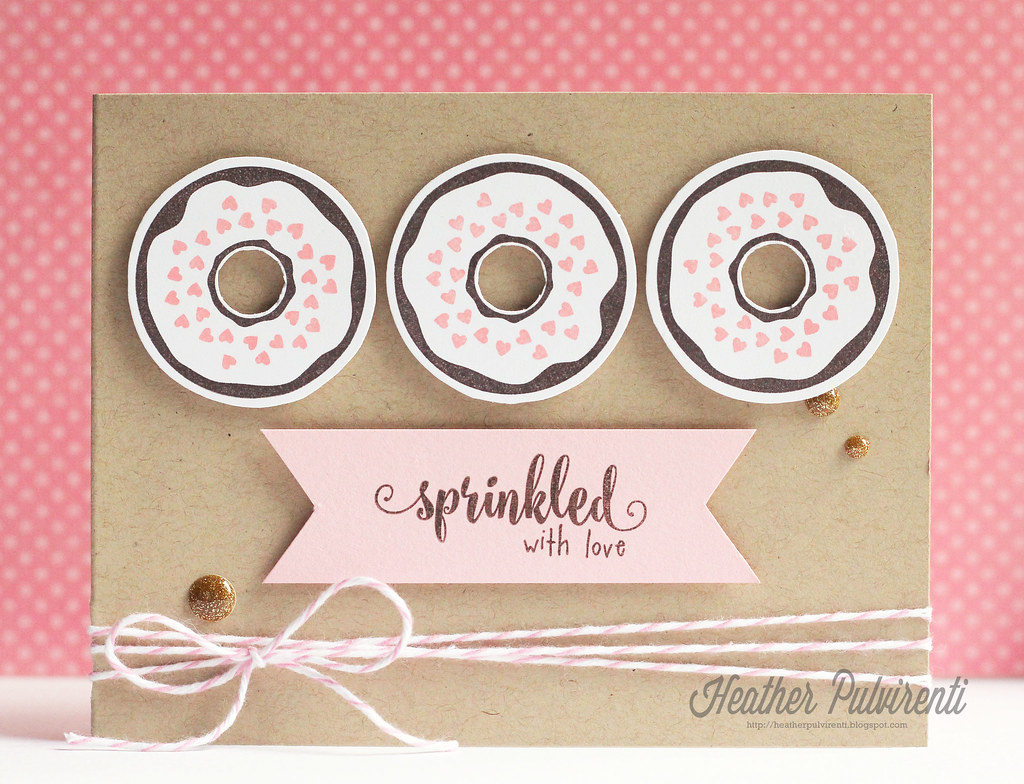
To create my card today, I went back to my CAS roots! I started by stamping three chocolate cake doughnuts (hehe) from the Dinky Doughnuts set, then stamping some light pink heart sprinkles.  I then cut out the doughnuts and centers before adhering them to a kraft card base with pop dots.


One of the sentiments from We Go Together was then stamped in brown ink onto a piece of light pink CS.  The ends were trimmed in a banner shape, then the sentiment strip was adhered to the card front with pop dots.  To finish up, I wrapped some Cotton Candy Divine Twine around the base of the card front and tied it off with a bow before embellishing with gold enamel dots.

Have a great one!