Showing posts with label Shaker Card. Show all posts

2.26.2016

W&W February Release - Love You So Very Much


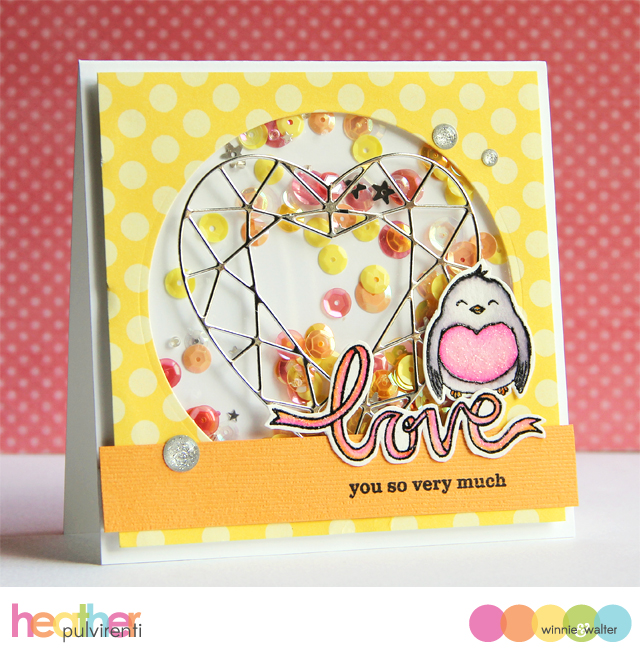
Hello! It's the final day of previews for the new Winnie & Walter release, and today we're showcasing the So Tweet stamp set, the Flawless Heart/Diamond Cutaways and two different sequin selections. 

For my card today, I started by die cutting a circle from a piece of yellow polka dot patterned paper, then attaching a piece of acetate behind the layer to create a window.  I then added foam tape around the backside of the panel, then filled the open area with Winnie Sequins before attaching the panel to a white card base.  Next, I used the Flawless Heart Cutaway on a piece of silver foil CS, then adhered it to the card front.  


Next, I stamped one of the uber adorable bird images from So Tweet in Versafine ink before heat setting with clear powder.  I then used a combination of distress inks and Zig watercolor markers to color the image.  While it was drying, I stamped the love ribbon in Versafine, and heat set it as well in clear powder before coloring it with distress markers.  The remainder of the sentiment was stamped in black ink onto a piece of orange textured CS, which was then adhered to the card front.  To finish up, I fussy cut the sentiment and bird images, adhered them to the card front, then embellished with clear enamel dots.

Would you like to be entered for your chance to win some of the goodies revealed today? Please hop over to the Winnie & Walter blog for more details! :)

Have a great one!

11.05.2015

Countdown to Confetti - Peace, Love & Joy


Hello! It's the 5th of the month, and that means it's time for another round of Reverse Confetti sneak peeks! For my card today, I'm featuring the new Gift Card Holder Tag Confetti Cuts, Hang Ups Confetti Cuts, Holly Jolly Quick Card Panels and the beautiful Layered Snowflake Confetti Cuts from last month's release. 

To create my card, I started by die cutting a large tag shape using the Gift Card Holder Tag Confetti Cuts and window on a piece of light gray CS.  I then used the solid tag die on one of this month's Holly Jolly QCPs, a piece of acetate and a piece of white foam.  I sandwiched the acetate between the light gray CS and the white foam, filled it with sequins and stars, then adhered the QCP to the back to complete the shaker.  I then die cut a tab and hole reinforcer using the Hang Ups Confetti Cuts on green and white CS before securing them to the tag with a red rhinestone brad.


I then cut a bunch of white CS strips in varying widths, then adhered them to a teal card base.  The Layered Snowflake Confetti Cuts were then used on red, white and green CS to create a simple snowflake.  To finish up, the shaker tag was adhered to the card front, then the snowflake was adhered to the tag.


Would you like to be entered for your chance to win one of two $15 gift certificates to RC (one for blog commenters, and one for Facebook commenters)? To enter, simply leave comments on the RC DT blogs, then hop on over to the Reverse Confetti Facebook page. (Full details can be found over on the RC Blog.)

Have a great one!

7.24.2015

Enjoy the Ride


Okay, wow, so I took this pic without wearing my contacts, and it's totally blurry. D'oh!!! Lol I guess I'll be re-taking this photo in the AM.  Hahaha

This shaker card was created using goodies from the Alley Way Stamps.  To create my card, I started by die cutting a circle from a white CS panel, then cutting the bottom off the panel at an angel.  I then added a quick watercolor wash to the white card base, using the window as a guide.  While the card base was drying, I stamped three octopuses from Castaways in versafine ink onto watercolor paper, then heat set them with clear powder.  I then colored the images and set them aside to dry before fussy cutting them out.


Once everything was dry, I stamped the sentiment from Speak Easy through the window, then adhered the die cuts to the card front.  I then adhered acetate to the backside of the window, filled it with sprinkles, then adhered it to the card base with pop dots.  To finish up, I added some washi strips for fun, then embellished with yellow enamel dots.


Have a great one!

7.18.2015

We Go Together...


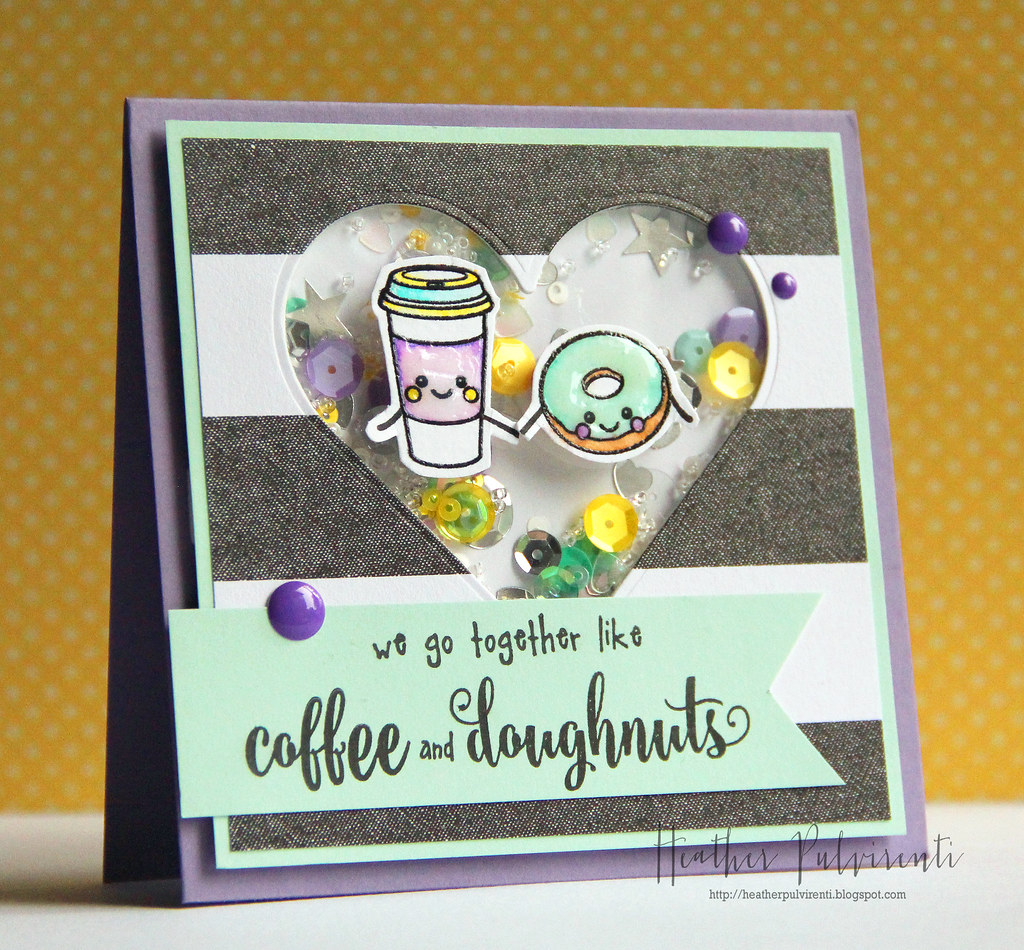
Hello! I hope your weekend is off to a great start! :) I'm popping in to share another card I created with the We Go Together set from Waltzingmouse Stamps. 

To create my card, I started by cutting a piece of striped patterned paper, then adhering it to a piece of mint CS.  I then die cut a heart out of the top center of each layer before adhering a piece of acetate to the back.  The area surrounding the heart was outlined with foam tape, then the cavity was filled with an assortment of sprinkles before attaching a piece of white CS to the back to secure the shaker.  I then stamped two of the images from We Go Together in versafine ink and heat embossed with clear powder.


I colored in the images using watercolors, then set them aside to dry.  Once they were dry, I fussy cut them out and adhered them to the front of the shaker with pop dots.  The shaker panel was then adhered to a purple card base.  Next, I stamped the sentiment in versafine ink onto mint CS, banner trimmed one end, then adhered it to the card front.  To finish up, I embellished with purple enamel dots. 

Have a great one!