Showing posts with label Valentine's. Show all posts

8.24.2017

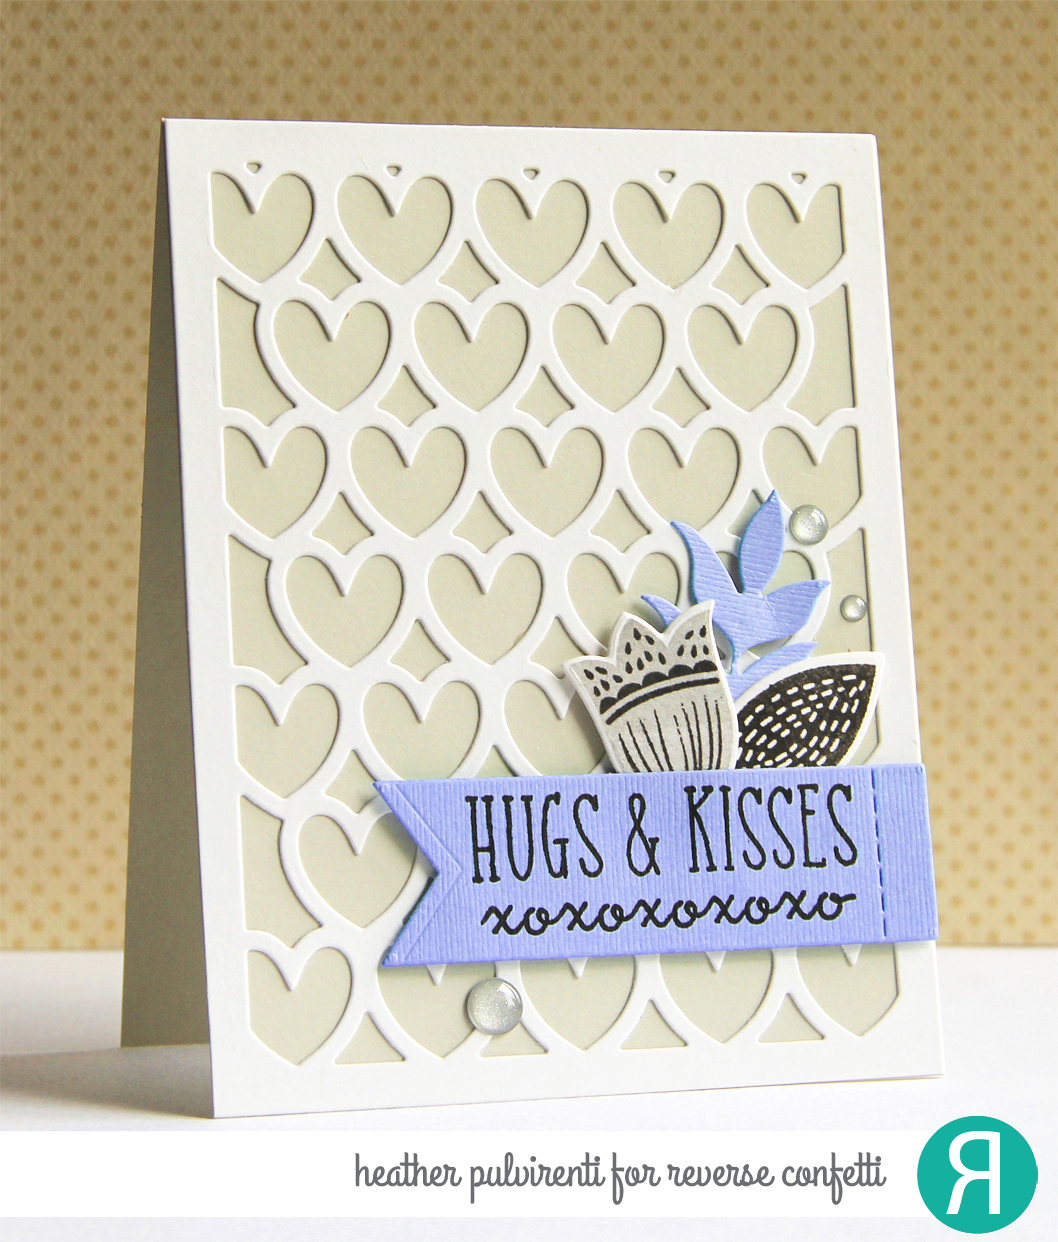
Hugs & Kisses - XOXO


Hello! Just popping in to share a card I created that's a CASE of a card I made way back in January... :) 

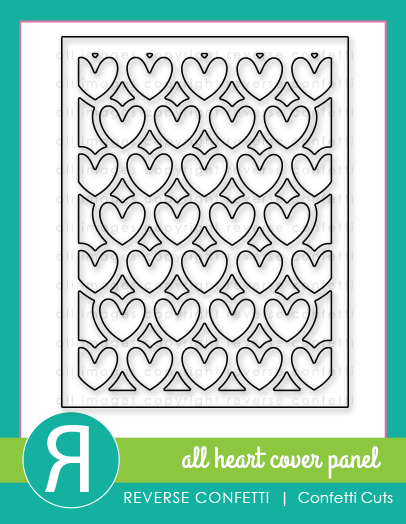
To create my card, I first die-cut a heart background using the All Heart Cover Panel Confetti Cuts on Cloud White card stock and adhered it to a Stone card base. I then die-cut a banner for my sentiment using Bazzill cardstock, and stamped it with two sentiments from Reverse Confetti's Crazy About You stamp set in Versafine ink.


The flower and leaf images from the Blooms ‘n Buds stamp set were stamped in gray and black ink, then cut out with the coordinating Blooms 'n Buds Confetti Cuts. Next, I die-cut a leaf silhouette using the Wheat Confetti Cuts and adhered a simple flower bouquet together.  To finish up, I adhered the sentiment and floral bouquet to the card with foam tape, then embellished with silver enamel dots.


Have a great one!

2.10.2017

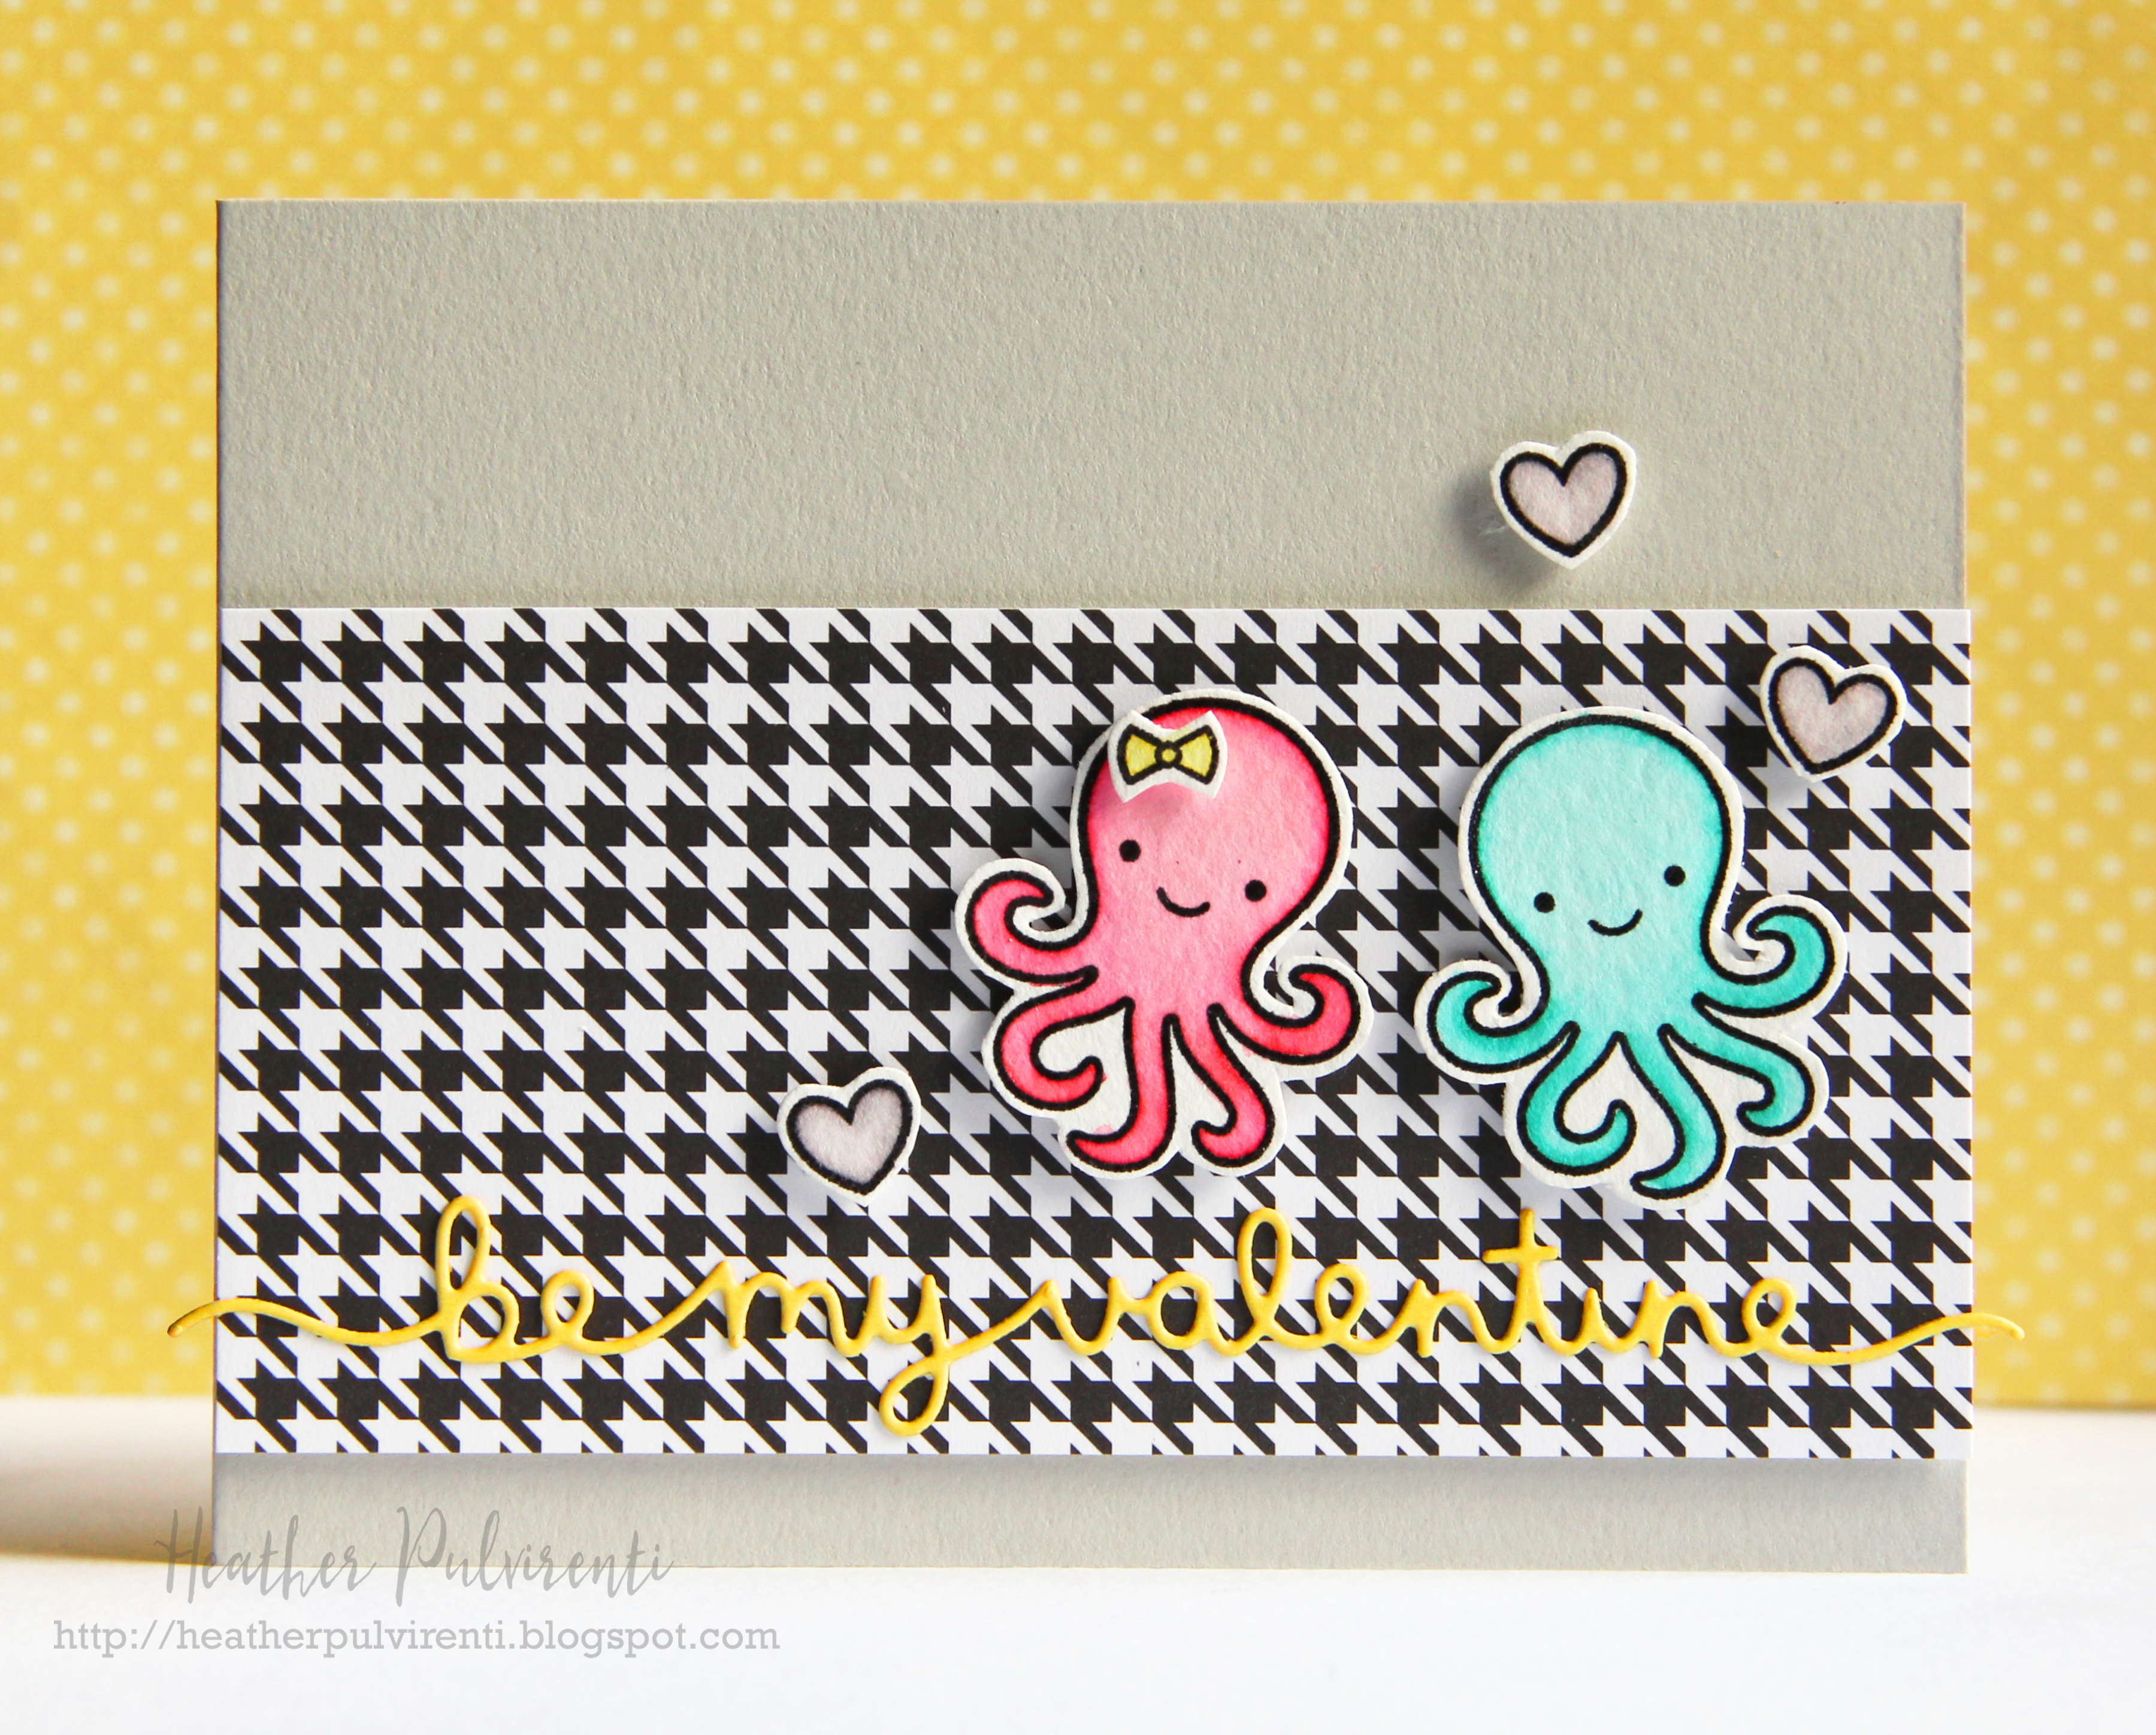
Lawn Fawn Blog Hop - Be My Valentine


Hello! CardMaker Magazine has teamed up today with Lawn Fawn for a fun blog hop showcasing their products. :) Hopefully you've reached my blog by way of Kat Benjamin's blog, but if you'd like to start at the beginning of the hop, click HERE.

To create my card, I started by first stamping the adorable octopus image from Octopi My Heart in Versafine black ink onto watercolor paper, then heat setting it with clear embossing powder.  I then did the same thing with the coordinating itty bitty bow and the largest heart from the set.  Once I had all my images heat embossed, I colored them with Zig Clean Color watercolor markers.


While I was waiting for the images to dry, I cut a large strip of black and white houndstooth patterned paper, and adhered it to a light gray card base using foam tape.  Next, I die cut a piece of yellow cardstock using the Be My Valentine Border die, and adhered it to the card front.  Once the stamped images were dry, I fussy cut them out (though coordinating dies are available) and adhered them to the card front with foam tape.  Quick, easy, and super cute! :)

Thanks for stopping by today, next up on the hop is Stephanie Gold's blog. (To see the full list of today's participants, please click HERE.)

Have a great one!

2.08.2017

RC Blog Hop - XOXO


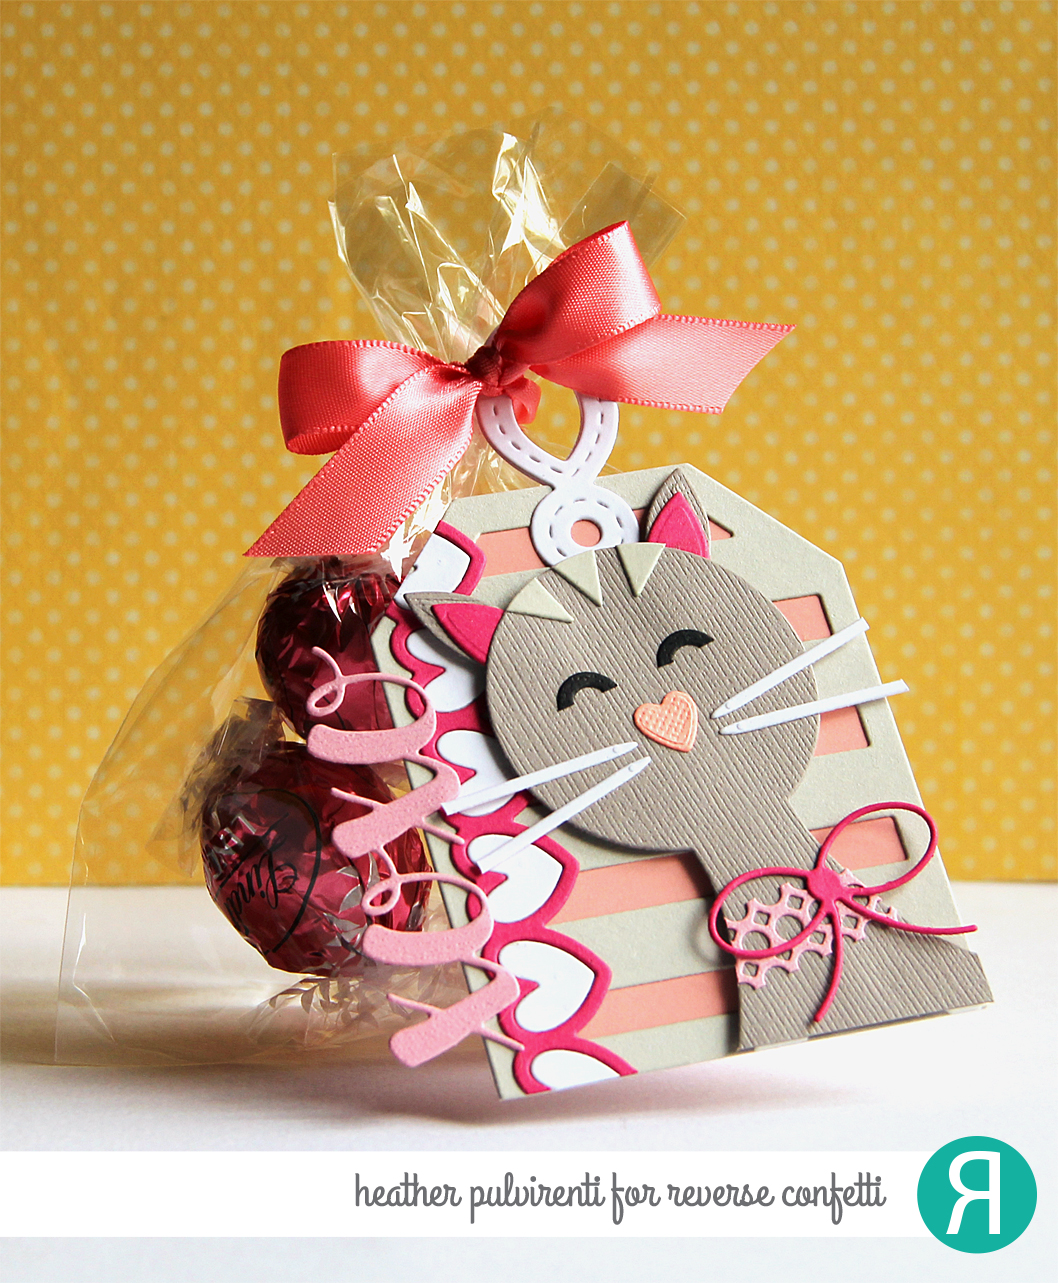
Hello! It's the 8th of the month, which means it's Reverse Confetti blog hop time! :) Since Valentine's Day is just around the corner, I thought it'd be fun to create a little treat and tag combo.  My daughter is obsessed with cats, so I used just about every Confetti Cut known to man to create this little critter! :) Haha... Okay, so I didn't really use *that* many, but I did end up using about 8 different dies to create the kitty for my tag. :)

To create my tag, I first started by die cutting my tag base using the Topped Off Tag Confetti Cuts on coral CS, then topping it with a piece of gray CS die cut with the Big Stripes Tag Layer Confetti Cuts.  I then used the Hang Ups Too Confetti Cuts on a piece of white CS and adhered the die cut to the tag base.  Next, I used the XOXO Hearts Confetti Cuts on white, pink and fuchsia CS to create the heart strip and XOXO sentiment.  The heart strip was attached to the tag front leaving a little room on the left edge to adhere the sentiment.  Once both pieces were attached to the tag, I then went back and glued in all the little white hearts.


Next up, my kitty. :) The cat body was created using the Hanging Out Confetti Cuts on a piece of dark gray textured CS.  I then used the Double Panel Circles Confetti Cuts on light pink CS, trimmed off the top and bottom of the die cut, then adhered it to the cat base to create a collar.  The bow was then die cut using the Tagged Tote Confetti Cuts on fuchsia CS and adhered to the cat.  Next, I started working on die cutting all the pieces for the cat's body and face.  The whiskers were die cut using the Office Edges Confetti Cuts on white CS.  The cat's nose was created by die cutting a heart using the Layered Snowflake Confetti Cuts on coral CS.  The ears were then created using the leaf die from the Flowers for Mom Confetti Cuts on gray and fuchsia CS and adhering the pieces together.  The eyes were created by die cutting the smaller open circle from the Tag Me Confetti Cuts set on black CS.  The furry accent pieces were created using the pumpkin's eyes from the Halloween Bits Confetti Cuts set on light gray CS.  Once all the pieces were die cut, I then assembled them together using adhesive.  To finish up, the cat die cut was adhered to the tag front using foam tape, then attached to the small chocolate gift using a coral satin bow.

Whew! A lot of little steps to create that kitty, but it's so worth it because I just *know* my kiddo is going to love it. :)

Thanks for stopping by today, here's the full list of today's hop participants if you'd like to check out their awesome projects:


Have a great one!

2.01.2017

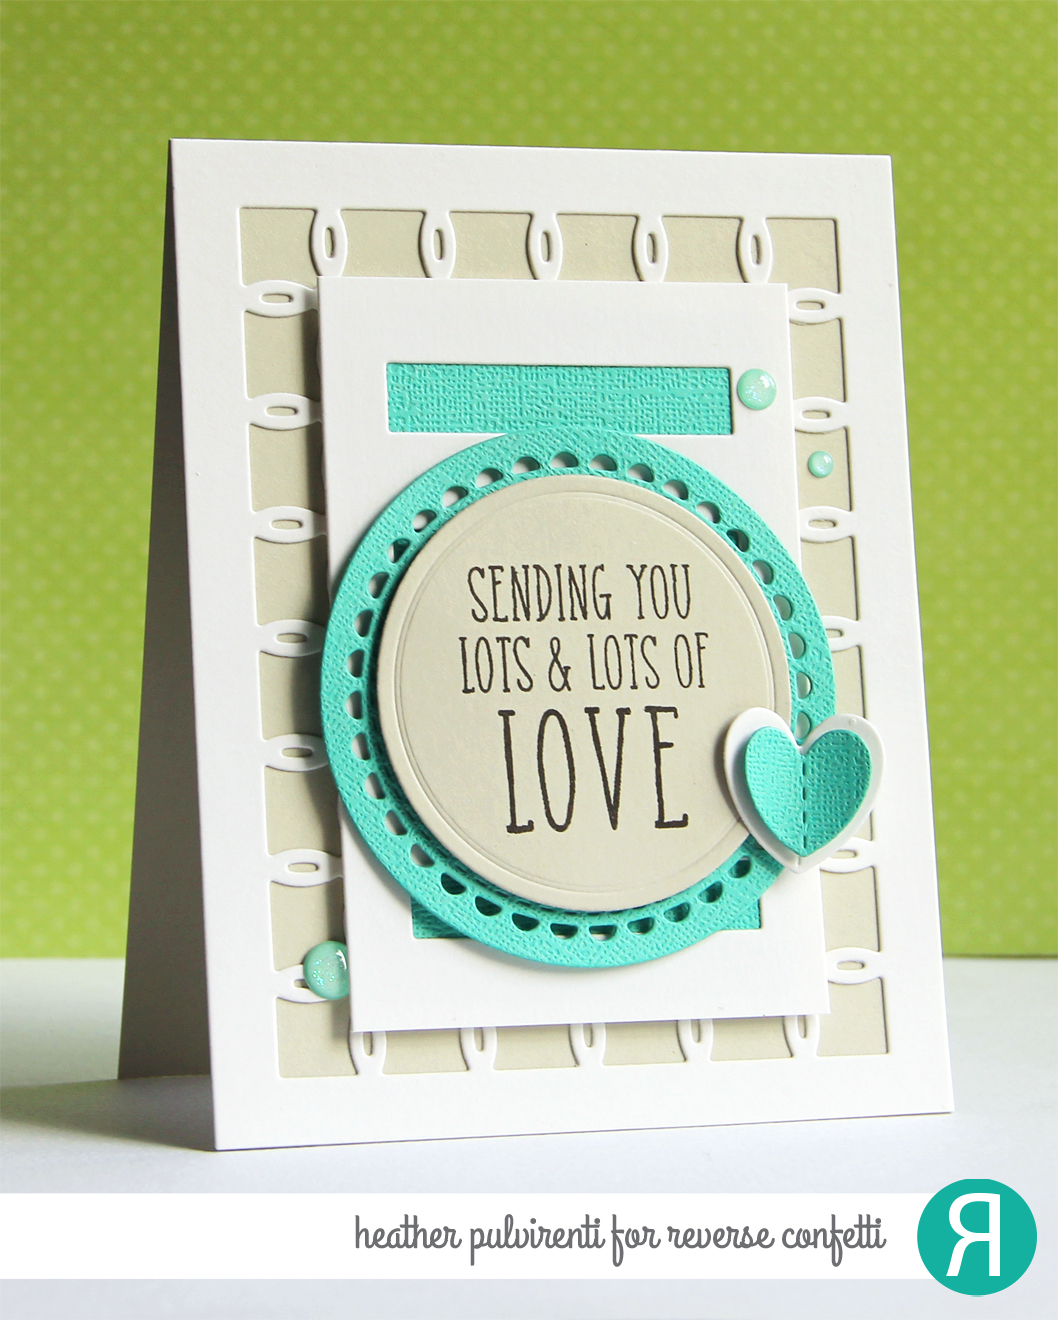
February SFYTT - Sending You Love


Hello! It's the 1st of the month, which means it's time for a new Reverse Confetti sketch challenge (SFYTT).  This month's sketch was really CAS, and I think it will lend itself to many different interpretations.  I can't wait to see what everyone comes up with! :)

To create my card, I started with a Stone card base, then topped it with a piece of Cloud White cardstock that had been die cut with the Linked Circles Confetti Cuts.  I then used the Tall Stripe Panel Confetti Cuts on a piece of Cloud White cardstock and adhered the die cut to a piece of teal textured cardstock.  


Next, I used the Lacy Scallop Circle Confetti Cuts on teal textured cardstock, and the largest circle from the Circles 'n Scallops Confetti Cuts on Stone cardstock.  The sentiment from Crazy About You was stamped in black ink onto the gray die cut circle before adhering it to the scallop die cut with foam tape.  The circle panel was then adhered to the strip panel layer with foam tape, and attached to the card front with yet more foam tape (are you seeing a trend here? lol).  To finish up, I die cut two hearts using the XOXO Hearts Confetti Cuts dies, foam taped them together, then attached them to the card front with more foam before embellishing with aqua enamel dots.


Want to play along with us this month and be entered to win a gift certificate to the RC store? Please see the Reverse Confetti blog for full details! :)

Have a great one!

1.16.2017

Riley & Co. Blog Hop - Be Mine


Hello! CardMaker Magazine has teamed up today with Riley & Co. for a fun blog hop showcasing their products. :) Hopefully you've reached my blog by way of Lisa McGushion's blog, but if you'd like to start at the beginning of the hop, click HERE.

To create my card, I started by first stamping the single heart image from the Valentine/St. Patty's Accessories stamp set in Versafine ink onto watercolor paper to create a heart pattern.  I then covered the hearts with clear embossing powder before heat setting them.  I then used Zig Clean Color watercolor markers to color in the hearts.


While the watercolored hearts were drying, I stamped Riley in Versafine ink, heat set the image with clear powder, then die cut the image with the coordinating Riley die.  Once the image was die cut, I colored it with Zig Clean Color watercolor markers and set it aside to dry.  Next, I stamped one of the sentiments from the Valentine/St. Patty's Accessories stamp set in black ink onto aqua cardstock, then colored the open letters with a white gel pen.  Once Riley was dry, I adhered the image to a white cardstock circle using foam tape, then attached the banner to Riley's body.  The heart background panel was then adhered to a yellow card base with foam tape.  To finish up, the white cardstock circle was attached to the card front, I trimmed off the excess hanging over the edge and then embellished with blue enamel dots.

Thanks for stopping by today, next up on the hop is Michelle Pearon's blog. (To see the full list of today's participants, please click HERE.)

Have a great one!

1.08.2017

RC Blog Hop - Hugs & Kisses


Hello! It's the 8th of the month, which means it's Reverse Confetti blog hop time *AND* all the goodies we've been showcasing for the past few days are now available! :) 

To create my card, I started by first adhering a piece of pink patterned paper from the True Love paper pad to a Cloud White card base.  I then die cut a piece of white cardstock using the All Hearts Cover Panel Confetti Cuts, and adhered it to the card base.  I then covered some of the negative die cut heart pieces with Stickles and set them aside to dry before adhering them into some of the open spots on the card front.


Next, I die cut the xoxo using the XOXO Hearts Confetti Cuts on Iced Aqua cardstock and attached it to the card base.  One of the sentiments from Crazy About You was then stamped in black ink onto a Stone cardstock banner.  To finish up, the banner was adhered to the card front with foam tape, and I embellished with aqua gems.


I hope you've enjoyed hopping with us today. Be sure and hop with us on the 8th of every month for more Reverse Confetti inspiration! 

Here's the full list of today's hop participants:


Have a great one!

2.26.2016

W&W February Release - Love You So Very Much


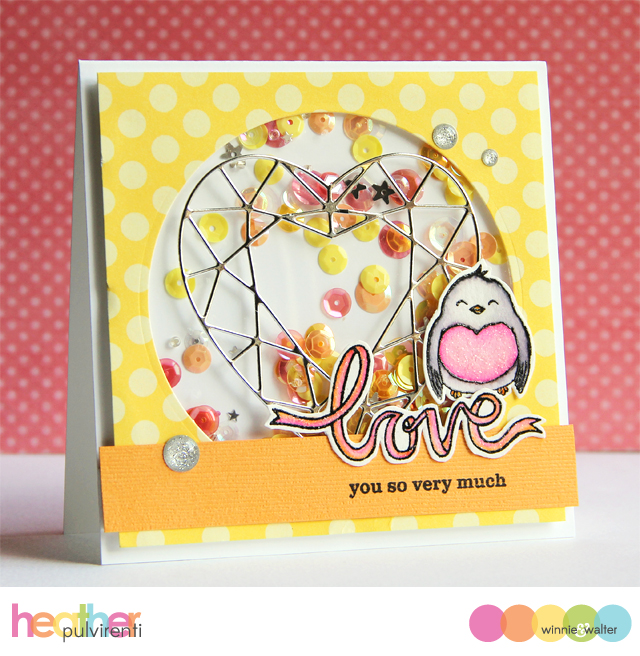
Hello! It's the final day of previews for the new Winnie & Walter release, and today we're showcasing the So Tweet stamp set, the Flawless Heart/Diamond Cutaways and two different sequin selections. 

For my card today, I started by die cutting a circle from a piece of yellow polka dot patterned paper, then attaching a piece of acetate behind the layer to create a window.  I then added foam tape around the backside of the panel, then filled the open area with Winnie Sequins before attaching the panel to a white card base.  Next, I used the Flawless Heart Cutaway on a piece of silver foil CS, then adhered it to the card front.  


Next, I stamped one of the uber adorable bird images from So Tweet in Versafine ink before heat setting with clear powder.  I then used a combination of distress inks and Zig watercolor markers to color the image.  While it was drying, I stamped the love ribbon in Versafine, and heat set it as well in clear powder before coloring it with distress markers.  The remainder of the sentiment was stamped in black ink onto a piece of orange textured CS, which was then adhered to the card front.  To finish up, I fussy cut the sentiment and bird images, adhered them to the card front, then embellished with clear enamel dots.

Would you like to be entered for your chance to win some of the goodies revealed today? Please hop over to the Winnie & Walter blog for more details! :)

Have a great one!

1.20.2016

Reverse Confetti Special Release - You Warm My Heart


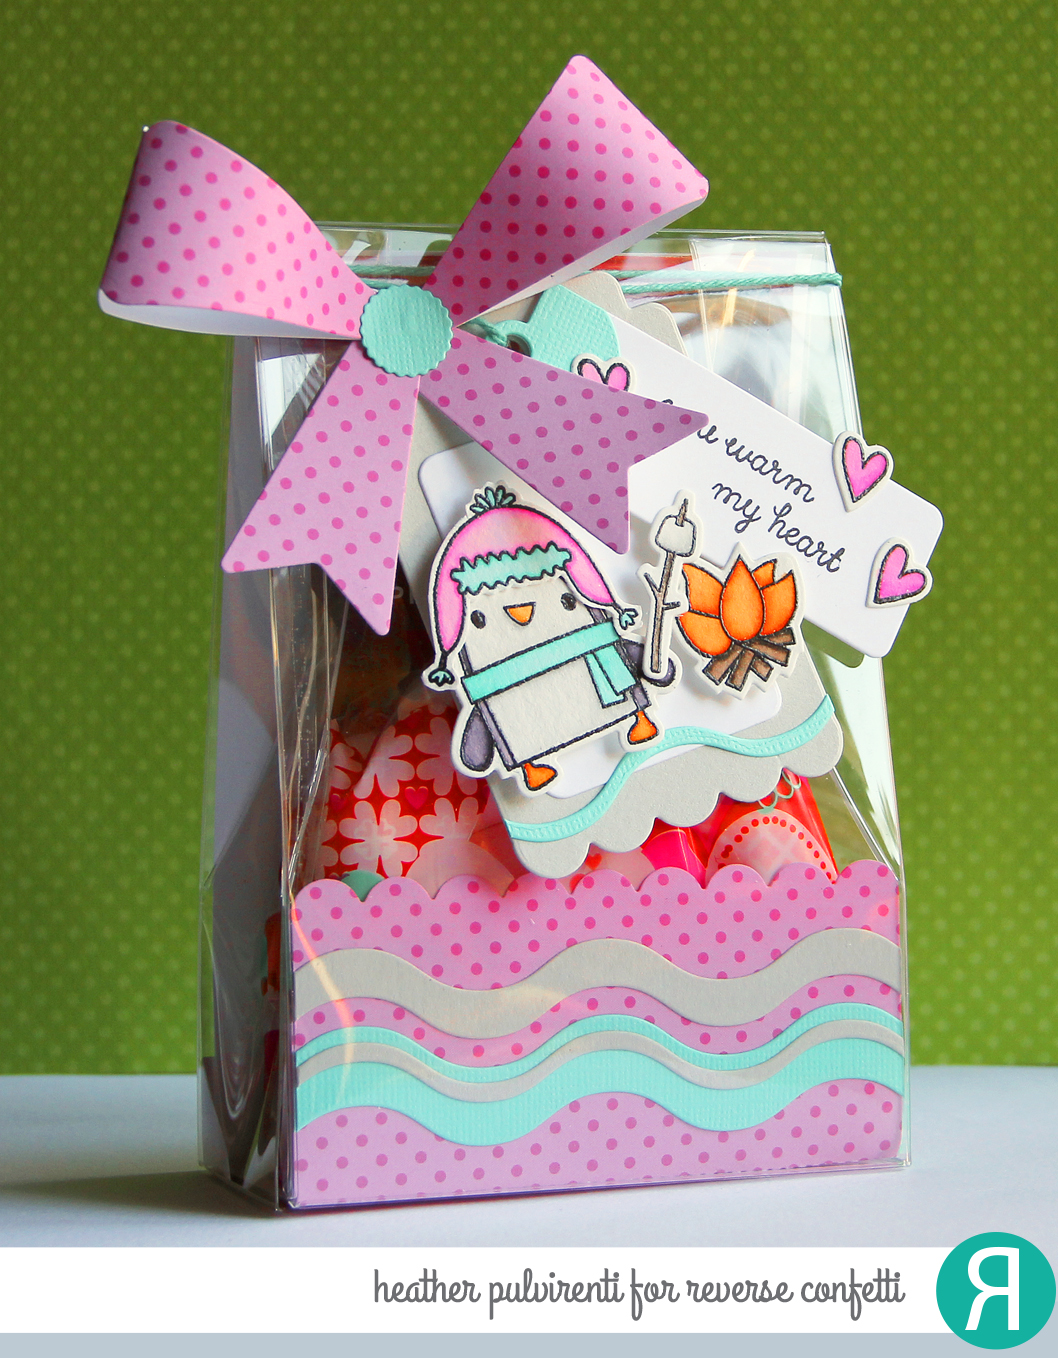
Hello and happy Wednesday! The temps here have been steadily declining, and it's been downright cold lately.  I probably shouldn't be surprised, seeing as this is winter and all, but I'm missing the 40 degree temps we had just a few days ago. Lol (You know it's bad when 40 is warm!) We're gearing up for our first *real* winter storm of the season, and weather forecasters are predicting we'll be getting a good amount of snow.  That's a bummer for me as I'll have to wear something other than flip flops (haha), but our daughter *loves* the snow.  I thought this little gift would be perfect for her after she's done freezing out in the cold. ;)

We're having a special Reverse Confetti release today, and showcasing items from the new In the Bag Bundle, which includes the In the Bag Confetti Cuts and 6 clear plastic boxes, as well as the new Layered Bow Confetti Cuts.  These goody holders the perfect size for a treat!

To create my item, I first started by using the In the Bag CC on a piece of pink polka dot paper to create the liner at the base of the package.  I also used the Doin' the Wave CC on light gray and aqua CS, and adhered the pieces to the pink dot paper.  (The die cut piece comes out of the machine with perforated lines to help give nice, sharp creases, and I used a little bit of Scor-tape on the bottom to secure it to the clear packaging.)  I then added a couple packages of Ghiradelli hot cocoa and some pink heart marshmallows inside the bag before closing the top.


I then used the Thanks Tag CC on gray and white CS to create a tag, adhering the pieces together then topping with another wave die cut.  Several of the images from S'more Love were then stamped on watercolor paper using Versafine ink, then heat set with clear embossing powder before being colored with watercolor markers.  While the images were drying, I used the Layered Bow CC on pink polka dot paper and aqua CS, then assembled the bow.  A small coordinating tag was then cut from white and aqua CS, and stamped with one of the sentiments from S'more Love.

Once the images were dry, they were die cut with their coordinating S'more Love CC and adhered to the two tags.  The smaller tag was adhered directly on top of the larger tag, then the two tags were secured to the bag with aqua twine.  To finish up, I adhered the bow to the bag using Scor-tape.


Well, that wraps it up for me today.. Here's a list of all of today's participants:


Have a great one!

1.08.2016

RC Blog Hop: I Love You


Hello! It's the 8th of the month, which means it's Reverse Confetti blog hop time! :) The hop started over on the Reverse Confetti blog, and you should have made it here from Audrey’s blog. (If you'd like to start at the beginning of the hop, please click here.) 

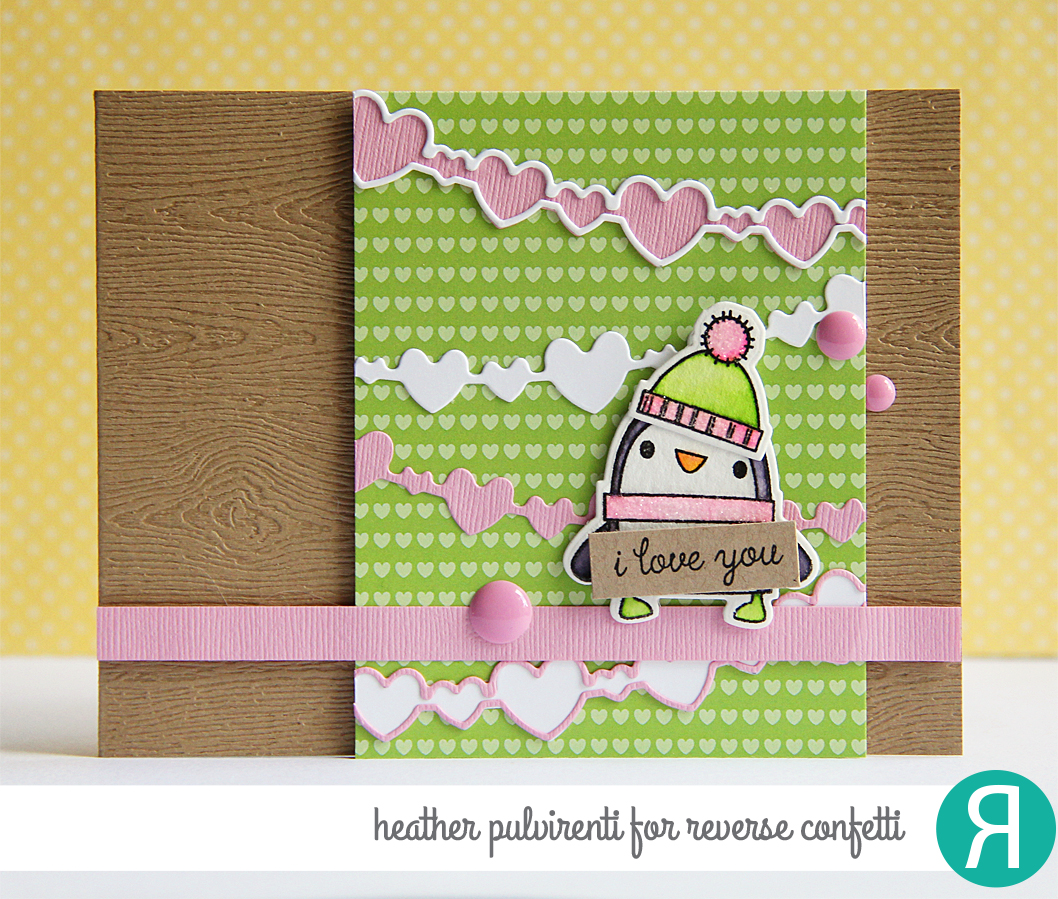
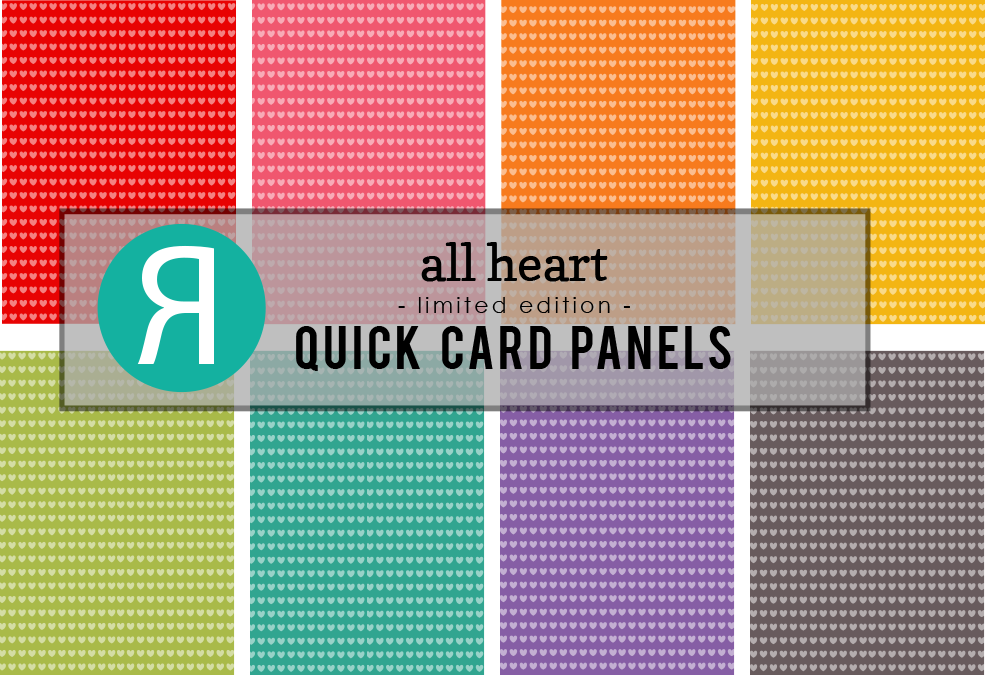
To create my card, I started by die cutting a bunch of heart banners using the Double Heart Garland Banner CC on white and pink card stock, then gluing together the outlines with a solid of the opposite color.  I then adhered the banners to one of the All Heart QCP, and trimmed off the excess.  Next, I stamped one of the uber cute penguins from S'more Love in Versafine ink, then heat setting it with clear embossing powder.


The penguin and coordinating hat were colored with watercolor markers, then set aside to dry.  While I was waiting, I stamped part of a sentiment onto kraft card stock in black ink then trimmed it down to size.  The green heart QCP was adhered to a kraft woodgrain card base with foam tape, and a pink card stock strip was added across the front of the card.  Once the images were dry, I die cut them out with the S'More Love CC, and adhered them together.  The penguin was then adhered to the card front with foam tape.  To finish up, I adhered the sentiment to the penguin, added Sugared Stickles to accent the hat and scarf, then embellished with pink enamel dots.


I hope you've enjoyed hopping with us today. Be sure and hop with us on the 8th of every month for more Reverse Confetti inspiration! Now it’s time to hop on over to Lisa’s blog. If you get lost along the way, you can find the hop order and list of all the participating designers over on the Reverse Confetti blog.
Have a great one!