7.08.2017

Reverse Confetti Blog Hop - Party Like There's No Tomorrow


Hello! It's the 8th of the month, which means it's Reverse Confetti blog hop time *AND* all the goodies we've been showcasing for the past few days are now available! Yaaas! :) 

To create my card, I started by first die cutting a piece of Stone card stock using the Squared Off Cover Panel Confetti Cuts, and adhering a piece of 6x6 Under the Umbrella patterned paper behind it.  I then turned the die cut on an angle and adhered it to a Cloud White card base.  Next, I cut two 1/4" strips of Baby Blue card stock and adhered them to the card front above and below the die cut.


The dinosaur and leaf images from No Tomorrow were stamped in Versafine ink onto watercolor paper before heat setting with clear embossing powder.  The images were then die cut using the No Tomorrow Confetti Cuts and colored with watercolor markers.  Once the images were dry, they were adhered to the card front using foam tape.  To finish up, the sentiment was stamped in Midnight ink onto the smallest Pierced Round Top Layers Confetti Cuts, adhered to the card front with foam tape, then black enamel embellishments were added for extra interest.


I hope you've enjoyed hopping with us today. Be sure and hop with us on the 8th of every month for more Reverse Confetti inspiration! 

Here's the full list of today's hop participants:


Have a great one!

7.07.2017

RC Sneak Peek Day 3 - Mahalo


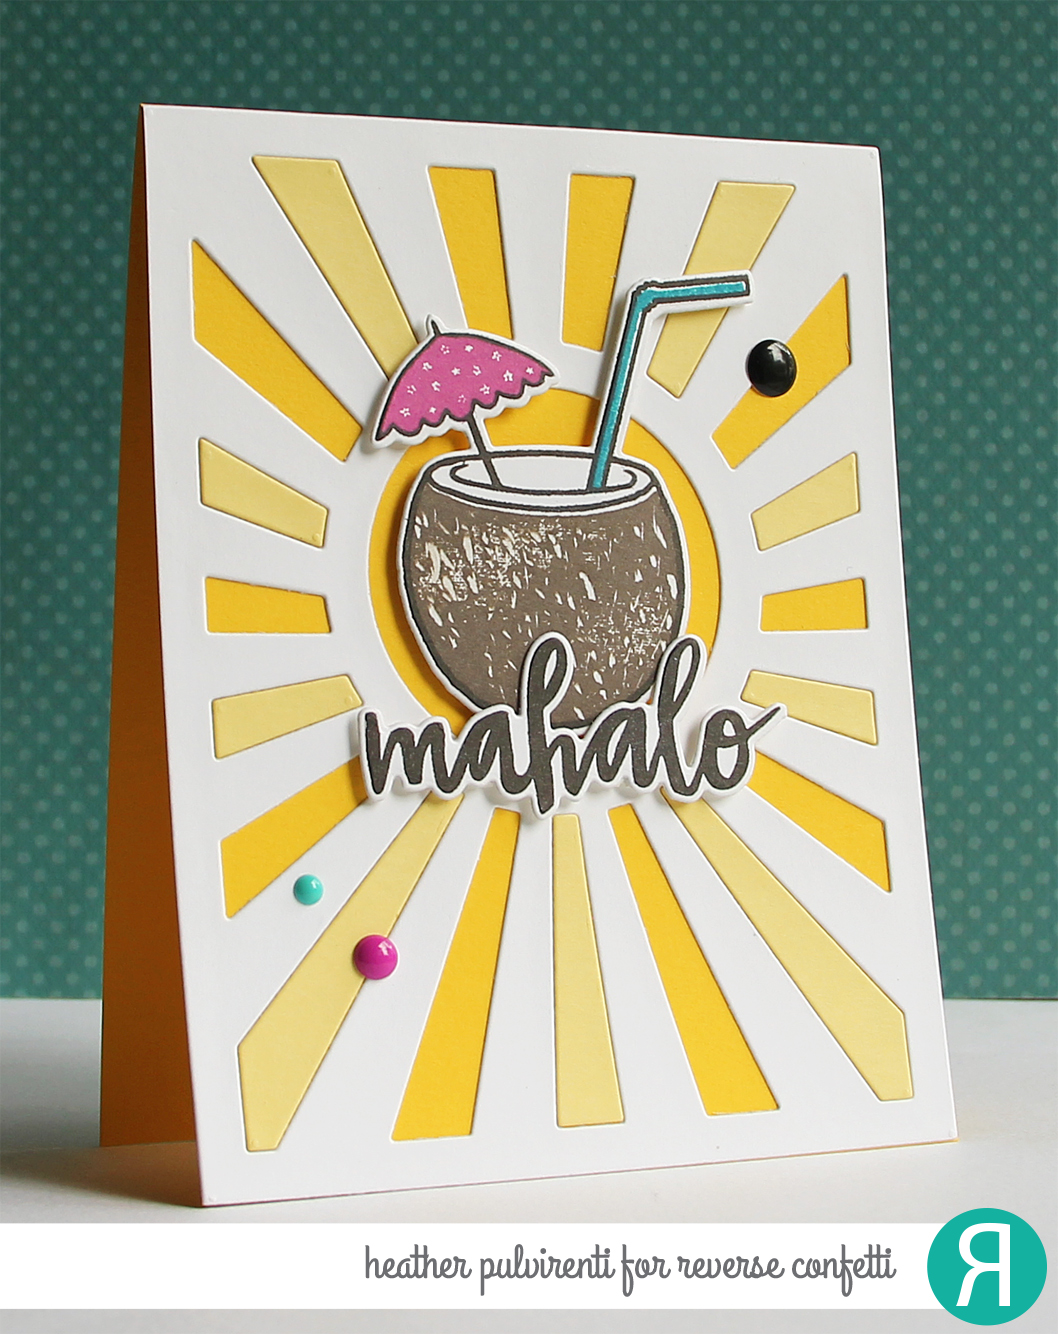
Hello! It's the 3rd day of sneak peeks for the Reverse Confetti July Release, and today I'm sharing this sweet card created with the new Mahalo stamp set & coordinating dies.

To create my card, I started by first die cutting a sunburst background using Cloud and Buttercup card stocks.  I then adhered the white sunburst background to a Bumblebee Yellow card base and filled in some of the rays using the Buttercup die cut pieces.  Next, I stamped the coconut drink outline image from Mahalo in Midnight ink onto Cloud card stock, then die cut using the coordinating Mahalo Confetti Cuts dies.


I wanted the image to have a vintage/retro feel, so when I was inking up the coconut solid image with Dark Roast ink, I didn't thoroughly cover the image with ink (and also used the sharp end of my bone folder to scrape some little notches into the inked surface).  I then stamped the umbrella using Magenta ink, and the straw using Abyss ink.  To finish up, I stamped and die cut the sentiment from Mahalo in Midnight, adhered the image to the card base with foam tape and added some enamel dots for interest.


Would you like to be entered for your chance to win one of two gift certificates to RC (one for blog commenters, and one for Facebook commenters)? To enter, simply leave comments on the RC DT blogs, then hop on over to the Reverse Confetti Facebook page. (Full details can be found over on the RC Blog.)

Have a great one!

7.06.2017

RC Sneak Peek Day 2 - Hope Your Day is Magical


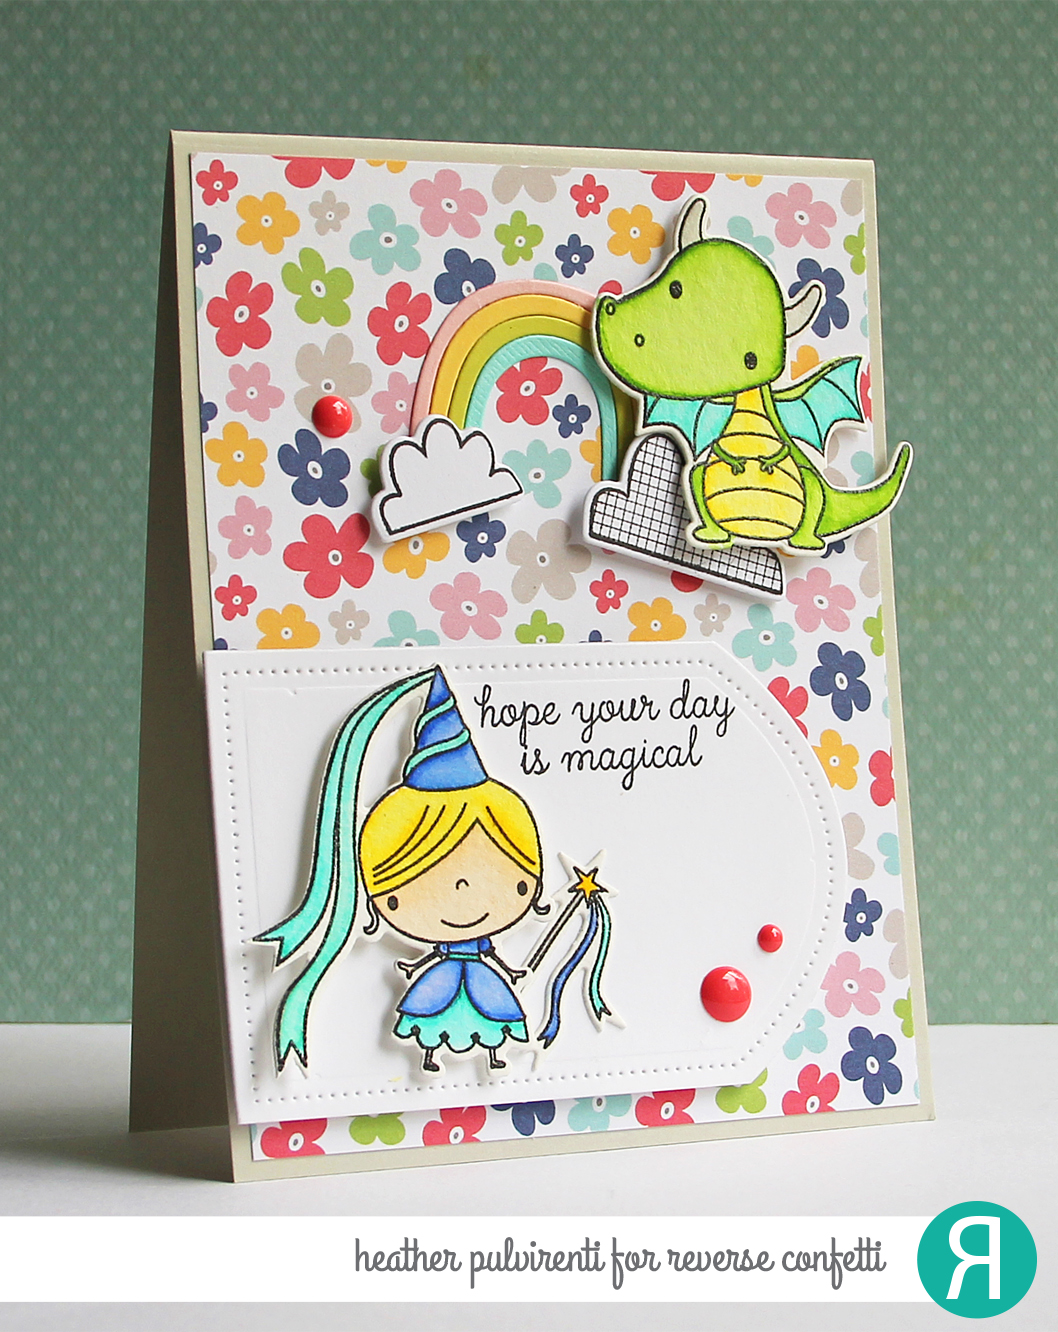
Hello! It's the 2nd day of sneak peeks for the Reverse Confetti July Release, and today I'm sharing this sweet card created with the new Magical Day stamp set & coordinating dies, the 6x6 Under the Umbrella paper pad, and the Pierced Round Top Layers Confetti Cuts.

To create my card, I started by first adhering a piece of floral Under the Umbrella patterned paper to a Stone card base.  Next, I stamped the princess, dragon and wand images from Magical Day in Versamark ink onto watercolor paper, then heat set the images with clear embossing powder.  Once the images were heat set, they were then colored with Zig Clean Color markers and set aside to dry.


While the images were drying, I die cut a rainbow and clouds using the Weather it Together set, adhered them together and attached them to the card front.  A piece of Cloud white card stock was then die cut using the Pierced Round Top Layers Confetti Cuts, then stamped with one of the sentiments from Magical Day.  The princess and wand images were adhered to the white panel, which was then adhered to the card front with foam tape.  To finish up, I adhered the dragon to the card base and embellished with red enamel dots.


Would you like to be entered for your chance to win one of two gift certificates to RC (one for blog commenters, and one for Facebook commenters)? To enter, simply leave comments on the RC DT blogs, then hop on over to the Reverse Confetti Facebook page. (Full details can be found over on the RC Blog.)

Have a great one!

7.05.2017

RC Sneak Peek Day 1 - Hello


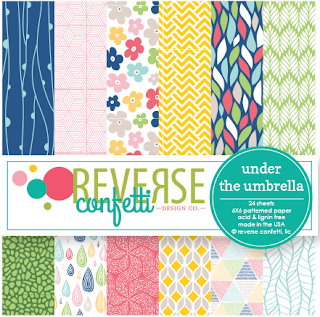
Hello! It's the first day of Reverse Confetti July sneak peeks, and today I'm sharing a card created using the new Build a Bunch stamp set, the Hello Square Confetti Cuts die set, and my newest 6x6 patterned paper pad, Under the Umbrella.  

To create my card, I started by first adhering a piece of wavy patterned paper from the Under the Umbrella 6x6 pad to a Cloud White card base. I then used the Hello Square Confetti Cuts on a piece of Stone card stock, and adhered the die cut to the card front.  Next, I stamped one of the leaf images from Build a Bunch in Midnight ink, then die cut them with the Build a Bunch Confetti Cuts


The largest flower from the set was stamped in Versamark ink onto Iced Aqua card stock, and heat set with white embossing powder before die cutting the shape.  To finish up, the leaves and flower were adhered to the card front and I embellished with black enamel dots.


Have a great one!

6.29.2017

W&W June Release - The World is a Better Place...


Hello! It's the third day of Winnie & Walter June Release previews, and on my blog today is this cheery birthday card. :)

I created this card by first spraying the Scenery: Spotty Creative Screenings with yellow color mist, then laying a piece of white cardstock on top.  Once dry, the cardstock was adhered to a white card base.  Next, I used the largest die from the Big Balloon Cutaways on light gray cardstock.  Next, sentiments from Party On with Evelin T Designs and Happy Birthday to You were stamped in black ink onto the card front.  


I then adhered the negative balloon die cut to the card base using foam tape.  The In a Word: Birthday Cutaway was used on aqua cardstock, and the die cut was attached to the balloon die cut.  To finish up, I embellished with enamel dots and added a yellow die cut bow to the balloon.

Would you like to be entered for your chance to win some of the goodies revealed today? Please hop over to the Winnie & Walter blog for more details! :)

Have a great one!

6.28.2017

W&W June Release - Happy Birthday


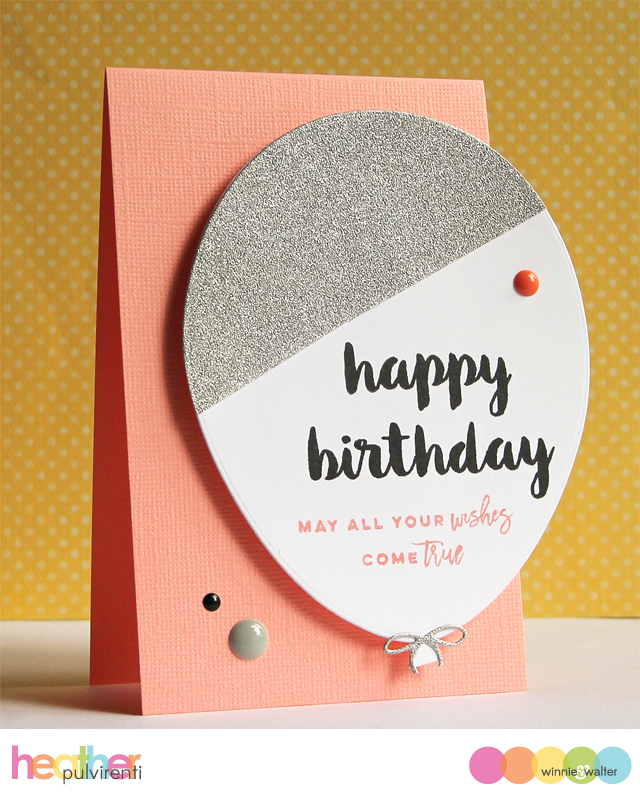
Hello! It's the second day of Winnie & Walter June previews, and today I'm sharing a card I created using this ridiculously cute balloon die! :) 

To create my card, I started by first creating a coral card base and cutting off 3/4" from one edge.  I then die cut the balloon from white cardstock using the largest balloon die from the Big Balloon Cutaways.  Next, I die cut a smaller piece of silver cardstock to create my balloon topper and the balloon bow.  Once they were die cut, they were adhered to the balloon.


The happy birthday from Happy Birthday to You was then stamped in black ink onto the balloon, and the smaller sentiment from Sentimental: Birthday was stamped in coral ink.  To finish up, the balloon was adhered to the card front using foam tape, then enamel dots were added for interest.

Would you like to be entered for your chance to win some of the goodies revealed today? Please hop over to the Winnie & Walter blog for more details! :)

Have a great one!

6.27.2017

W&W June Release: Happy Birthday Wishes


Hello! It's the first day of previews for the new Winnie & Walter release, and today my card is showcasing the new In Bloom: Carolina's Florals with Angelica Suarez & Mini Scenery: Spotty stamp sets.

To create my card, I started by first creating a white card base, then trimming off 3/4" from one edge.  I then stamped the card front with the Mini Scenery: Spotty stamp set in black ink.  Next, I die cut a circle from light gray striped paper, then stamped it with two of the sentiments from In Bloom: Carolina's Florals with Angelica Suarez using black ink.


I then stamped a bunch of floral images from In Bloom: Carolina's Florals with Angelica Suarez using black, teal, blue, gray and yellow ink, then cut them out using the coordinating In Bloom: Carolina's Florals with Angelica Suarez Cutaways.  Once all the images were die cut, they were arranged and adhered to the circle die cut using foam tape and liquid adhesive.  To finish up, the die cut circle was adhered to the card base using foam tape, then I embellished with yellow enamel dots.

Would you like to be entered for your chance to win some of the goodies revealed today? Please hop over to the Winnie & Walter blog for more details! :)

Have a great one!

6.16.2017

Prickley Pear Blog Hop - Bigger Than Your Fear


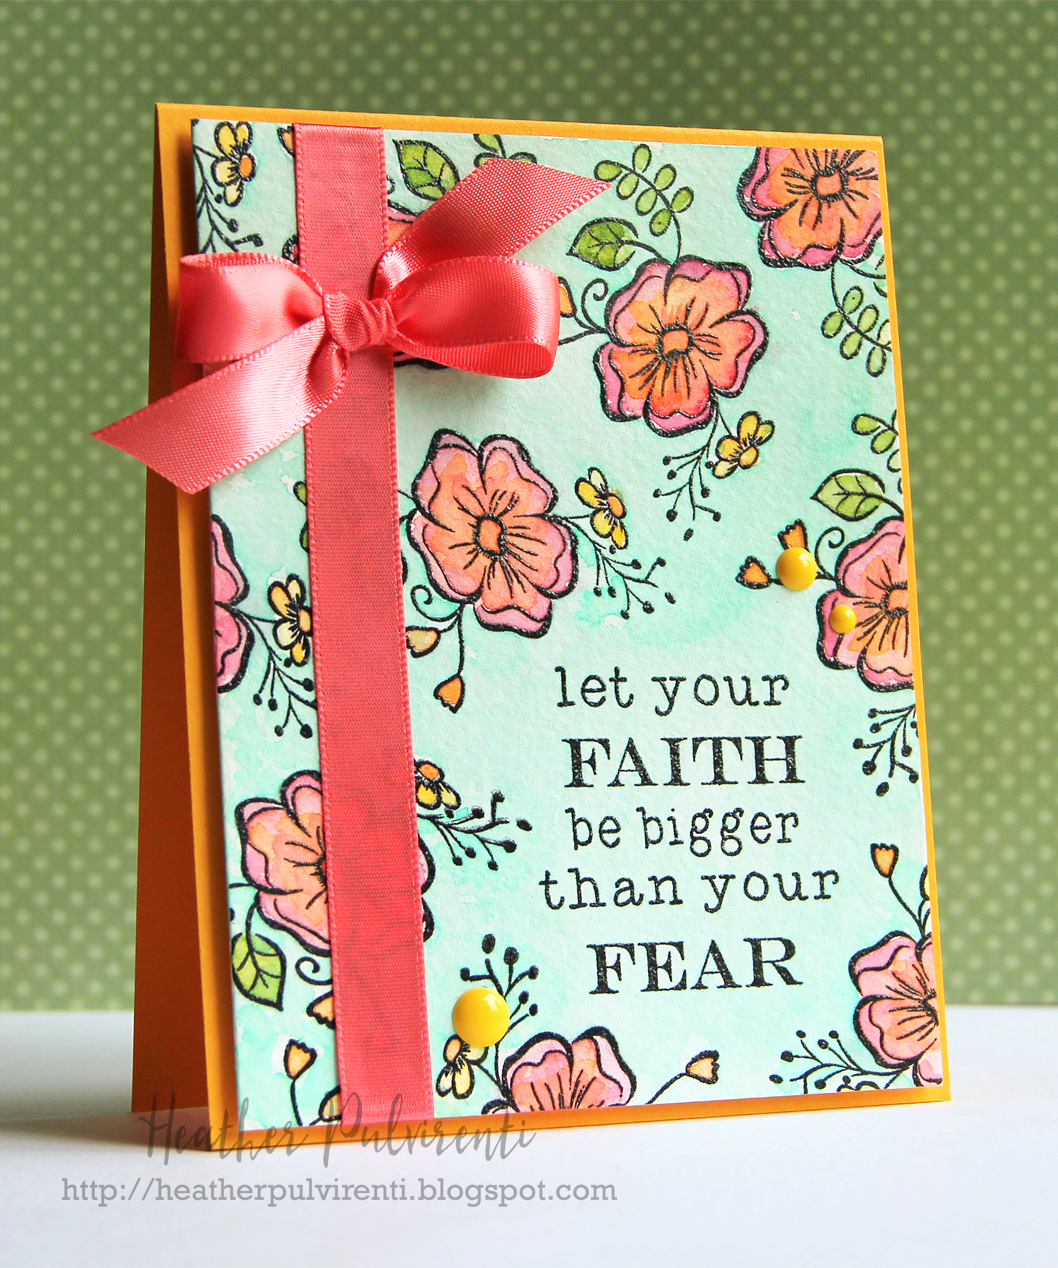
Hello! CardMaker Magazine has teamed up today with Prickley Pear for a blog hop to showcase some of their adorable products. :) Hopefully you've reached my blog by way of Lisa McGushion's blog, but if you'd like to start at the beginning of the hop, please click HERE.

To create my card, I first started by cutting a piece of watercolor paper to 4 x 5.25", and stamping it with the Let Your Faith Be Bigger stamp set in Versafine black ink.  I then stamped the remainder of the panel with the Petunia stamp set in Versafine black ink.  Once the images were stamped, I then heat set them using clear embossing powder.


The images were then colored with watercolor paints, and zapped with the heat gun to reduce dry time.  Once the panel was dry, a coral ribbon was adhered to the front, and the panel was then adhered to a light orange card base using foam tape.  To finish up, I embellished with yellow enamel dots.

Want to be entered for your chance to win a $20 gift certificate? Head on over to the Prickley Pear blog for full details... :) Thanks for stopping by today, next up on the hop is Michelle Pearson's blog. (To see the full list of today's participants, please click HERE.)

Have a great one!
6.08.2017

RC Blog Hop - Hello


Hello! It's the 8th of the month, which means it's Reverse Confetti blog hop time, and I'm sharing a card today using the uber cutie panda from the Miso Happy stamp set.

To create my card, I started by first creating a Midnight card base.  I then die cut a piece of Cloud White cardstock using the Striped Frame Cover Panel Confetti Cuts.  I then cut a piece of swiss cross patterned paper from the Free Spirit paper pad, and adhered it behind the window before securing it to the card front.


Next, I stamped the uber cute panda from Miso Happy in black ink before die cutting it with the Miso Happy Confetti Cuts.  I then colored the panda's nose, and secured him to the card front with foam tape.  The sentiment was die cut from Buttercup cardstock using the Hello & Thanks Label Confetti Cuts, popped up with foam tape and secured to the card front beneath the panda.  To finish up, I embellished with green enamel dots.


I hope you've enjoyed hopping with us today. Be sure and hop with us on the 8th of every month for more Reverse Confetti inspiration! 

Here's the full list of today's hop participants:


Want to be entered to win a prize? Up for grabs is a $15 GC to the Reverse Confetti store! :) To enter, all you have to do is leave a comment on the participant's blogs from today's hop by Sunday.  A winner will be chosen at random, and posted on the RC blog.  Please see here for full details...

Have a great one!