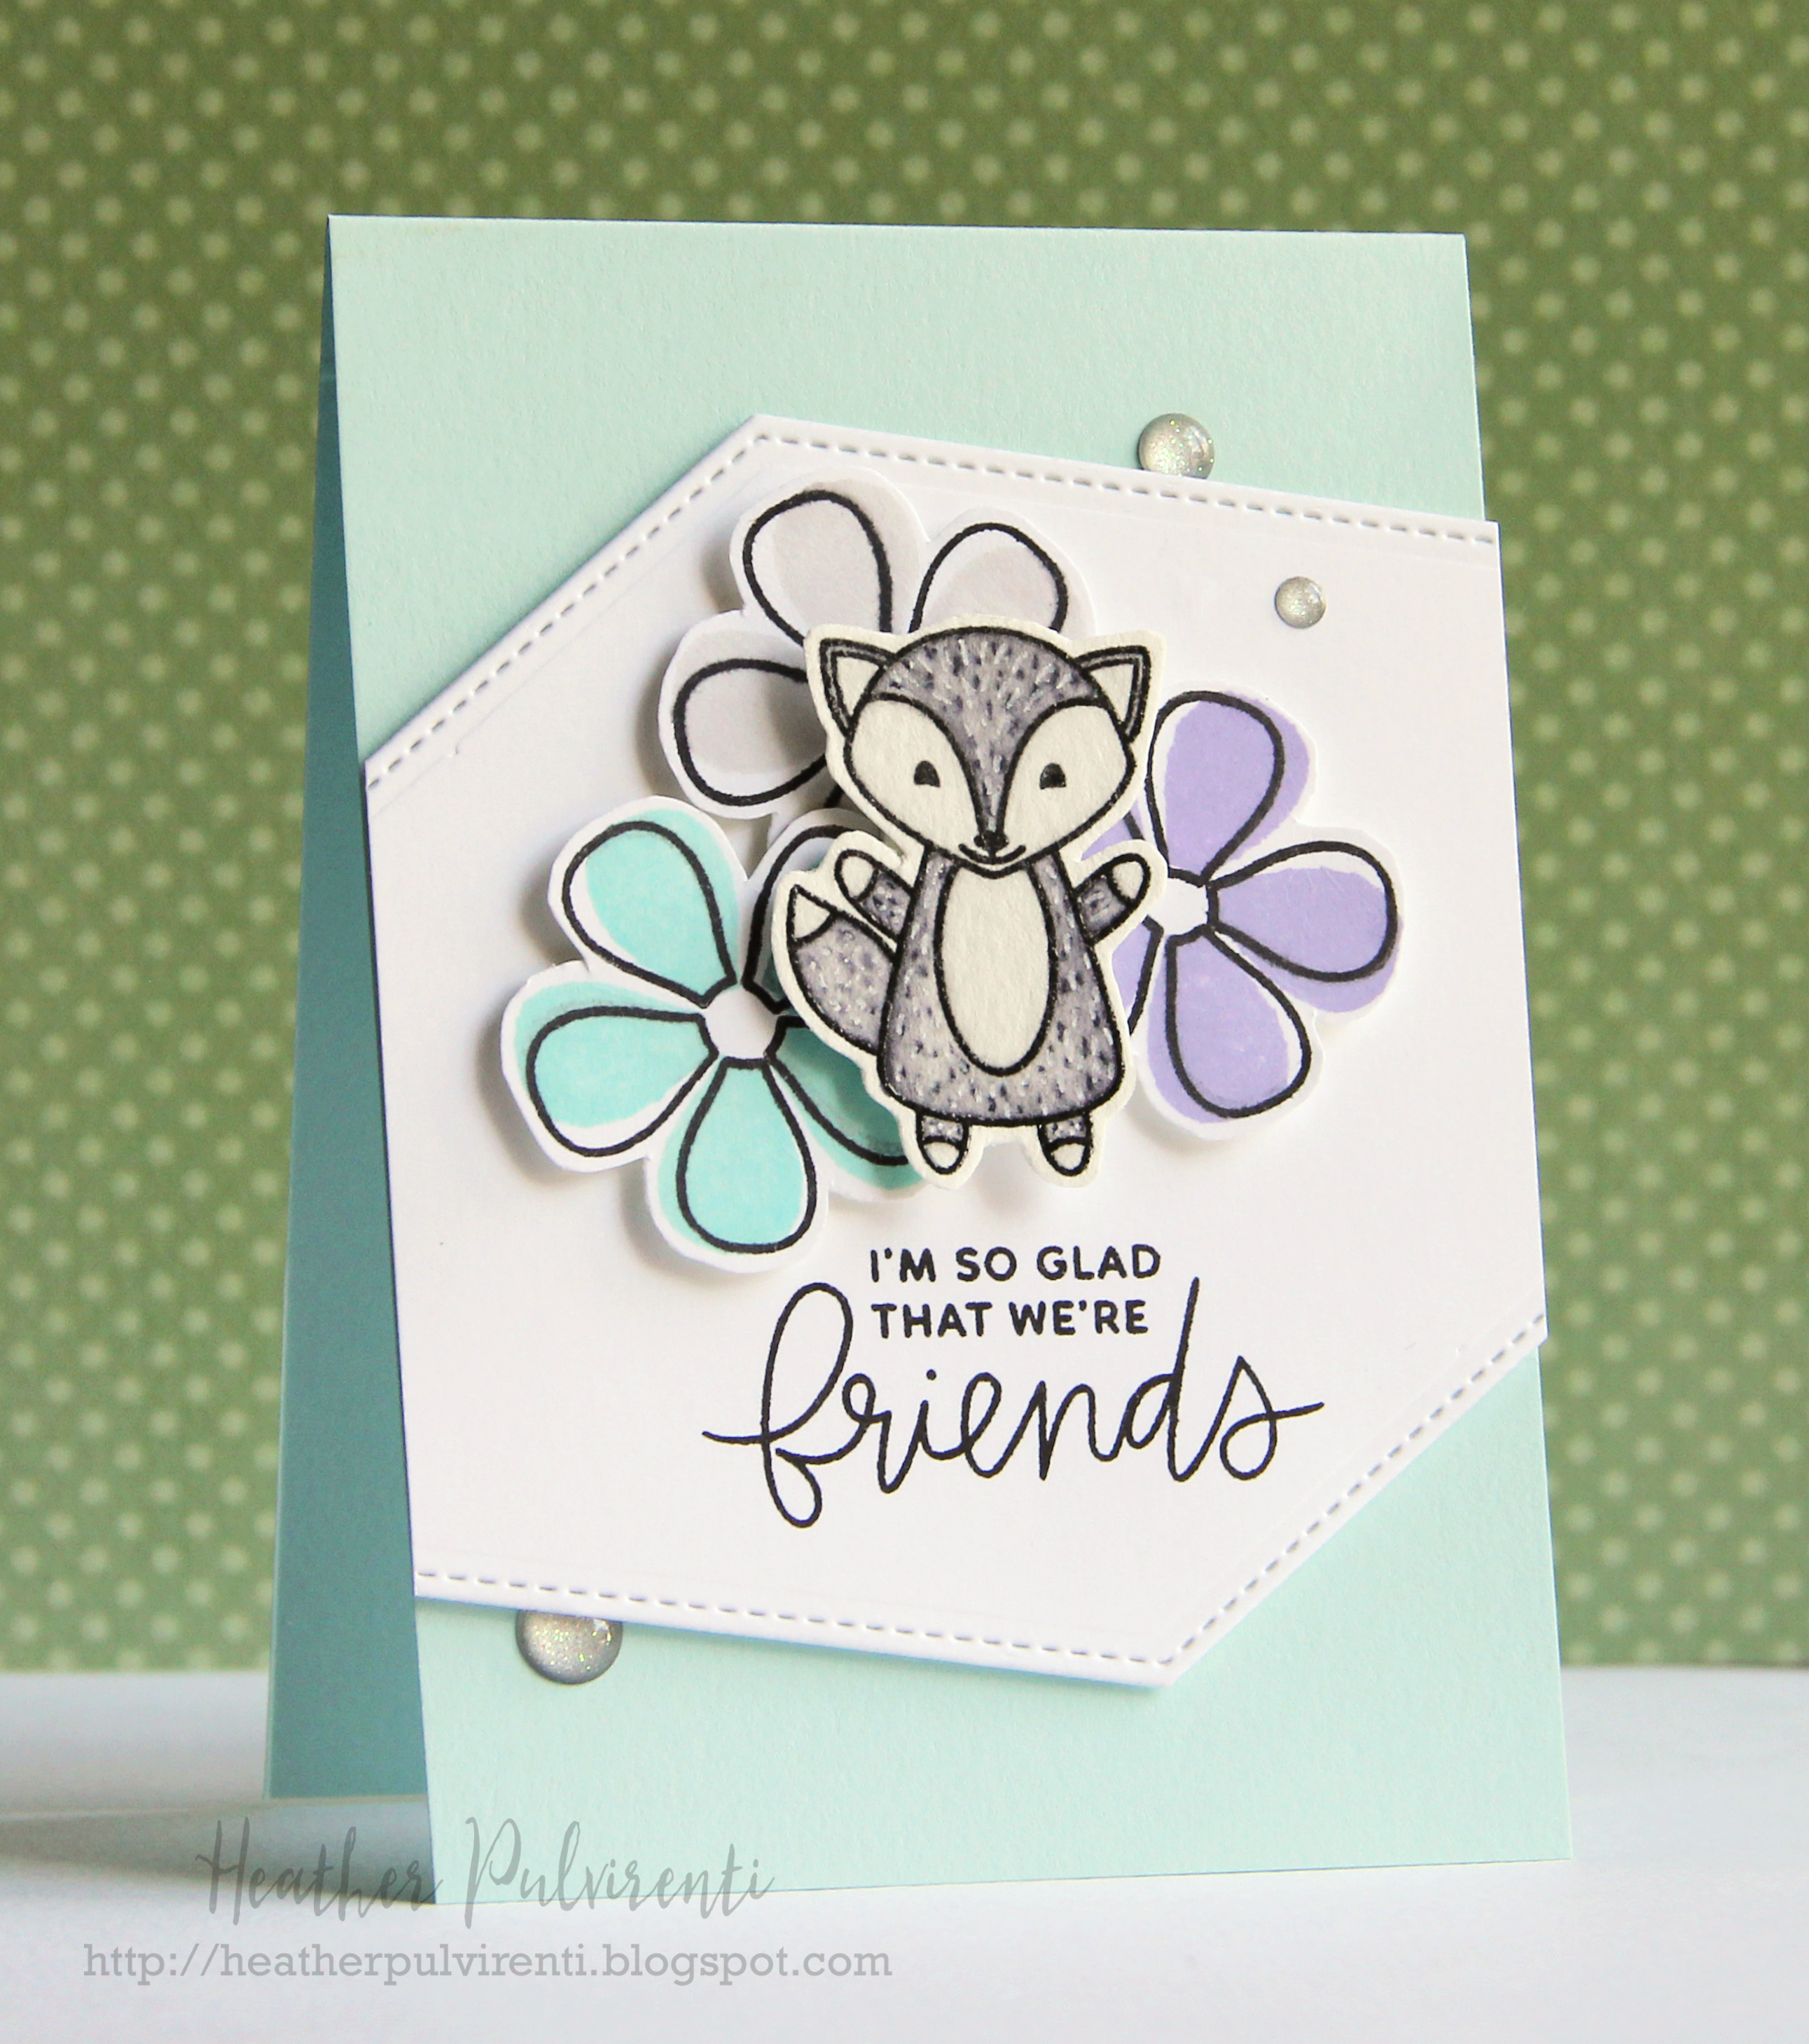
One of my favorite things to do is look for ways to use stamps other than for their originally intended purpose. The flowers on this card were actually created by using the tiny vase image from the Friends Forever stamp set. A little repeat stamping in a circle and BOOM, now you have flowers. Lol, I love that! :)
To create my mini-card, I started by first using one of the edge dies from the Stitched Notes on the top and bottom of a piece of white cardstock. One of the sentiments from Friends Forever was then stamped in Versafine black ink onto the white die cut panel. Next, I stamped one of the fox images from Fox Friends in Versafine black ink onto watercolor paper, then heat set it with clear embossing powder. The image was then die cut and colored with Zig Clean Color markers and set aside to dry.
I then stamped the tiny vase outline image from Friends Forever in Versafine black ink onto white cardstock in small circles to create the flowers. Next, I went back and offset stamped the solid images onto the flowers before fussy cutting them out. The sentiment stamped panel was adhered to a sea glass cardstock card base (3.5x5") with foam tape, and the flowers were adhered on top. To finish up, I adhered the fox to the card front and embellished with silver enamel dots.
Thanks for stopping by today, next up on the hop is Kat Benjamin's blog. (To see the full list of today's participants, please click HERE.)
Have a great one!
Hello! I'm so excited to be participating in today's Pretty Pink Posh May Release Blog Hop! Paulina is one of the sweetest people on the planet, so I couldn't help but jump at the chance to be a part of her hop when asked! :)
To create my card, I started by first cutting a piece of watercolor paper down to 4 x 5.25", then added a watercolor wash on the background before zapping it with my heat tool. Once it was dry, I added some splatters of a darker shade of the same watercolor, then set that aside to dry completely. While I was waiting, I stamped the larger cloud outline from Rainy Days in Versafine ink, then stamped it with one of the happy faces. Call me crazy, but you can't help but smile when looking at those cheery clouds, they are just too cute! :) After I finished stamping the three clouds and faces, I die cut the images using the Rainy Days dies. Next, I stamped the bird image from Birdie Notes in Versafine ink and heat embossed it with clear powder before coloring it in with Zig Clean Color Markers.

While the bird was drying, I stamped the umbrella image in a light lime green (though it looks more yellow in my pic), and die cut the pieces using their coordinating dies before adhering the pieces together. The Stitched Essentials 1 die was then used to cut out a yellow polka dot tag. Next, the sentiment was stamped in black ink (love that font!), and an aqua satin ribbon/bow was adhered to the top of the layer. The watercolor panel was then adhered to a kraft woodgrain card base with foam tape. Once the bird image was dry, I glued the 4mm Strawberry Burst Sequins to her chest to give it some sparkle. I then began assembling the pieces and adhering them as shown. To finish up, I embellished with enamel dots and 6mm Clear Droplets.
: : : Giveaway alert : : : Would you like to be entered to win one of two $25 Pretty Pink Posh gift certificates?? All you have to do to be entered is leave a comment on any of the blogs from today's hop. (Comments must be left by 11:59 PM PDT on May 16 & winners will be announced on the PPP blog.)
Thanks for stopping by today... Here's the complete list of blog hop participants:
Have a great one!
Hello! Today, Winnie & Walter and Pretty Pink Posh have teamed up for a fun blog hop featuring some great products. Hopefully you've come to my blog by way of Gayatri Murali's blog. The hop started over on the Pretty Pink Posh blog, so if you'd like to start at the beginning, please click here...
For my card, I used Pretty Pink Posh's Stitched Border I Dies, and Pink Blush Sequins. I've mentioned it in the past, but I am head over heels for Paulina's Sparkling Clear Sequins, they are amazing!! She has a huge assortment of colors, and I *love* that they are available flat, cupped, and in an assortment of sizes and shapes. So much eye candy over there! :)
To create my card, I started with a piece of white CS, and used the curved stitched die to round the bottom edge. I then added some Scor-tape to a navy card base, and adhered several rows of pink sequins, so that they would be seen behind the main portion of my sentiment.
I then added some stars to the white card stock layer with light gray ink, and stamped the remainder of my sentiment with darker gray ink. To finish up, I adhered the white CS layer to the base with pop dots, and embellished with pink enamel dots.
: : : Giveaway alert : : : Would you like to be entered to win one of two great prizes?? Both Pretty Pink Posh and Winnie & Walter will each be giving away a prize pack to a commenter along the hop. All you need to do to be entered is to leave a comment at each stop along the way. Easy peasy! :)
Up next on the hop is Joni Andaya's blog!
Here's the complete list of participants in today's hop:
Have a great one!