

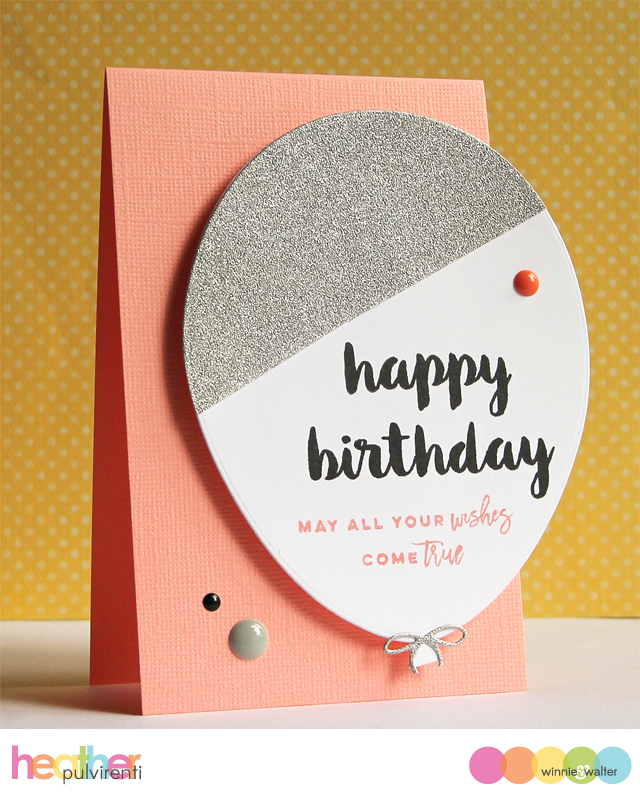
Hello! It's the first day of previews for the new Winnie & Walter release, and today my card is showcasing the new In a Word: Birthday Tiles Cutaways die set. Definitely one of my favorites from this release!
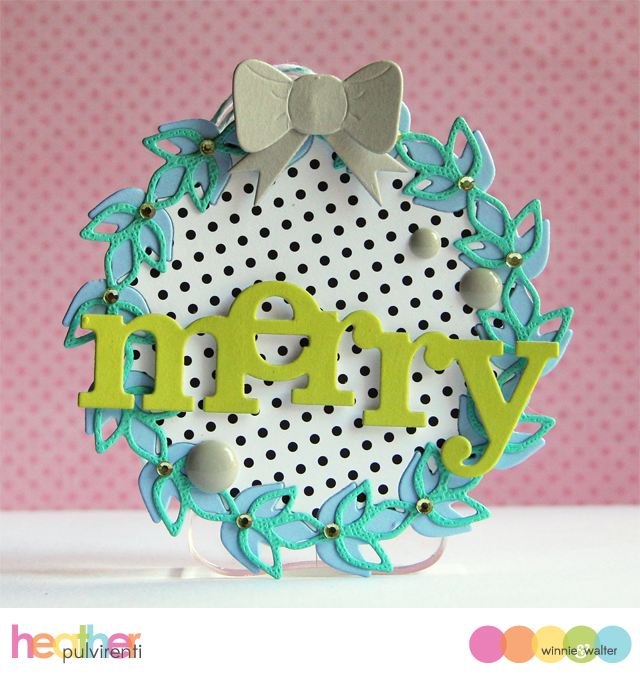
To create my card, I started by first creating a white card base. I then die cut a piece of white cardstock with the hooray die four times, leaving a large space between the third and fourth die cut. Next, I die cut a piece of chartreuse cardstock using the large frame from the Birthday Tiles Cutaways set, discarding the outer ring. The negative of the die was then die cut with the celebrate die.
To create my card, I started by first creating a white card base. I then die cut a piece of white cardstock with the hooray die four times, leaving a large space between the third and fourth die cut. Next, I die cut a piece of chartreuse cardstock using the large frame from the Birthday Tiles Cutaways set, discarding the outer ring. The negative of the die was then die cut with the celebrate die.


I then adhered strips of colored cardstock behind the die cut panel, leaving some excess on the right side. The panel was then adhered to the card base before trimming off the excess. To finish up, the celebrate die cut was adhered to the card front, and I embellished with black enamel dots.
Would you like to be entered for your chance to win some of the goodies revealed today? Please hop over to the Winnie & Walter blog for more details! :)
Have a great one!


