Showing posts with label Congratulations. Show all posts

8.29.2017

W&W August Release - Hooray!


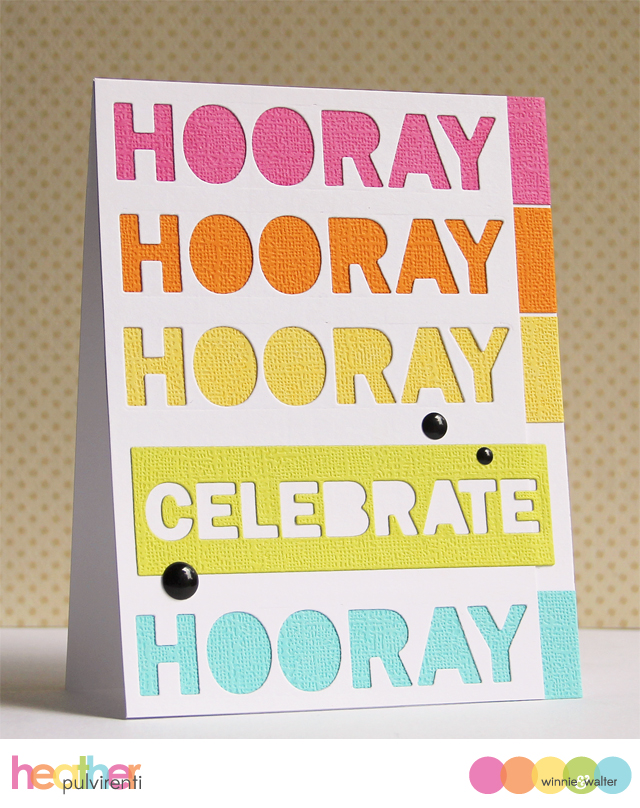
Hello! It's the first day of previews for the new Winnie & Walter release, and today my card is showcasing the new In a Word: Birthday Tiles Cutaways die set.  Definitely one of my favorites from this release! 

To create my card, I started by first creating a white card base.  I then die cut a piece of white cardstock with the hooray die four times, leaving a large space between the third and fourth die cut.  Next, I die cut a piece of chartreuse cardstock using the large frame from the Birthday Tiles Cutaways set, discarding the outer ring.  The negative of the die was then die cut with the celebrate die.


I then adhered strips of colored cardstock behind the die cut panel, leaving some excess on the right side.  The panel was then adhered to the card base before trimming off the excess.  To finish up, the celebrate die cut was adhered to the card front, and I embellished with black enamel dots.

Would you like to be entered for your chance to win some of the goodies revealed today? Please hop over to the Winnie & Walter blog for more details! :)

Have a great one!

5.26.2016

CardMaker Magazine Blog Hop - Let's Celebrate!


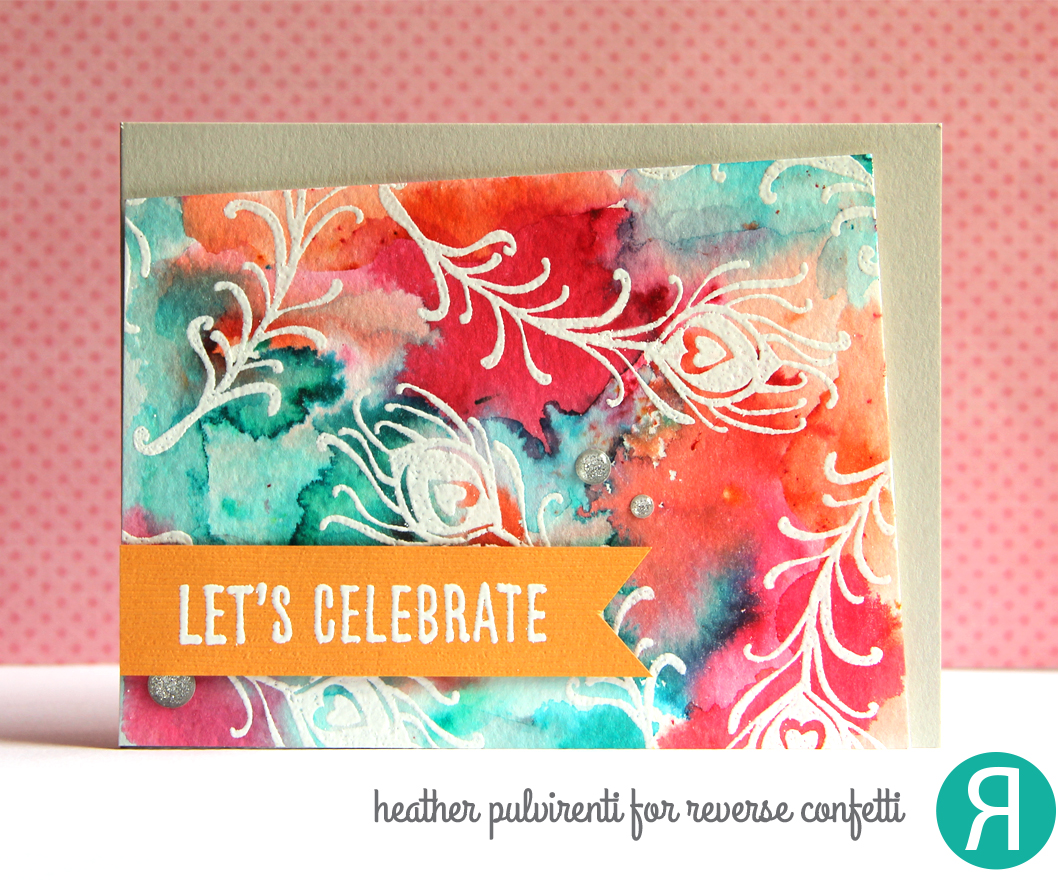
Hello! Reverse Confetti & CardMaker Magazine are teaming up today for a blog hop, and I'm here to share this bright little number! :) Hopefully you've reached my blog by way of Lisa Silver's blog (the blog hop started over on the CardMaker Magazine blog, so if you'd like to start at the beginning, please click ***here***.)

To create my card, I first started with a piece of 4.25 x 5.5 watercolor paper, and covered it with a light coating of water.  I then sprinkled the layer with Turquoise, Orange and Fuchsia Color Burst watercolor powders.  I tried to leave them alone to do their thing, but I'm a hoverer, so I dabbed the watercolor paper here and there with a wet brush to help speed things along, and used a paper towel to soak up the excess water/color in any areas that were getting muddled. 


Since I'm not the most patient person when it comes to watercolor, I grabbed my heat tool to help speed up the drying process.  Once the panel was dry, I stamped the feather image from Pretty Peacocks in Versamark ink, then heat set them with white embossing powder.  I then trimmed the layer on an angle, and adhered it to a light gray card base with foam tape.  The sentiment from Celebrations was stamped in Versamark ink onto orange textured CS, then heat embossed with white powder.  To finish up, I adhered the sentiment to the card front with foam tape, then embellished with silver enamel dots.


Want to be entered for your chance to win a fun prize? For full details, please be sure to stop by the RC Blog (last stop on the hop)...

Thanks for stopping by today, next stop on the hop is Kim Klinkovsky!

5.08.2016

RC Blog Hop - Hip Hip Hooray


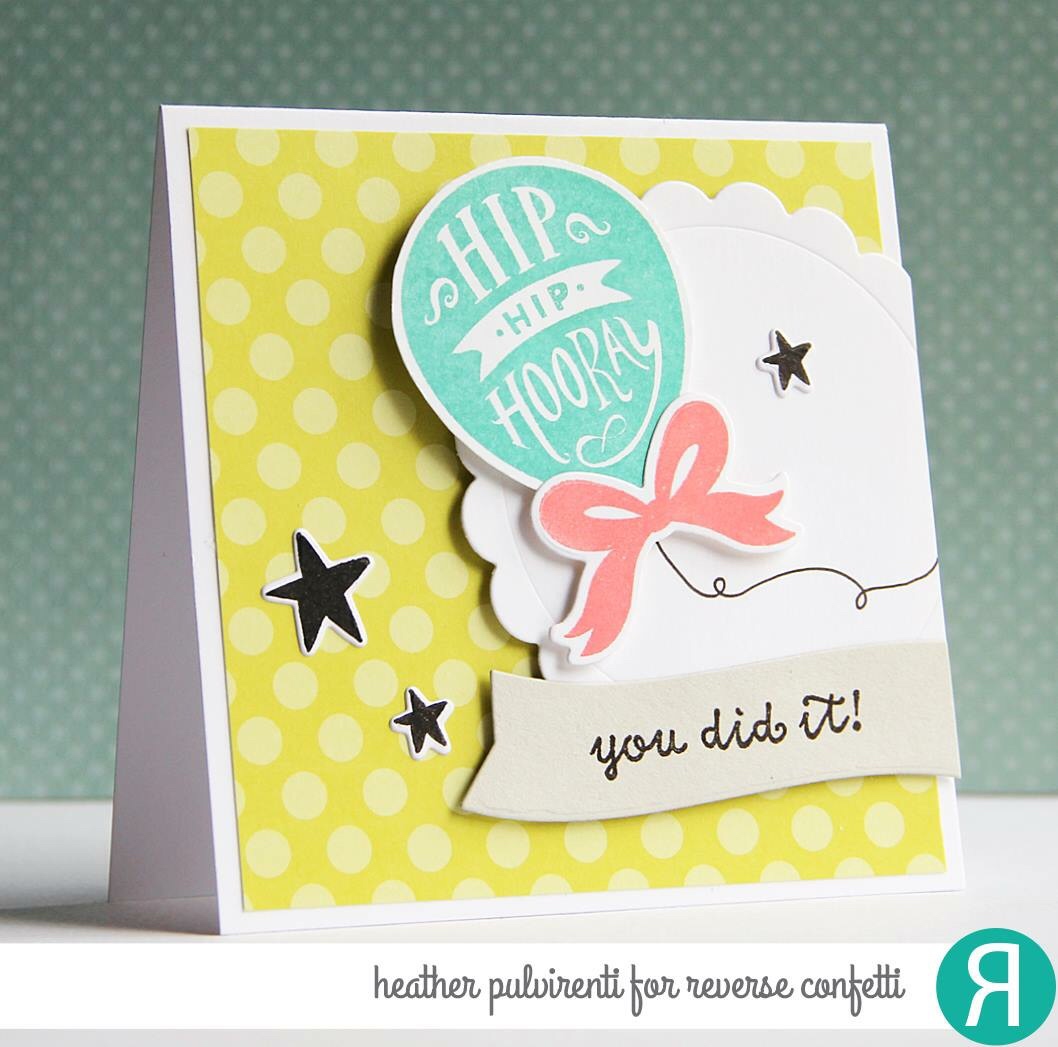
Hello! It's the 8th of the month, which means it's Reverse Confetti blog hop time *and* all the goodies we've been showcasing for the past few days are now available.  Woohoo! 

To create my card, I started by first stamping one of the balloons from Boxes 'N Balloons in teal ink onto white CS, then cutting it out with the coordinating Boxes 'N Balloons Confetti Cuts.  I then die cut a scallop circle from Circles 'N Scallops on white CS, and used a pen to draw my balloon string.  Next, I stamped the larger bow in coral ink, and die cut it before adhering it to the balloon.  


I then covered the card base with a piece of polka dot patterned paper, and trimmed off the edge of the scallop circle before adhering it to the card base with foam tape.  The balloon and bow were then adhered to the scallop circle with foam tape.  I used the Flowers For Mom Confetti Cuts on light gray cardstock, then stamped it with the sentiment in black ink.  Three stars were stamped and die cut using the You Are a Star stamp set and coordinating You Are a Star Confetti Cuts.  To finish up, I adhered the sentiment strip to the card front and added the stars to the card base.


I hope you've enjoyed hopping with us today. Be sure and hop with us on the 8th of every month for more Reverse Confetti inspiration! 

Here's the full list of hop participants:


Have a great one!

10.01.2015

October SFYTT - I'm So Happy For You & a Sneak!


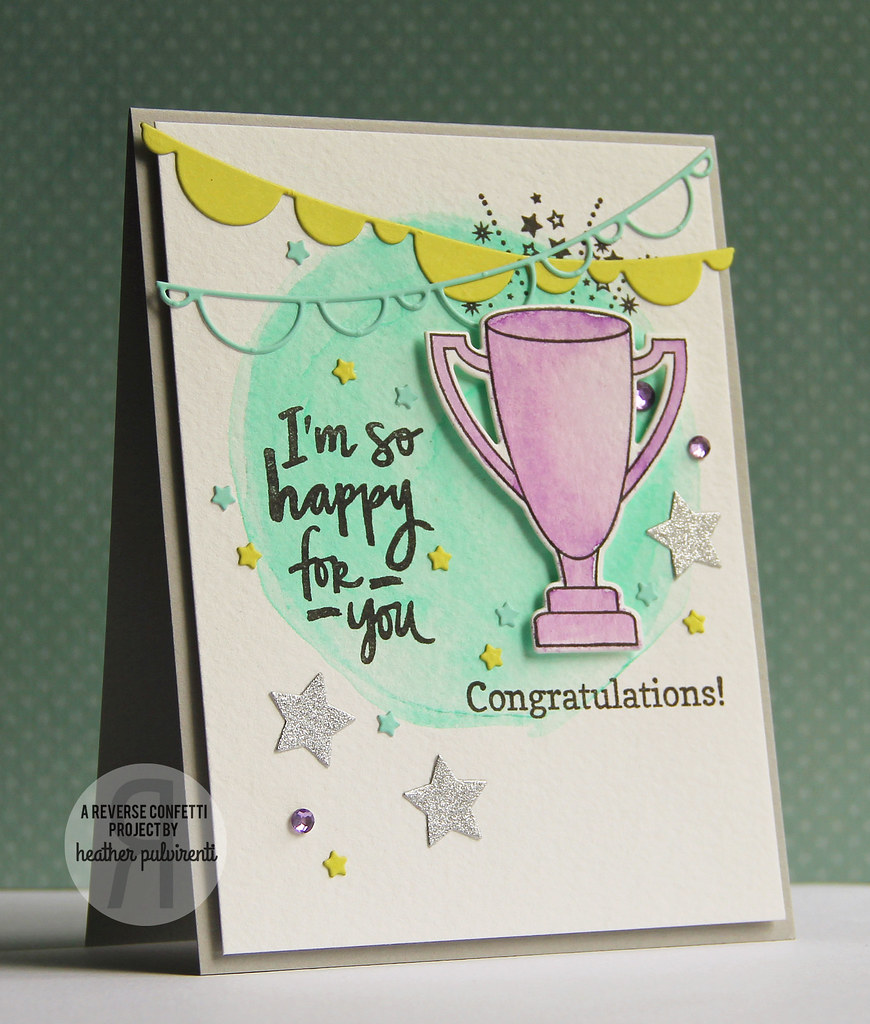
Hello! Wow, here we are... October! It's the first of the month, which means it's time for a new RC sketch challenge! :) 

To create my card, I started by painting a mint circle onto a piece of watercolor paper, then set it aside to dry.  I then stamped the trophy image from Winning in Versafine ink, then heat embossed it with clear embossing powder.  I then colored the image with watercolors and set it aside.  While I was waiting for everything to dry, I used the Double Banner Confetti Cuts on a piece of lime and mint CS, and die cut three stars from silver CS using the Winning Confetti Cuts.


I used the Pretty Panels: Stars Confetti Cuts on mint and lime CS, then punched out the stars.  Once everything was dry, I stamped one of the sentiments from Posted Note Sentiments onto the card front. I then stamped the star burst and one of the sentiments from Winning onto the card front.  To finish up, I assembled all my pieces, adhered the watercolor CS layer to a light gray card base then embellished with purple gems.


Want to play along with us this month and be entered to win a gift certificate to the RC store? All you need to do is create a card based on the sketch below using RC stamps, and link it up to the post HERE on the Reverse Confetti blog by noon CST on the 31st... Easy peasy! :)


OH, almost forgot... Here's a little sneaky peek of the card I created for one of the current card sketches on Becky Fleck's PageMaps site! Squee!! :) To see the full card, please click ***HERE***


Have a great one!

6.01.2015

W&W Rerun: Parentville Extras


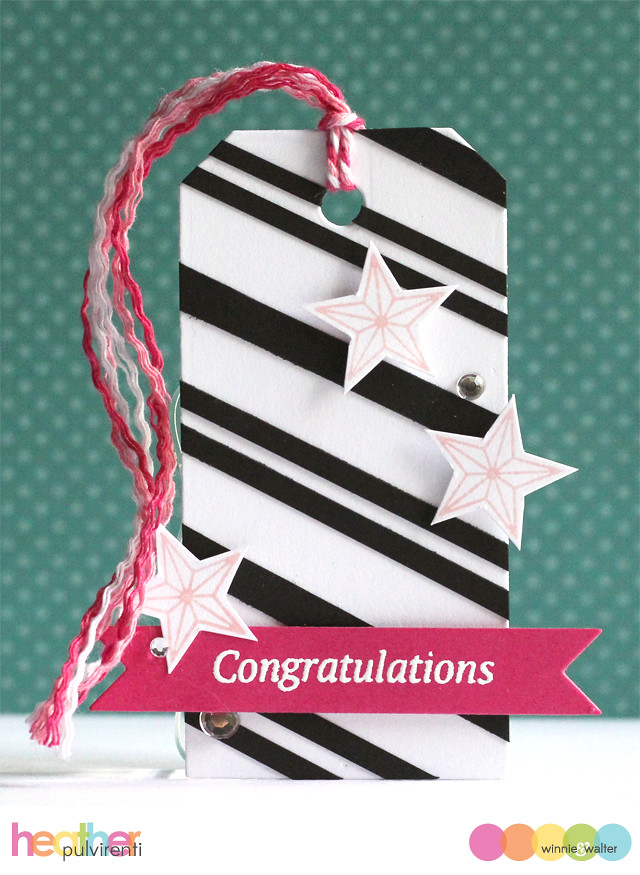
Hello! Winnie & Walter are rolling out a new feature, where we'll be spotlighting an older product.  For my project today, I've combined Parentville Extras with the Essentials: Katherine Cutaways.

To make my tag, I started by first die cutting a white tag using the Essentials: Katherine Cutaways tag die.  Next, I cut several strips of black CS in varying widths, then adhered them to the tag front.  I then used the banner die to cut a banner from fuchsia CS, and stamped it with one of the sentiments from Parentville Extras.  The sentiment was then heat embossed with white powder before being adhered to the tag front.


Next, I stamped three stars from Parentville Extras in light pink ink onto white CS, then cut them out.  They were then adhered to the tag with pop dots.  To finish up, I embellished with some twine (which I unraveled) and some clear gems.

Thanks for stopping by... Have a a great one! 

4.17.2015

Congrats!


Hello! It's Friday, or as I like to call it... Fri - YAY! :) Lol... I'm popping in to share a card I created using for current Case This Sketch #119 challenge and some stamps from The Alley Way Stamps.  

To create my card, I started with a white card base, and stamped the key image from Tiny Treasures in gray and coral ink.  I then used a black multi-liner pen to color in the open hearts.


Next, I stamped one of the sentiments from Jibber Jabber in versamark ink onto black CS before heat embossing in white.  One end of the cardstock strip was trimmed in a banner shape, then adhered to the card front with pop dots.  I then cut a small strip of peach/coral CS, and adhered it to the card front.  To finish up, I embellished with silver enamel dots.


Have a great one!

4.07.2015

Countdown to Confetti - Fancy Word Coordinates


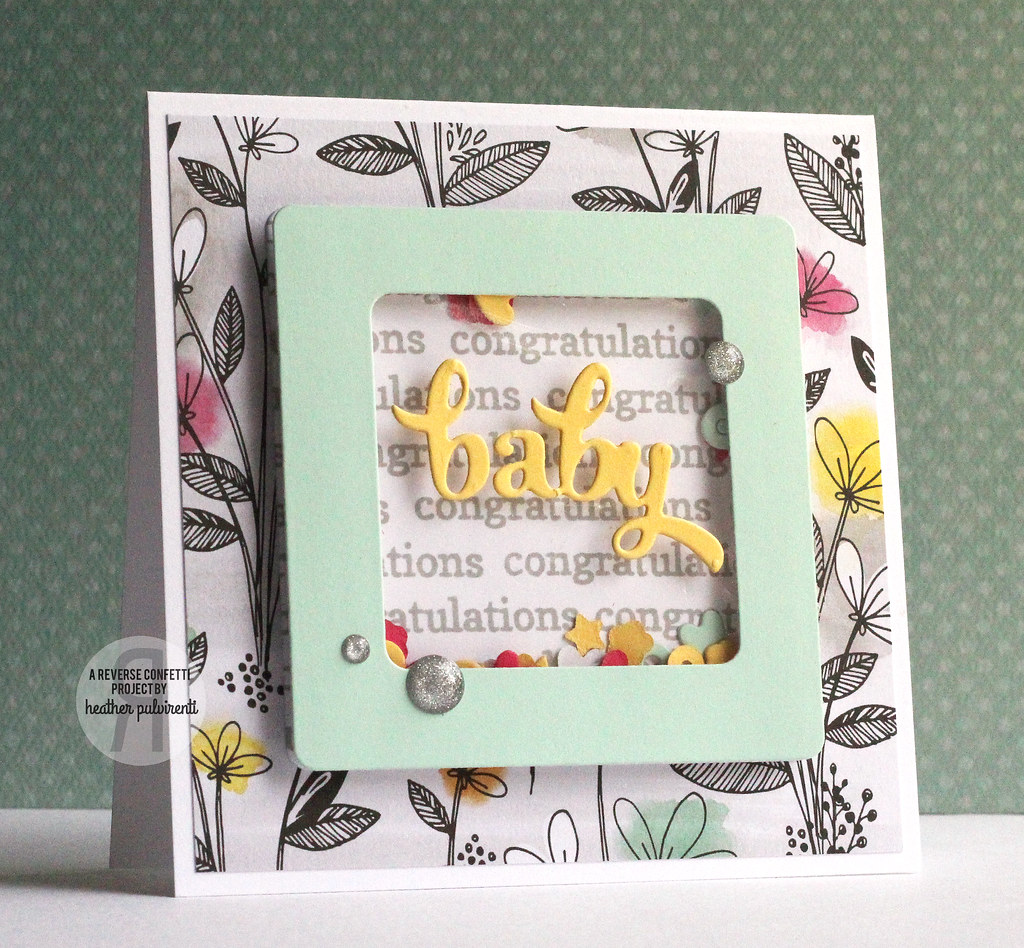
Hello! It's the third day of previews for the new Reverse Confetti release, and today we're showcasing projects using the new Fancy Word Coordinates set and the Fancy Word Confetti Cuts dies, which I've paired with the Shakers 'n Frames Confetti Cuts.  Shaker cards are all the rage right now, so i guess it's about time I made my very first one! :D

To create my card, I started with a white card base, and adhered a piece of patterned paper on top.  I then die cut the frame, acetate, and insert piece using the Shakers 'n Frames Confetti Cuts on white and mint CS.  I then stamped the white CS layer with one of the sentiments from Fancy Word Coordinates in light gray ink.


Next, I die cut baby from yellow CS using the Fancy Word Confetti Cuts and adhered it to the acetate.  To create the confetti for the shaker card, I die cut little shapes using hot pink, yellow, and mint CS.  Once I had all my pieces, I assembled the shaker then attached it to the card base.  To finish up, I embellished with silver enamel dots.


Want to be entered to win one of two $15 gift certificates? One winner will be chosen from blog comments left for the RC designers, and the other from Facebook comments.  Please see the Reverse Confetti blog for full deets! :)

Have a great one!

5.22.2014

Winnie & Walter: Parentville / The Big, the Bold and Extras


Hello! Only a few more days to go until the Winnie & Walter May stamp release... Woot! :) Today, we're featuring cards/projects from the new Parentville Extras and The Big, the Bold and Extras sets.

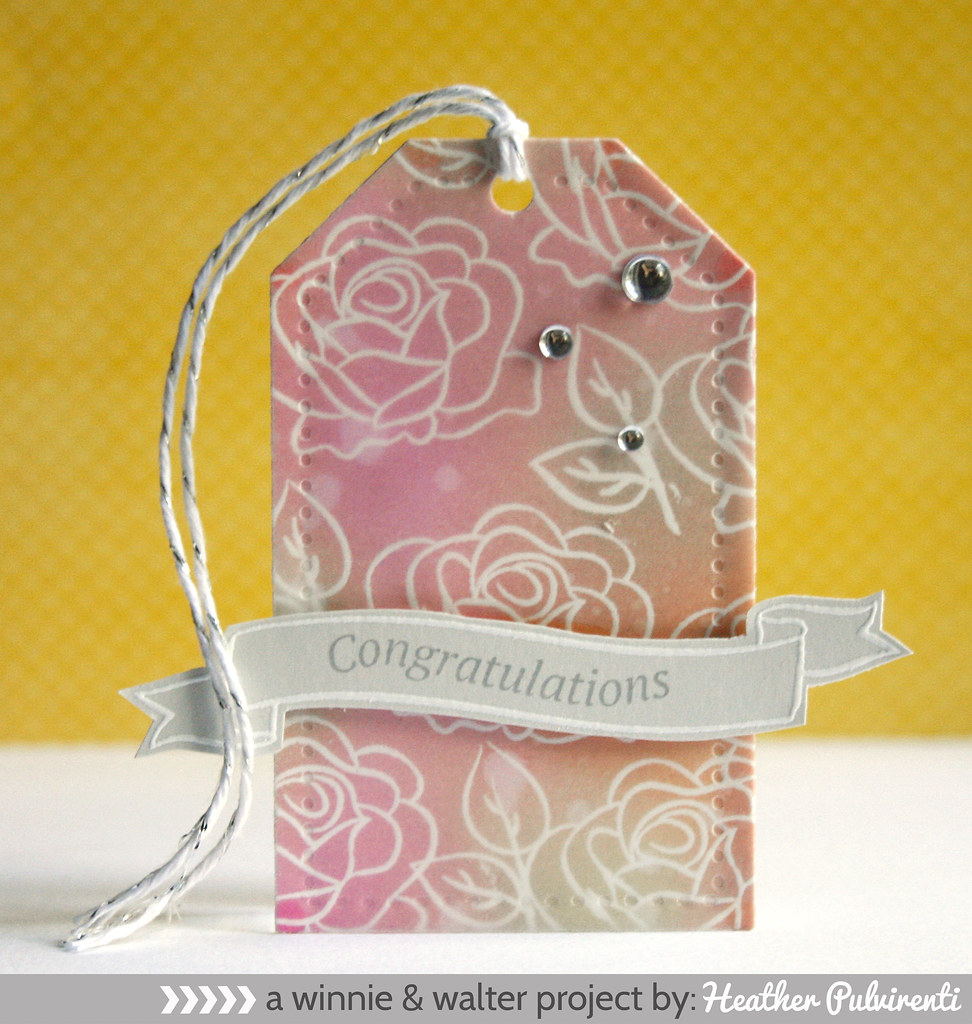
To create my tag, I started with a white piece of card stock which I die cut with a tag shape, then I stamped one of the flower and leaf images from the Big, the Bold and Extras set in Versamark before heat embossing with white powder.  Next, I covered the tag with a few different distress inks before adding some water droplets to the front.

I then die cut another tag shape, this time from vellum, and adhered on top of the embossed tag.  I stamped the banner image in Versamark onto light gray CS, then heat embossed with white powder.  To finish up, I stamped one of the sentiments from Parentville Extras, adhered the banner to the tag front, then embellished with clear gems and silver metallic twine.

Would you like to be entered for your chance to win the new Parentville Extras and the Big, the Bold and Extras sets? Please hop over to the Winnie & Walter blog for more details! :)

Have a great one!
5.15.2014

Hooray For You


Hello! I'm popping in to share one of the cards I created using the Winning set during this month's Reverse Confetti release that I hadn't had a chance to share on my blog yet. :) 

I almost feel like I could give myself this card. Haha :P I have been working hard behind the scenes trying to pull everything together for my daughter's room re-do, and by Sunday, I'll finally have some time to relax.  Woot! My parents are coming later today to pick up Lindsay, and they'll be keeping her for a couple of days while I re-paint her room (and change just about every. single. thing. in there).  It's going to be an awesome surprise when she returns! :)


To create today's card, I started with a navy card base, then adhered a strip of striped pattern paper.  Next, I die cut a large white circle, then stamped the fanfare in silver ink.  After that, I stamped the trophy image in Versamark, then heat embossed it with white powder before die cutting with the coordinating Winning Confetti Cut.  To finish up, I heat embossed my favorite sentiment from the set in white, assembled all my pieces, and embellished with green enamel dots.


Have a great one!