Showing posts with label The Alley Way Stamps. Show all posts

11.30.2015

TAWS December Release Blog Hop - Warm Wishes


Hello! It's the end of the month, which means it's new release (and blog hop!) time for the Alley Way Stamps.  All of the sets that have been previewed this week are now available in the store.  For my card today, I'm showcasing the new Melt Your Heart Out set.  Hopefully you've reached my blog by way of Emily's blog. (If you'd like to start at the beginning of the hop, please click here.)

To create my card, I started by repeat stamping the warm wishes sentiment from Melt Your Heart Out in light gray ink onto white CS, then cutting it out with a circle die.  I then die cut a large scallop circle using textured teal CS.  I then stamped the background of the stamped panel with the snowflakes using Versamark ink, then heat embossed them with platinum embossing powder.


The snowman was then stamped on watercolor paper using Versafine ink, then heat set with clear embossing powder.  The image was then colored with watercolor markers and set aside to dry.  Once the image was dry, the image was cut out and adhered to the stamped layer with foam tape.  To finish up, I added white dots to the snowman's gloves using a white pen, and colored the stars with a silver pen.

Next stop on the hop is Holly's blog.  Have a great one!

11.27.2015

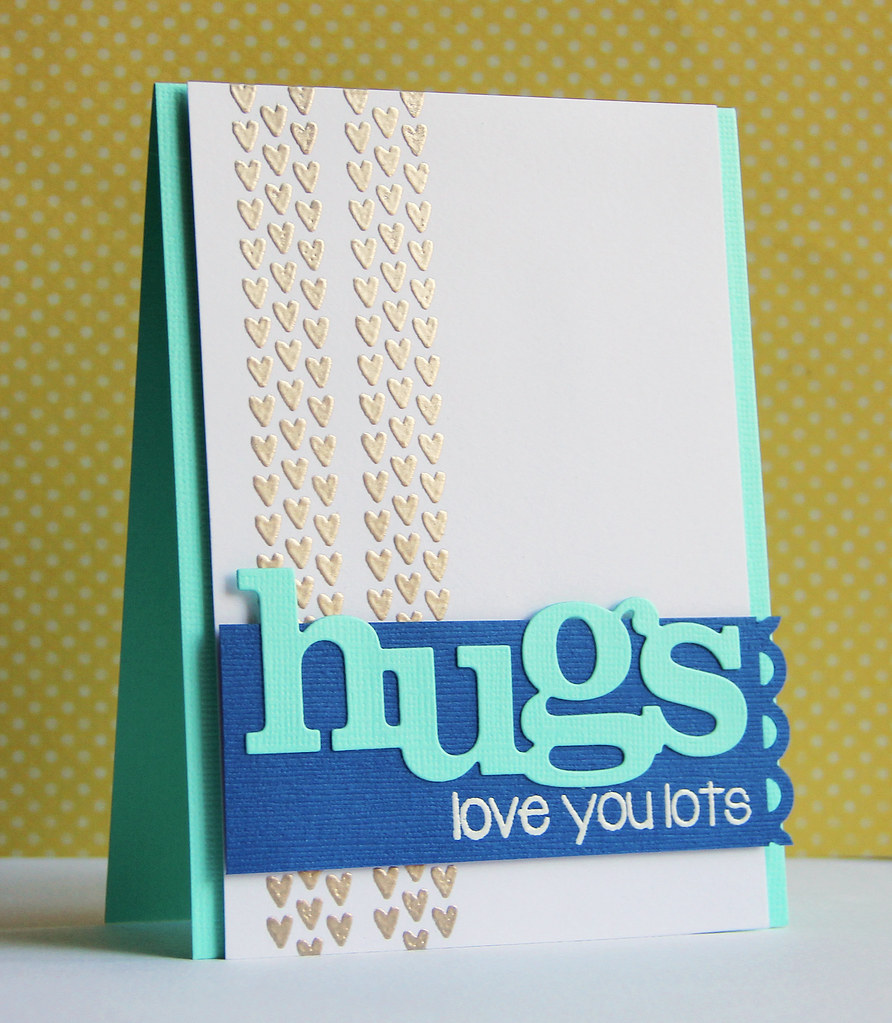
TAWS Sneak Peek - Point of View


Hello! Hello! I'm joining the other lovely ladies on the Alley Way Stamps DT today to preview the new Point of View stamp set, which features a bunch of fun hand drawn border strips including arrows, chevrons and hearts.  

For my card today, I'm using the heart border strip, and I started by heat embossing the image in platinum onto white CS.  I then adhered the embossed layer to an aqua card base using foam tape.  Next, I die cut a large sentiment using aqua CS, and adhered it to a piece of blue textured CS.


I heat embossed one of the sentiments from From Us with white embossing powder, then used a border punch to add a scallop end to one side of the blue CS.  To finish up, I adhered the sentiment panel to the card base with foam tape.

Have a great one!

11.13.2015

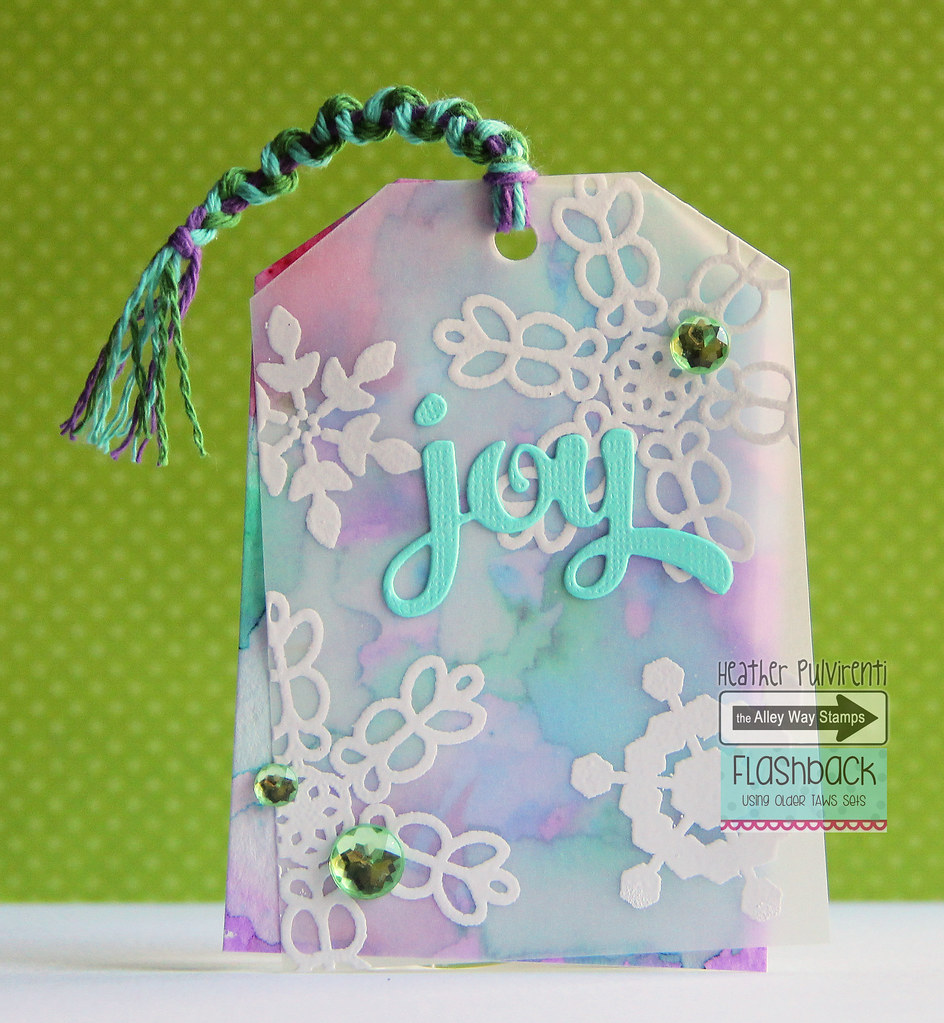
Joy


Hello! I'm popping in to share a tag I created using one of my favorite sets from The Alley Way Stamps, Winter's Butterflies.

To create the tag, I started by cutting a piece of watercolor paper and a piece of vellum into a tag shape, then punching a hole in the top.  I then covered the watercolor paper with water, then sprinkled it with a combination of Color Burst powder.  If you haven't used it before, it is *SO* fun!! I love watching the color spread almost as much as watching heat embossing powder melt. Lol :)


While I was waiting for the watercolor paper to dry, I stamped some of the snowflakes from Winter's Butterflies onto vellum using versamark ink, then heat embossed with white powder.  I then die cut my sentiment from aqua bazzill CS, then adhered it to the vellum tag.  Once the watercolor paper was dry, I adhered the vellum tag to the top offset a little, then added a snake twine braid.  To finish up, I embellished with green gems.

Have a great one!

10.31.2015

TAWS November Blog Hop - Happy Birthday


Hello! It's the end of the month, which means it's new release (and blog hop!) time for the Alley Way Stamps.  All of the sets that have been previewed this week are now available in the store.  For my card today, I'm showcasing the new Lucky Duck set.  Hopefully you've reached my blog by way of Emily's blog. (If you'd like to start at the beginning of the hop, please click here.)

To create my card, I started by stamping the larger goose image in Versamark ink onto gray CS, then heat embossing with white powder.  I then colored the image with watercolor pens and set it aside to dry.  I stamped the large leaf cluster in gray and green ink onto a piece of white CS.  I then used the top of the larger dandelion seed to create the "grass" at the base of the panel.


I stamped off a portion of the sentiment using Versafine ink, then adhered the layer to a piece of light green CS.  I fussy cut out my goose, then attached it to the stamped panel with foam tape.  To finish up, I dry embossed a piece of light gray CS and adhered the stamped panel with foam tape.

Want to be entered for your chance to win the stamp sets being released this month? All you have to do is follow the instructions on the Rafflecopter widget here.

Next stop on the hop is Holly's blog.  Have a great one!

10.30.2015

TAWS Sneak Peek - Wispy Wishes


Hello! I'm joining the other lovely ladies on the Alley Way Stamps DT today to preview the new Wispy Wishes stamp set, which features a bunch of flower bits and pieces that you can mix and match to create so many different looks! :)

To create my card, I started by repeat stamping the smaller and larger dandelion seeds in Versamark ink to create a geometric flower shape, then heat embossed them with white powder before covering with a watercolor wash.  While the panel was drying, I stamped part of the sentiment in Versamark ink onto mint CS, then heat embossed with white powder.


I die cut several "you" sentiments from white and lime CS, then adhered them together.  Once the watercolor panel was dry, I adhered it to a piece of lime CS and distressed the edges.  I then wrapped the layers with jute twine, finishing with a bow.  To finish up the card, the sentiment main image layer and sentiment strip were added to a kraft card front with foam tape, then I embellished with clear sequins.

Want to be entered for a chance to win the new Wispy Wishes set? All you need to do is click on the Rafflecopter widget over on the TAWS blog HERE.

Have a great one!

10.23.2015

Thanks!


Hello! I'm popping in to share a card I created using one of my faves from The Alley Way Stamps, Winter's Butterflies.  

To create my card, I started by heat embossing several of the snowflakes from Winter's Butterflies with white embossing powder onto watercolor paper.  I then colored the panel with watercolor pens and a waterbrush.  


While the watercolor panel was drying, I die cut a large Thanks from silver glitter CS using the SSS Big Thanks die.  To finish up, I adhered the embossed panel to a light gray card base using foam tape, then glued the die cut sentiment to the card front.


Have a great one!

10.09.2015

Bring on the Snow


Lol, okay, I'm not actually ready for the snow, but I am definitely obsessing over snowflakes lately! :) 

To create my card, I started with a piece of mint CS and stamped the background with a few of the snowflakes in the Winter's Butterflies set from The Alley Way Stamps in Versamark ink before heat embossing in white powder.  I then stamped two of the penguins from Waddle Pals in Versafine ink then heat embossed them with clear powder before coloring them.  


I then cut a hill shape from a piece of green CS, then ran the edge of a pair of scissors across the top of the CS before stamping it with one of the sentiments from Waddle Pals.  The mint panel was adhered to the light gray card front with foam adhesive, then the green CS layer was adhered on top.  To finish up, I fussy cut the penguins and adhered them to the card front with pop dots before covering them with stickles.


Have a great one!

9.30.2015

TAWS October Blog Hop - Warm Wishes


Hello! It's the end of the month, which means it's new release (and blog hop!) time for the Alley Way Stamps.  All of the sets that have been previewed this week are now available in the store.  For my card today, I'm showcasing the new Chilly set.  Hopefully you've reached my blog by way of Emily's blog. (If you'd like to start at the beginning of the hop, please click here.)

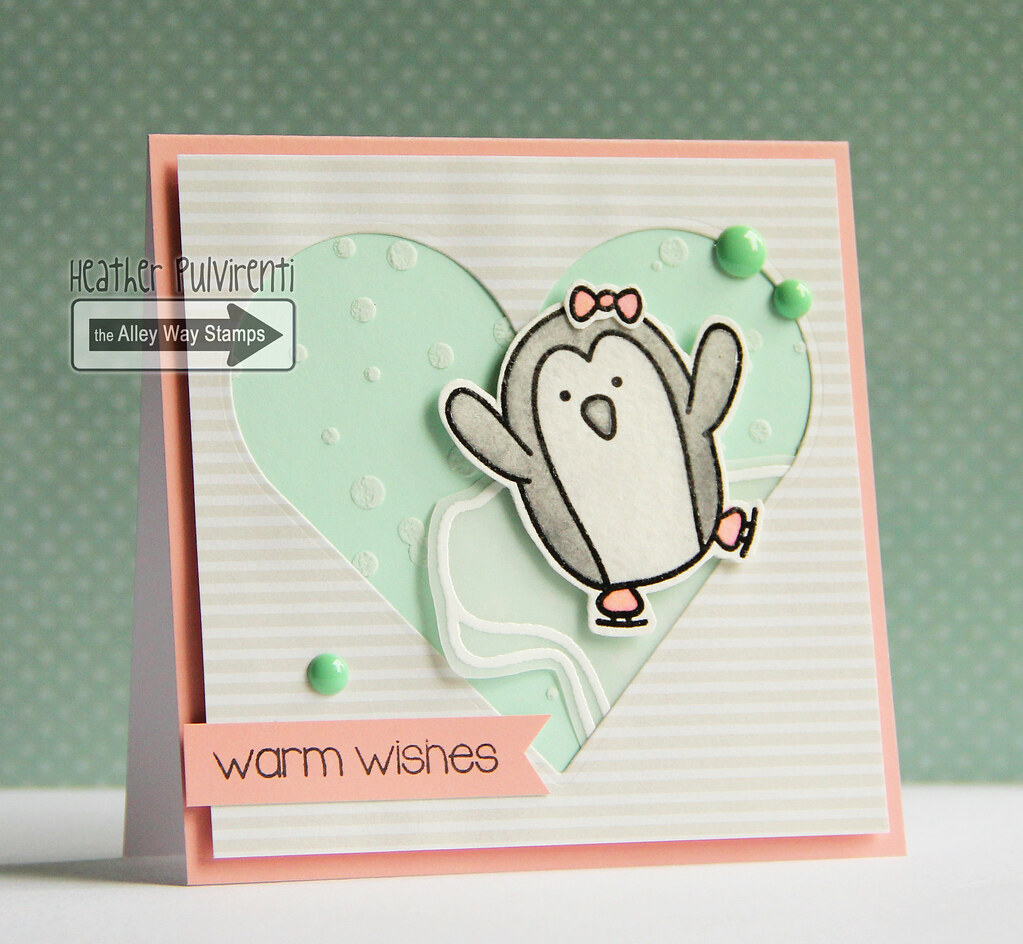
To create my card, I started by stamping one of the penguin, ice skates and bow images from Waddle Pals in Versafine ink before heat embossing them with clear powder.  I then colored the image with watercolor pencils and set it aside to dry.  Next, I stamped the larger iceberg image from Chilly in Versamark ink onto vellum before heat embossing with white powder, then cut it out.  I used a stencil and embossing paste to add some snowflake texture to a piece of mint CS, then adhered it to a light coral card base.


A heart was die cut from a piece of light gray striped paper, then the iceberg was attached behind the window before adhering them to the card front.  Once the penguin was dry, I fussy cut the image, adhered the bow, then attached it to the textured layer with pop dots.  To finish up, I stamped the sentiment on a strip of coral CS, adhered it to the card, then embellished with mint enamel dots.

Want to be entered for your chance to win the stamp sets being released this month? All you have to do is follow the instructions on the Rafflecopter widget here.

Next stop on the hop is Holly's blog.  Have a great one!
9.29.2015

TAWS Sneak Peek - Waddle Pals


Hello! I'm joining the other lovely ladies on the Alley Way Stamps DT today to preview the new Waddle Pals stamp set, which features a bunch of totally adorable penguins and winter accessories! :)

To create my card, I started by stamping one of the little penguins from Waddle Pals in Versafine ink onto watercolor paper, then heat embossing the image with clear embossing powder.  I then colored the image with watercolors before setting it aside to dry.  Next, I stamped one of the large greetings from Sweet Thing in teal ink onto white CS, then fussy cut it out.  One of the sentiments from Waddle Pals was then stamped in Versamark ink onto light gray paper before heat embossing in white powder.


I then added a watercolor wash to a piece of watercolor paper, then heated it with a heat gun to dry it quickly.  White and teal pain splatters were added to the background then heated to dry before attaching it to a light gray card base with pop dots.  To finish up, I adhered the sentiments to the card front with pop dots, fussy cut the penguin before adding it to the card, then embellished with silver enamel dots.

Want to be entered for a chance to win the new Waddle Pals set? All you need to do is click on the Rafflecopter widget over on the TAWS blog HERE.

Have a great one!

9.18.2015

Smile


Hello! I'm sharing a card I created using goodies from the Alley Way Stamps, and a couple of my favorite techniques... Watercolor and heat embossing! :)

To create my card, I started by first heat embossing one of the turtle images from It's My Party in clear powder after stamping in Versafine ink, then colored it with watercolors.  While it was drying, I heat embossed a sentiment from Big Time with white powder onto dark mint CS.  


I then adhered a piece of gray patterned paper to a light purple card base, and adhered the sentiment strip with pop dots.  To finish up, I fussy cut the turtle, adhered it to the card front, then embellished with silver enamel dots. :)


Have a great one!

9.11.2015

Let's Party!


Hello! I'm popping in to share this sweet little card I created using the new Party Pooper and Big Time sets from the Alley Way Stamps.  I love this little bear!

To create my card, I started by stamping the bear and balloon image from Party Pooper in Versafine black ink onto watercolor paper.  I then colored the images using watercolor pencils before setting them aside to dry.  Next, I cut a 4 x 4 piece of white CS and stamped it with the Party sentiment from Big Time in Versafine black ink before adhering the panel to a turquoise card base with foam tape.


Once the images were dry, I fussy cut them out.  Realizing I forgot to stamp part of my sentiment before attaching it to the card base (d'oh!), I went back and stamped the remainder of the sentiment.  Thankfully, it stamped perfectly! Lol.  Next, I attached the bear and balloon images to the card front with pop dots.  That's it! So easy and super cute! :)

Have a great one!


8.31.2015

TAWS September Release Blog Hop - Every Party...


Hello! It's the end of the month, which means it's new release (and blog hop!) time for the Alley Way Stamps.  All sets that have been previewed this week are now available in the store.  For my card today, I'm showcasing the new Party Pooper set.  Hopefully you've reached my blog by way of Emily's blog. (If you'd like to start at the beginning of the hop, please click here.)

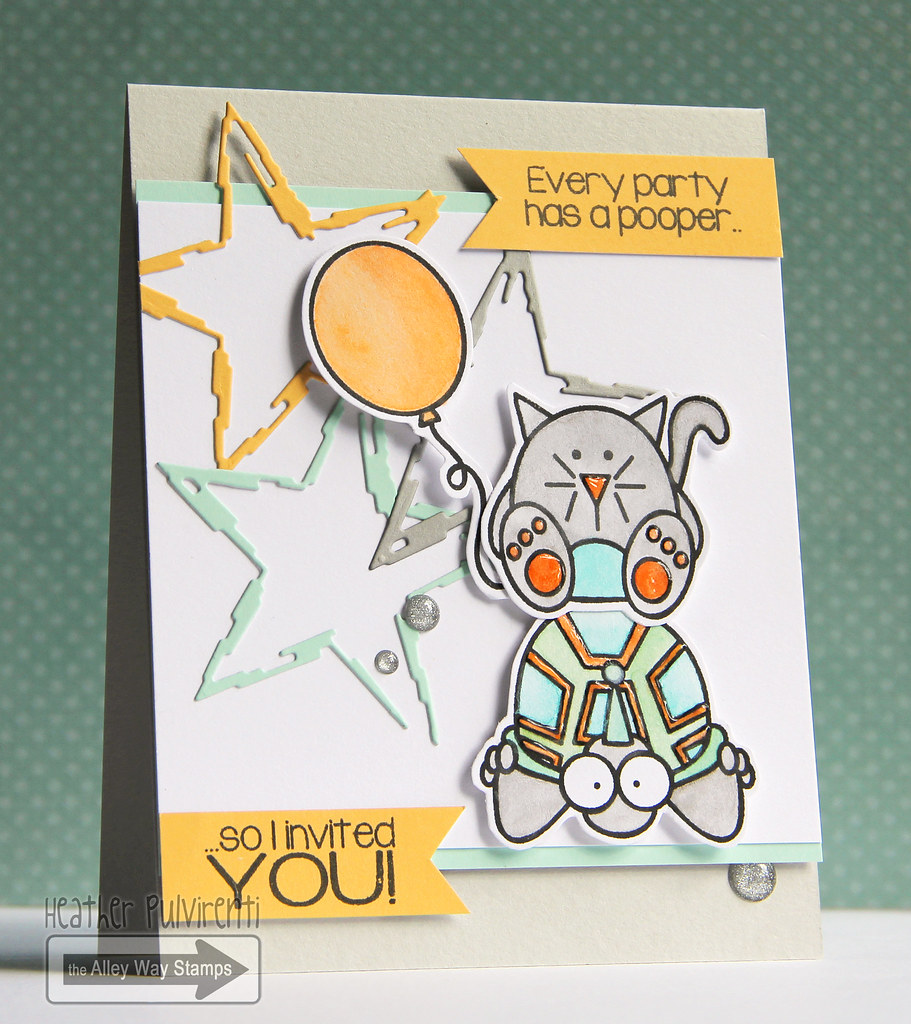
To create my card, I started by stamping the balloon and kitty from Party Pooper, and one of the turtles from It's My Party, in Versafine ink onto white CS.  Once the ink was dry, I then colored the images with watercolor pencils.  Next, I die cut three stars from orange, mint and dark gray CS, then adhered them to a piece of white CS which had been mounted to a piece of mint CS.


The star panel was then adhered to a light gray card base with pop dots.  Once the images were dry, I fussy cut them out, then adhered them to the card front with pop dots.  The sentiments were stamped on two strips of orange CS, then trimmed and attached to the card base.  To finish up, I embellished with silver enamel dots and covered some of the features on the kitty and turtle with glossy accents.

Want to be entered for your chance to win the stamp sets being released this month? All you have to do is follow the instructions on the Rafflecopter widget here.

Next stop on the hop is Holly's blog.  Have a great one!

8.29.2015

TAWS Sneak Peek - BIG Time


Hello! I'm joining the other lovely ladies on the Alley Way Stamps DT today to preview the new BIG Time stamp set, which features a seriously bold and fun font! :)

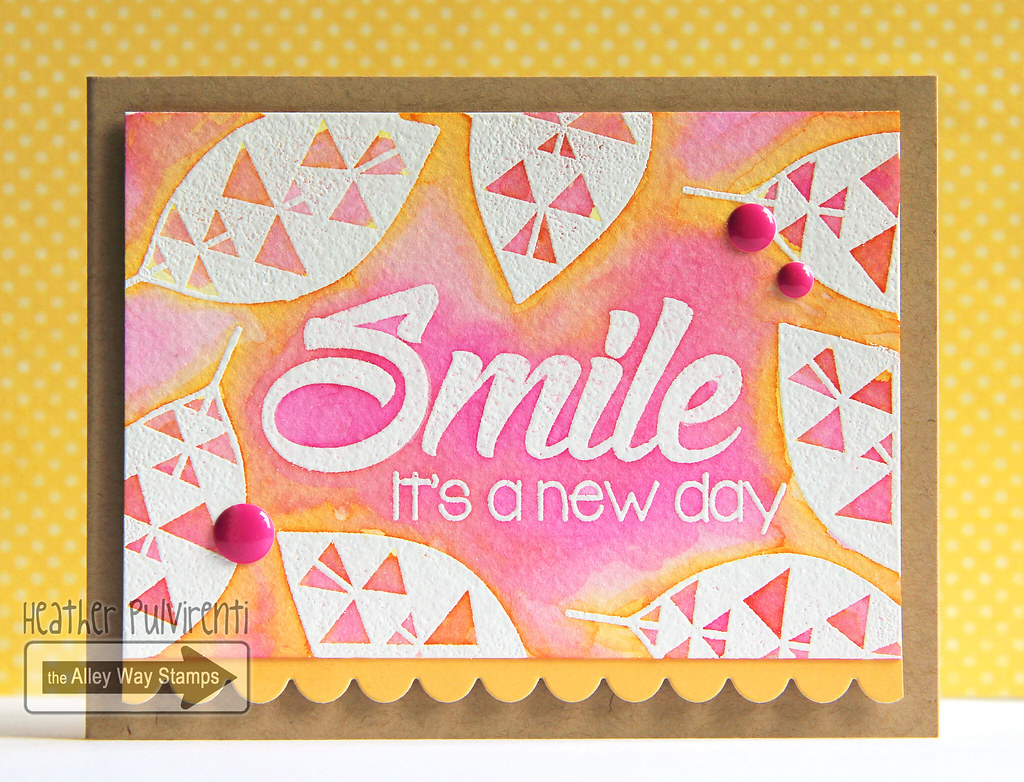
To create my card, I started by stamping one of the sentiment pairs from BIG Time in the center of the card in Versamark, then heat embossing with white powder.  I then stamped a frame of feathers using Tickle Me Happy (I love how the mod feather can double as a leaf!), then heat embossed them as well with white embossing powder.  


Next, I used three different distress ink colors (Picked Raspberry, Mustard Seed, Dried Marigold) diluted with water to create a the background.  Once the layer was dry, I adhered a scallop strip to the back before adhering the image to a kraft card base.  To finish up, I embellished with magenta enamel dots.

Want to be entered for a chance to win the new BIG Time set? All you need to do is click on the Rafflecopter widget over on the TAWS blog HERE.

Have a great one!

8.14.2015

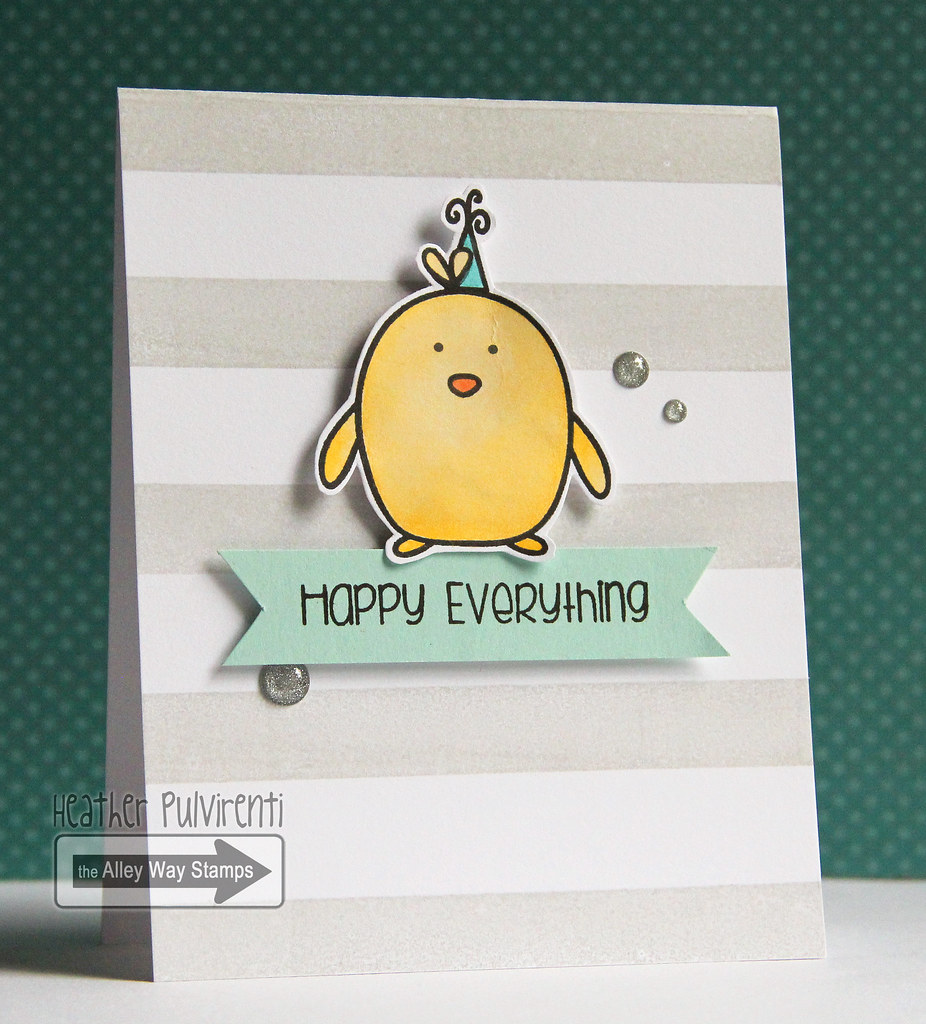
Happy Everything


Hi! I'm popping in to share a card I created using the new Penguins on Parade set from the Alley Way Stamps.

To create my card, I started by stamping a light gray striped background using the largest stripe from the Crossing Lines set.  I then stamped the penguin in Versafine ink, then colored it with watercolors.  Once the image was dry, I fussy cut it out, then adhered it to the card front with pop dots.


I then stamped the sentiment in Versafine ink onto a piece of mint CS, then trimmed the ends in a banner shape.  To finish up, I adhered the sentiment strip to the card front with pop dots and embellished with silver enamel dots.


Have a great one!

8.07.2015

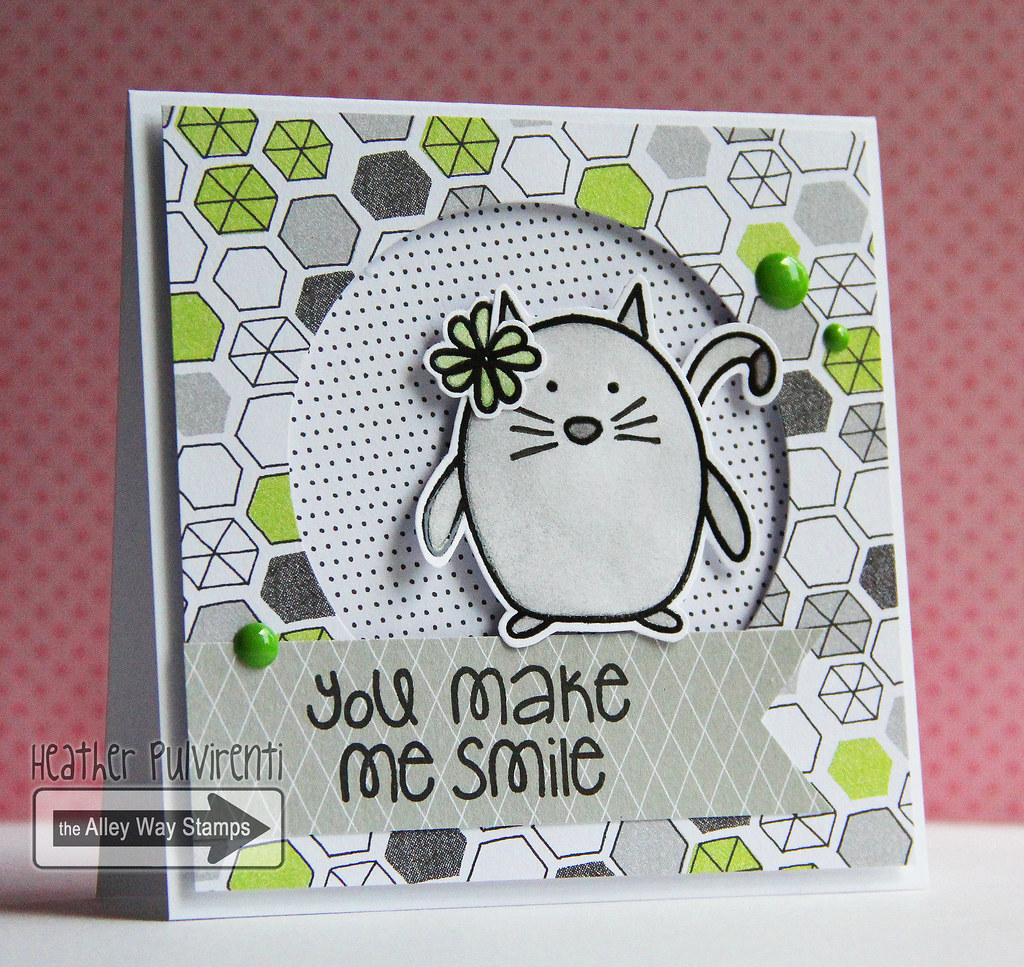
You Make Me Smile


Hello! I'm popping in to share a card I created using one of the new sets from the Alley Way Stamps August release, Penguins on Parade.

To create my card, I started with a piece of hexagon patterned paper, and die cut a circle from the center.  A piece of polka dot patterned paper was adhered to a white card base, then the die cut patterned paper was adhered on top with pop dots.  Next, I stamped the penguin image, cat ears and tail from Penguins on Parade, then colored them in with watercolor pencils.  


I then stamped the bird feather image in the set to create the flower, and colored it with watercolor pencils.  The sentiment from Speak Easy was stamped in Versafine ink onto a piece of gray patterned paper, trimmed with a banner end and adhered to the card front.  Next, I fussy cut the cat and flower, adhered them together and drew on whiskers.  To finish up, I adhered the cat to the card base with pop dots, embellished with green enamel dots and added some Winks of Stella to the flower.


Have a great one!

7.31.2015

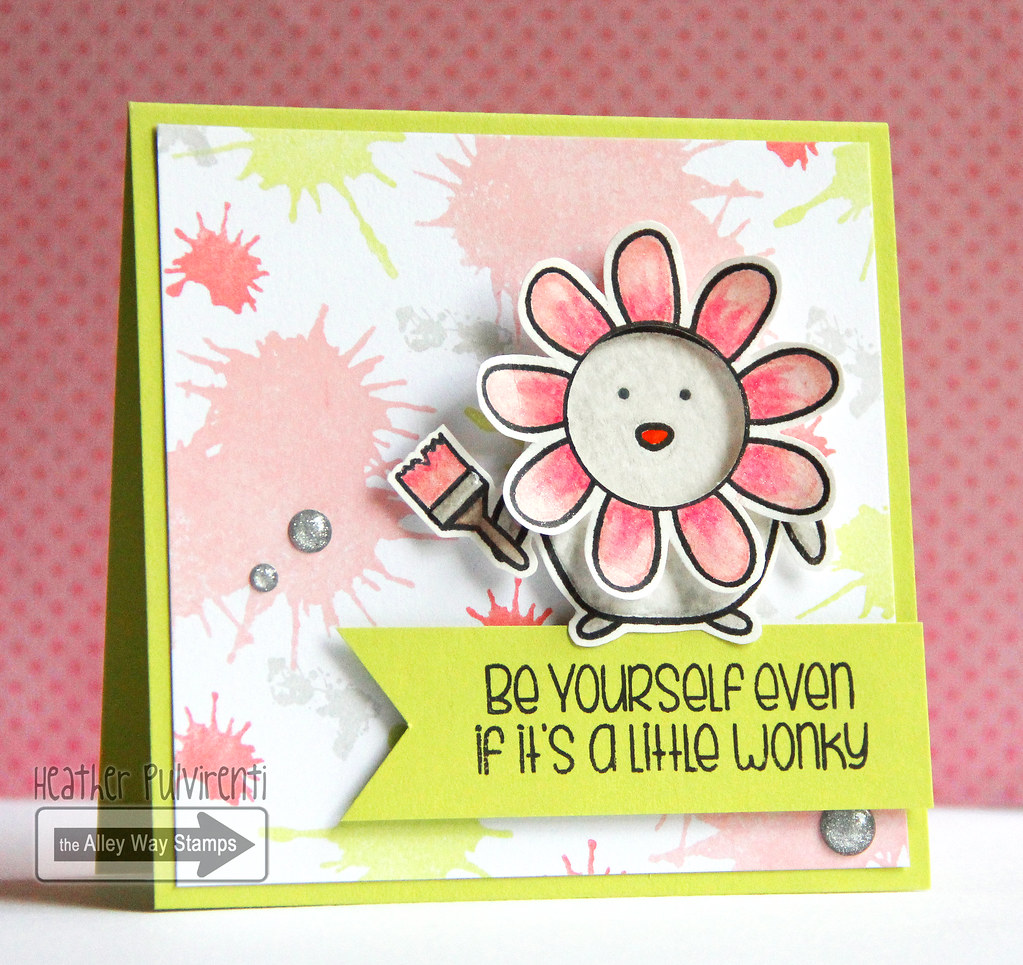
TAWS August Blog Hop - Be Yourself


Hello! It's the end of the month, which means it's new release (and blog hop!) time for the Alley Way Stamps.  All sets that have been previewed this week are now available in the store.  For my card today, I'm showcasing the new Unique Peek set.  Hopefully you've reached my blog by way of Emily's blog. (If you'd like to start at the beginning of the hop, please click here.)

To create my card, I started by stamping a paint splatter background using images from Oh Splat in lime, light pink and dark pink.  I then stamped the super adorable penguin and flower images in versafine ink, then colored them in with watercolor pencils.  While they were drying, I stamped the sentiment from Unique Peek in versafine ink onto lime CS, then trimmed one end in a banner shape.


The splatter panel was adhered to a lime card base, then the sentiment strip was attached with pop dots.  Once the images were dry, they were all fussy cut.  Before assembling, I cut out the center of the flower image with a 1" hole punch.  The flower penguin was then adhered to the card base, and clear winks of stella glitter was added to the petals.  To finish up, I embellished with silver enamel dots.

Want to be entered for your chance to win the stamp sets being released this month? All you have to do is follow the instructions on the Rafflecopter widget here.

Next stop on the hop is Holly's blog.  Have a great one!
7.28.2015

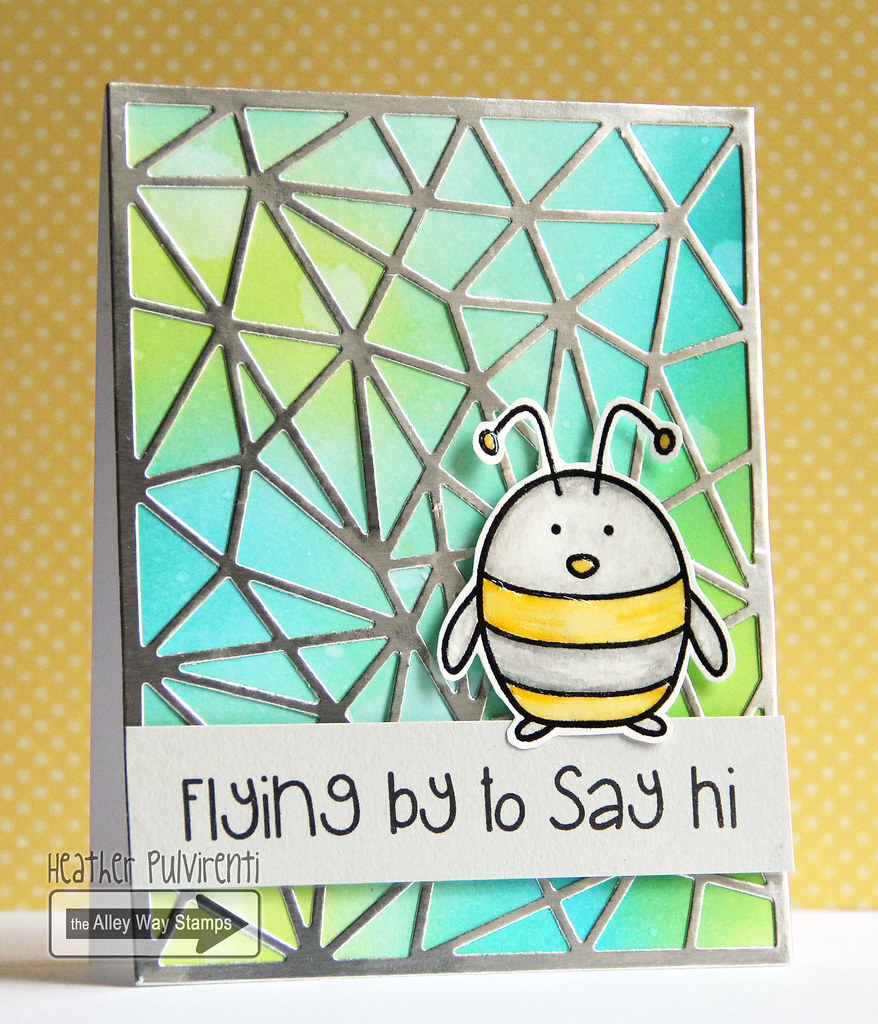
TAWS Sneak Peak - Penguins on Parade


Hello! I'm joining the other fab ladies on the Alley Way Stamps DT today to preview the new Penguins on Parade stamp set, which features a super adorable penguin and a bunch of different mix and match costumes! :)

To create my card, I started by blending a few different distress ink colors onto a white card base, then sprinkling it with water.  The excess water was then blotted with a paper towel.  Next, I die cut a piece of silver foil CS with a faceted die, then adhered it to the card front.  The penguin and bee costume were then stamped in versafine onto watercolor paper.


I then colored the bee with watercolor pencils, and set him aside to dry.  While waiting, I stamped one of the sentiments from Speak Easy in versafine ink onto light gray CS before adhering it to the card base.  To finish up, I adhered the penguin to the card base with pop dots, and covered his nose and antenna with glossy accents.

Want to be entered for a chance to win the new Penguins on Parade set? All you need to do is click on the Rafflecopter widget over on the TAWS blog HERE.

Have a great one!

7.24.2015

Enjoy the Ride


Okay, wow, so I took this pic without wearing my contacts, and it's totally blurry. D'oh!!! Lol I guess I'll be re-taking this photo in the AM.  Hahaha

This shaker card was created using goodies from the Alley Way Stamps.  To create my card, I started by die cutting a circle from a white CS panel, then cutting the bottom off the panel at an angel.  I then added a quick watercolor wash to the white card base, using the window as a guide.  While the card base was drying, I stamped three octopuses from Castaways in versafine ink onto watercolor paper, then heat set them with clear powder.  I then colored the images and set them aside to dry before fussy cutting them out.


Once everything was dry, I stamped the sentiment from Speak Easy through the window, then adhered the die cuts to the card front.  I then adhered acetate to the backside of the window, filled it with sprinkles, then adhered it to the card base with pop dots.  To finish up, I added some washi strips for fun, then embellished with yellow enamel dots.


Have a great one!

7.17.2015

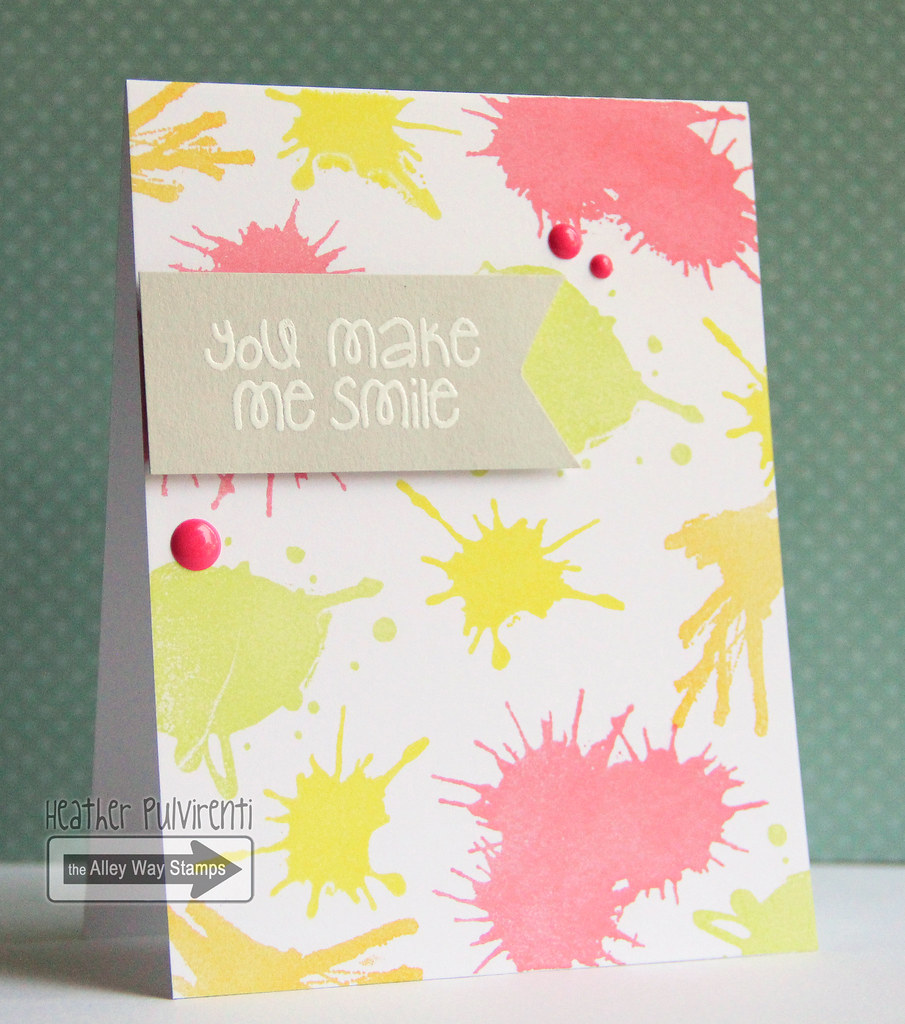
You Make Me Smile


Hello and TGIF!! :) I am so glad the weekend is finally here, but it also means we're one step closer to our Disney trip in early August, and I'm not ready! Lol!

To create my card today, I started by stamping a background using the Oh Splat set from the Alley Way Stamps in lime, yellow, orange and pink.  


I then stamped one of the sentiments from Speak Easy in versamark ink onto gray CS before heat embossing with white powder.  To finish up, I adhered the sentiment strip to the card front with pop dots, then embellished with fuchsia enamel dots. 

  
Have a great one!