Showing posts with label Wedding. Show all posts

9.09.2014

MFT Guest Designer: Happy Engagement


Hello! I'm guest posting again over on the My Favorite Things blog today, but wanted to post my card on my blog as well... :) 

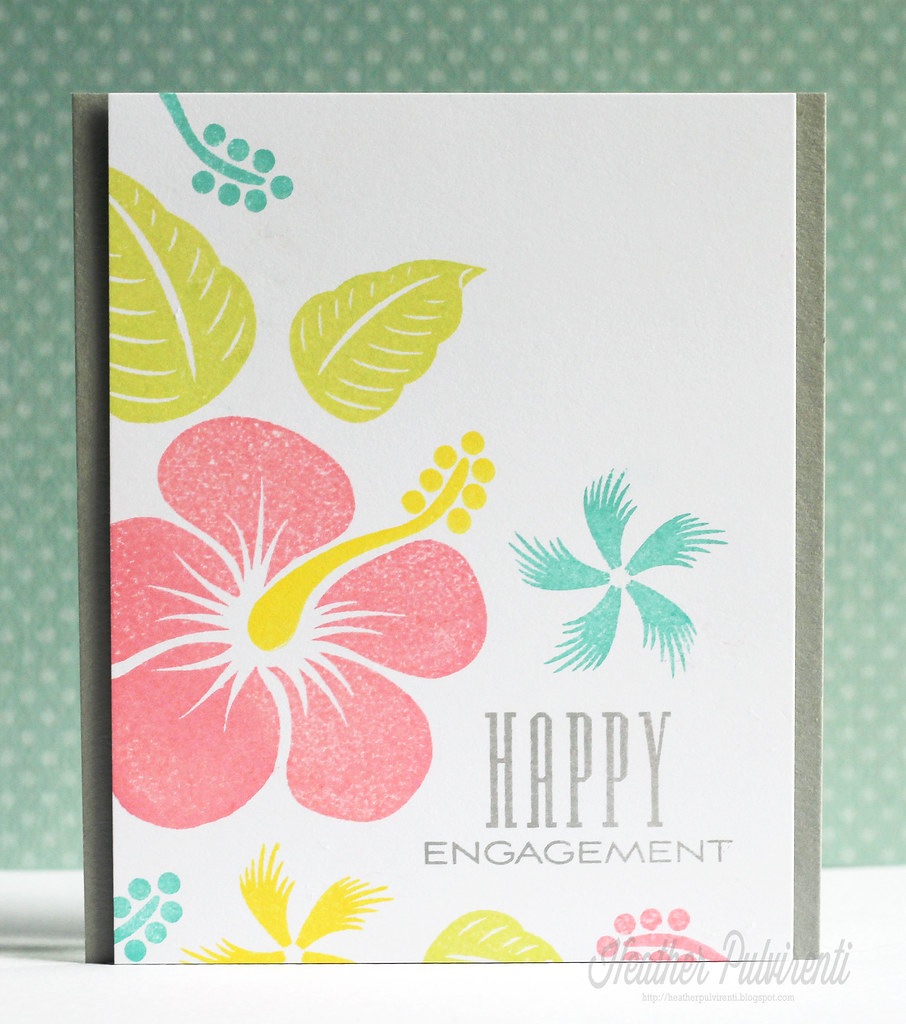
My card today features the LJD Together Forever and MPD Tropical Sensations sets.  To create my card, I started with a white piece of card stock, and stamped the Happy Engagement sentiment in gray ink.  


Next, I stamped the images from the Tropical Sensations set in coral, yellow, lime and teal.  Once the inks dried a bit, I adhered the stamped layer to the card base with pop dots.  That's it! :)

I love how quickly this card came together.  I am just about the world's slowest stamper (seriously, you'd be amazed how long it takes me to do the simplest card-making tasks... LOL), but this card was super easy to put together, and I love all the happy colors.

Have a great one!

9.02.2014

MFT Guest Designer: Wishing You a Beautiful Today


Hello! I'm guest posting over on the My Favorite Things blog again today, and wanted to pop in and share the cards here on my blog as well.  

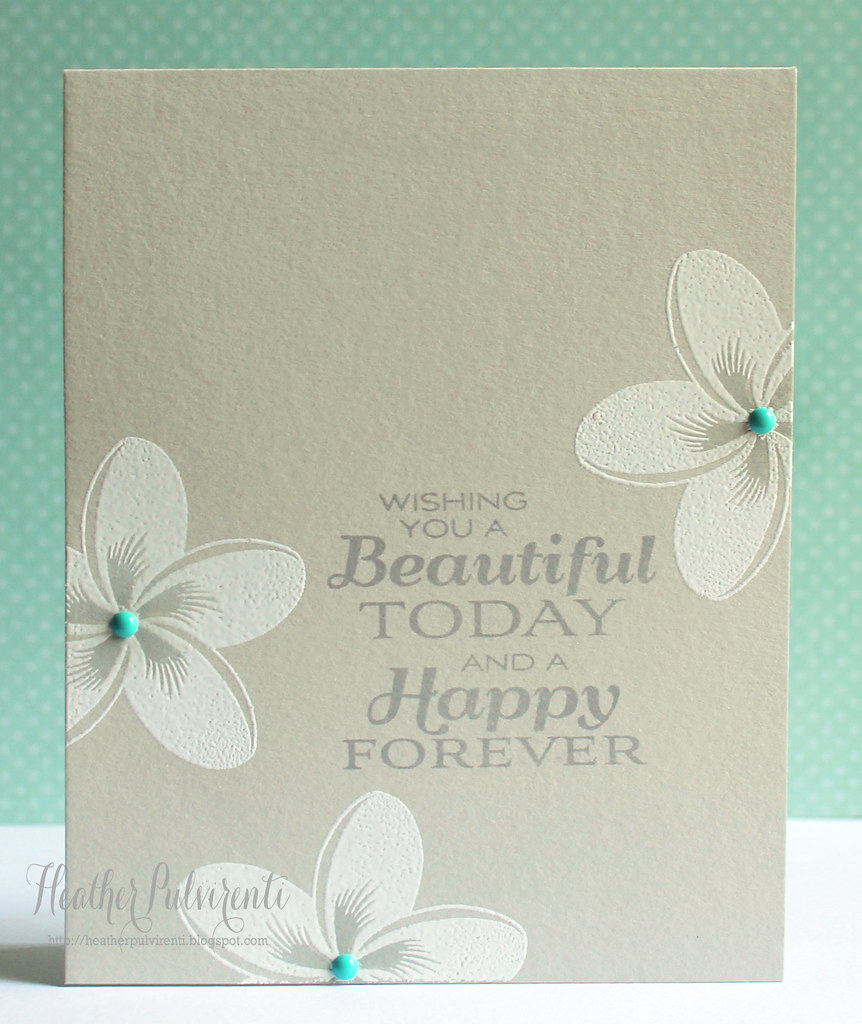
My first card features the MPD Tropical Sensations and LJD Together Forever stamp sets (and surprise surprise!) heat embossing.  To create my card, I first stamped the sentiment in dark gray ink onto a light gray card base.  I then stamped the plumeria flower image in versamark ink, then heat embossed it with white powder.  Next, I stamped the inner portion of the flower in a darker gray ink, and placed an aqua enamel dot in each flower center. 


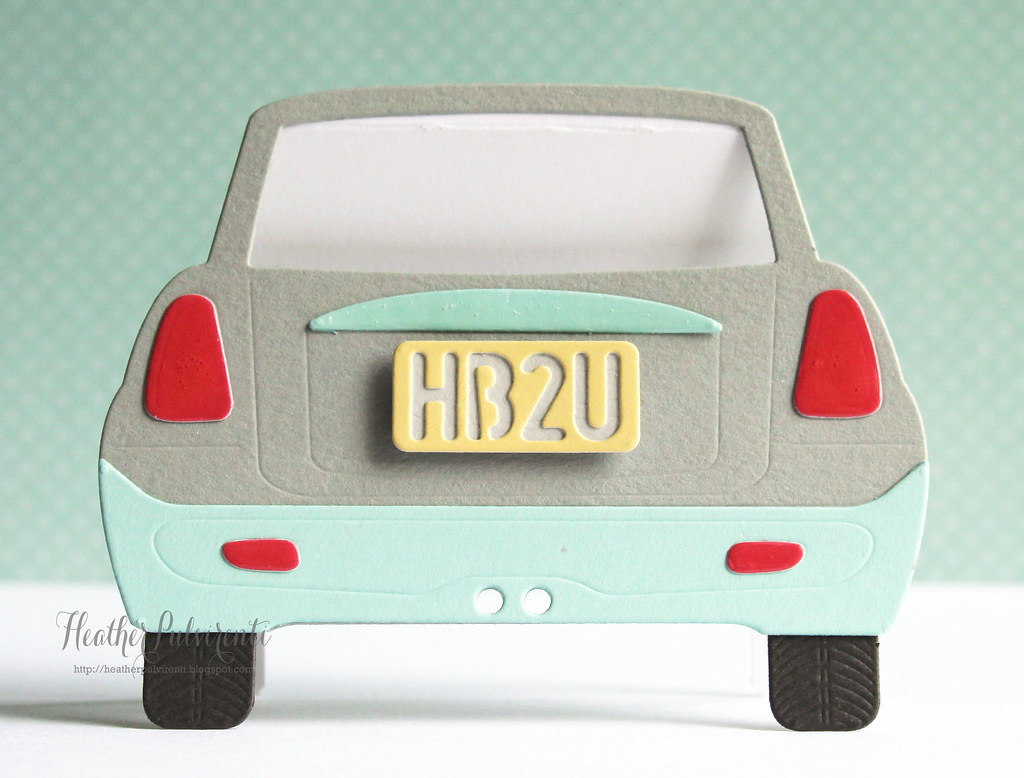
For my next card, I decided to make a mini shaped card using the Die-namics Joy Ride dies.  So cute! To create the card, I started by die cutting the car pieces from gray, red, yellow and aqua card stock.  I then assembled the front of the card and then traced the completed design onto a piece of white card stock.  I cut out the traced shape, then adhered it to the back of the car die cuts.  To finish up, glossy accents were added to various accent pieces.

Thanks again to My Favorite Things for inviting me to be a guest designer, I've had such a great time workin!! :)


2.25.2014

Congrats!


Hello! I hope your week is off to a great start! :) We've been spoiled here for the past few days with gorgeous temps and sunny skies, and wouldn't you know it, it's snowing today. LOL... I'm clinging hard to my flip flops, but snowy toes aren't my favorite. :P 

I'm popping in to share a tag I created using the new Forever Yours set from Avocado Arts.  I also have two other projects that I created using this set, which are posted over on the Avocado Arts blog... You can see them **here**.


To create my tag, I started by printing the sentiment and background from my computer, then used a die to cut out the tag shape.  Next, I stamped the wedding cake image in versamark ink, then heat embossed with white embossing powder.  I then stamped the rose image with pink ink, then trimmed them out and attached them to the cake.  To finish up, I adhered the cake with pop dots and attached some metallic silver twine.

Have a great one!

Supplies:


4.02.2011

Paper Smooches Wedding Hop

040211

Hi, everyone, I hope your weekend is off to a great start.  I don't normally post on Saturdays and Sundays, but when Kryssi suggested putting together a blog hop for Kim's wedding day (today!), I jumped at the chance to participate. :) Kim is such an amazing person, and is totally sweet to boot! Even with her busy schedule she always makes time for us, and is so supportive and encouraging... It really is such a pleasure to design for her, not to mention she totally spoils us rotten! :) ♥ ya, girlie!

For my card, I used one of the greetings from the new Sentiment Sampler set, as well as one of the flower images from Friendly Flowers.  LOL, after cutting out 14 of those itty bitty flowers, I can definitely say I do in fact have a love for fussy cutting! I may need to have my contact lens prescription increased, but it was well worth it! :) The congrats sentiment was originally a "congratulations", but room was a little tight in the upper corner of my card, so I inked up the congrat portion and then separately stamped the s.  Easy peasy! :)

Be sure to check out what the other DT members have in store, I'm sure it's going to be FAB!


But wait, that's not all, you're invited too! If you love your Paper Smooches stamps and want to join us in blessing Kim on this very special day, then all you have do is create a wedding card and upload it for her to see!

Here are the details:
  • You may use any stamp, but you should use at least one Paper Smooches stamp (digital is fine too).
  • Upload to the Paper Smooches flickr gallery HERE. All uploads should be tagged with the keyword: CongratsKim (one word, no spaces)
  • Or leave a comment with the link to your blog post on the Paper Smooches blog!
Remember, your cards could land you a guest designer spot! ;)

♥♥♥ Congratulations, Kim! Enjoy your special day!! ♥♥♥
Supplies:
Stamps - Friendly Flowers, Sentiment Sampler
Paper - Basic Gray, Harvest Gold, Aqua Mist, Stamper's Select White
Ink - Stazon Black, Fresh Snow
Miscellaneous - Swiss Dots Embossing Folder, Corner Chomp, Hawaiian Shores Grosgrain Ribbon, Nestabilities Circle Die, Stickles

5.04.2010

Jacksonbelle Tuesday Challenge - Inspiration


Hi, everyone! Hope all is well with you this fine Tuesday. *smiles* This week's Jacksonbelle Embellishments Challenge is to create a card/project using the photo below as inspiration.


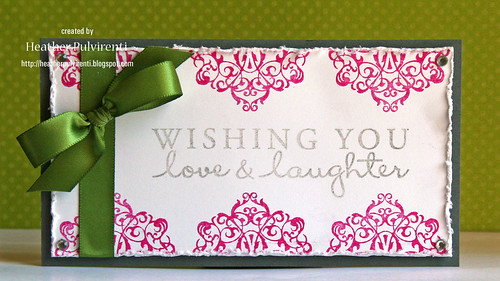
I decided to make a wedding card, and incorporated some of the colors found in the photo. I used another one of the Iron Works stamp set images by Prima to create the pink border, and paired it up with a sweet sentiment by Hero Arts.

Want to play along with us? Just upload a project to your blog or SCS gallery (using JBE104 as your keyword), and leave a comment on the Jacksonbelle blog with a link to your card.

Check out the other DT girls for more wedding cake inspiration! :)

Have a great one! :)

Instructions:
  • Create 3 1/4" x 6" gray card base.
  • Cut 3" x 5 3/4" white CS layer and stamp with pink filligree image.
  • Distress edges of white CS and adhere ribbon.
  • Stamp sentiment in gray ink.
  • Attach clear rhinestones to corners, then adhere white CS layer to card front with pop dots.
  • Add bow.

Supplies:
Stamps - Iron Works (Prima), Sentiment by Hero Arts
Paper - Basic Gray, Stamper's Select White
Ink - Raspberry Fizz, Charcoal (Chalk Ink)
Miscellaneous - Distresser, New Leaf Satin Ribbon, Clear Rhinestones

2.04.2010

Wedding Cake Cards

Hello! :) Hope you've been having a wonderful day! I had a Dr's appointment this morning, which resulted in having to have some blood work taken and other things, so off I went here and there trying to get everything done before noon so I wouldn't be late picking up Linds. After getting the insurance run around, then finding out after I arrived that the place I was referred to no longer had an office on the premises, let's just say I didn't get it all done, but I did get my girlie on time! LOL, oh well! :)

These cards are somewhat similar to some that I made for one of the Dirty Dozen gallery themes, but instead of embossing the images onto glossy white CS and sponging the background with ink, I took the easy way out and just stamped the images onto colored CS with white ink. LOL

Have a great day!

Supplies:
Stamps - Background Basics: Diamonds, Damask Designs, Turning a New Leaf, Mega Mixed Messages
Ink - True Black, Fresh Snow
Paper - Summer Sunrise, Aqua mist, Raspberry Fizz
Miscellaneous - Pearls, Scor-Tape, Aqua Glitter, Clear Rhinestones, Corner Rounder

9.14.2009

CAS32 - Wishing You...

Hey! Top of the mornin' to ya! :) Today's Clean & Simple Challenge on SCS was to create wedding cards. LOL, surprise, surprise, I reached for In Bloom... Yet again! This set might just be my favorite EVER. :)


I stamped the flower and leaf images in Versamark ink, then heat embossed them with white American Crafts Zing powder. I swiped the card first with my embossing buddy (which I think has a corn starch type powder in it), but still had little straggly pieces of embossing powder that did *not* want to come off the card when I tapped it. Short of using a teeny paintbrush to pick off the individual embossing granules, do any of you have tried and true methods to keep excess powder from sticking to the card? It's driving me nutso. :)


Have a great one!


Stamps - In Bloom (PTI), Very Versatile (SU!)
Ink - Fresh Snow, Versamark
Paper - Basic Black
Miscellaneous - White Embossing Powder, Corner Rounder