Showing posts with label Layout. Show all posts

5.29.2015

Winnie & Walter + Pinkfresh Studio - Project Life Layout


Hello! Winnie & Walter and Pinkfresh Studio are teaming up again to bring you some fabulous goodies.  The new PFS kit is chock full of so many awesome things, from striped washi tape, copper buttons, wood buttons, copper stickers, yellow heart sequins as well as a new stamp/die set designed by Winnie & Walter's very own Julie! :)

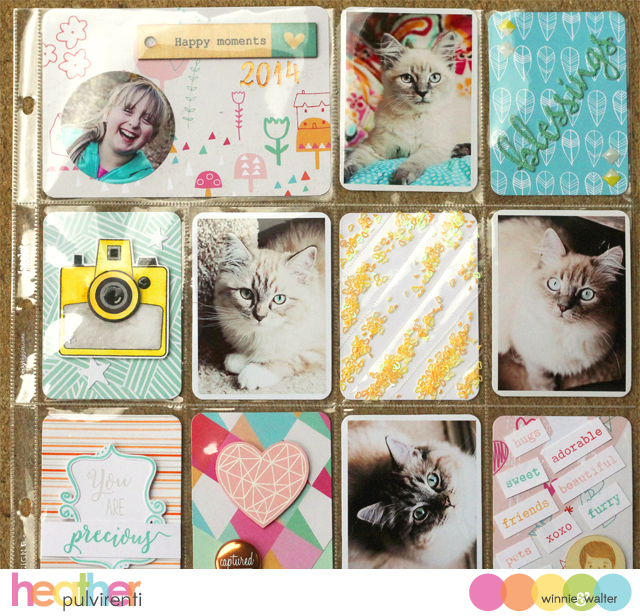
For my project today, I decided to create another Project Life page using the Up In the Clouds paper collection and new embellishment kit from Pinkfresh Studios, as well as various stamps and dies from Winnie & Walter.
Here are some close-up pics of the layout...


Happy Moments Card: Pinkfresh Studios Copper Script Stickers, PS Diamond Cloud Paper, 
PS Up in the Clouds Wooden Veneer Sticker


Blessings Card: Pinkfresh Studios Feathers Paper, PS Epoxy Stickers, 
Winnie & Walter the Big, the Bold & Blessings Cutaways


Camera Card: Pinkfresh Studios Crosshatch Paper, Winnie & Walter The Write Stuff stamp
set, W&W Big Bang Confetti Cutaways


Sequins Pocket: Fuse tool, Pinkfresh Studios Yellow Heart Sequins


You are Precious Card: Pinkfresh Studios Washi Tape, PS Frame stamp set and die,
Winnie & Walter My Precious; Captured Card: Winnie & Walter True, Pinkfresh Studio Color Block
Paper and PS copper buttons


Wooden Veneer Card: Pinkfresh Studios Paper, PS Wooden Veneer, 
Winnie & Walter the Big, the Bold and Friends

Have a great one!

8.29.2014

MFT Guest Designer: Sending Big Hugs


Hello! I'm guest posting over on the My Favorite Things blog today, but wanted to share my projects here as well. :) 

My first card features the Peek-a-Boo Alphabet Uppercase Die-namics, Star Background Stamp, and the Pure Innocence Sending Big Hugs stamp set and coordinating die.  To create my card, I started with a light gray card base, and stamped the star background using Versamark ink.  I then stamped the Pure Innocence image in Stazon gray ink, and colored her in using watercolors.  


While the image was drying, I used the Peek-A-Boo X and O dies on light pink card stock, and then adhered them to white card stock before fussy cutting them out.  Next, I adhered the letters to a piece of gray twine to make a banner, and attached it to the die cut Pure Innocence image.  The sentiment was then stamped on yellow card stock with Versamark ink before heat embossing with white powder.  To finish up my card, the banner sentiment and image were attached to the card front with pop dots, then orange enamel dots were added.


My next project features the Peek-a-Boo Heart Frames Die-namics, Always & Forever stamp set, and the Jumbo Abstract Art stamp set.  To create my layout, I started with a gray sheet of card stock, then added two strips of glitter card stock and photos of my daughter from one of her trips to the pool.  


I used the second largest Peek-A-Boo heart die on three different colors of card stock, then cut them out and laid them on the design to get their approximate placement.  I then stamped some of the splatter images from the Jumbo Abstract Art set in Versamark ink to mimic water splashes.  I stamped the joy sentiment from Always & Forever in Versamark ink, then heat embossed it with white powder before adhering the hearts to the layout with pop dots.  To finish up, I embellished with aqua enamel dots.

Have a great one!

7.23.2014

Winnie & Walter: The Big, the Bold and Seasons


Hello! One more day to go until the Winnie & Walter July stamp release... Yayayayay! :) For our cards/projects today, we're featuring images from the new The Big, the Bold and Seasons set.

For my project today, I decided to create a digital layout using some of the images from the The Big, the Bold and Seasons set, as well as It's a Wonderful Pennant.


To create my layout, I started by filing the background with a gray ikat leopard print, then dropping in the large photo of my daughter, which I had cut into a circle shape.  I layered it against a larger pink circle, then anchored it in the upper right hand corner.  Next, I used the squiggle tree from It's a Wonderful Pennant to create the sun's rays, then changed their color to yellow.  I then added the text summer from the The Big, the Bold and Seasons digital files, enlarged it and changed the color to pink.  

Two more photos were added of our daughter, then layered with yellow.  To finish up, I added three flowers, altered their colors, then fiddled with their arrangement.  So quick and easy, and just super fun! Digi layouts aren't really my thing (I never feel like I'm doing them correctly... lol), but this layout totally makes me smile.  And that's all that really matters, right?? :)

Would you like to be entered for your chance to win the new The Big, the Bold and Seasons set? Please hop over to the Winnie & Walter blog for more details! :)

Have a great one!

6.16.2014

Winnie & Walter: Sparkle & Shine


Hello! :) I'm posting over on the Winnie & Walter blog today... Please click HERE to check it out. :)

Have a great one!

6.08.2014

RC Blog Hop - Tigerlily


Hey there, Reverse Confetti fans! It’s the 8th of the month and time for another sizzling Blog Hop from the Confetti Crew and a few other friends. Summer is quickly approaching, so this is a good excuse to stay inside out of the heat and recharge your batteries with us! We’ll give you a minute to grab a glass of lemonade as we hop along together and share some crafty goodness with you!


The hop started over on the Reverse Confetti blog, and you should have made it here from Sarah Gough's blog. It would be worth your while to start at the beginning of the hop, so you don’t miss a thing. We have tons of inspiration for you to see using all of Reverse Confetti’s amazing stamp sets!


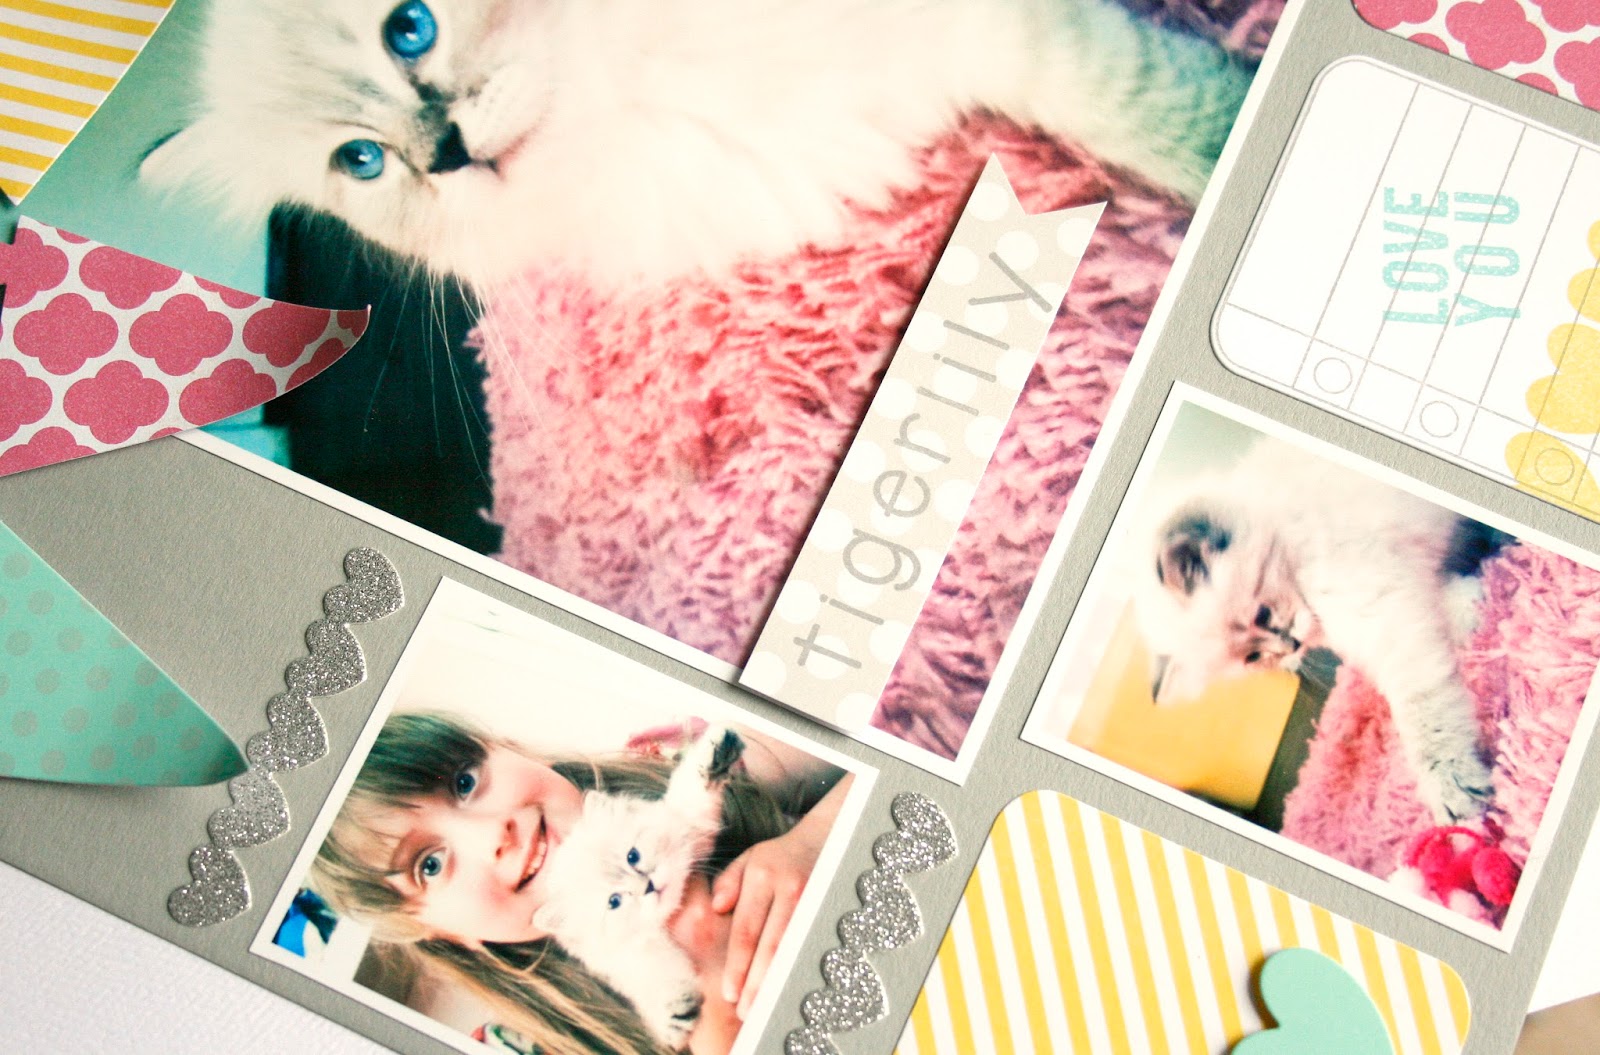
To create my layout, I started by adhering three photos to a sheet of 8 1/2 x 11 gray card stock.  Next, I used the pennant image from the Winning Confetti Cuts to create a small banner.  Once the shapes were die cut, I stamped the mint CS with the small dots from Whole Lotta Dots in gray ink.  I adhered pop dots to the back of the pennants, curled the ends then adhered them to the layout front.

I then used the Class Act Confetti Cuts to cut out two patterned cards in yellow and pink.  Next, I stamped a piece of white CS with the paper image from Class Act in gray ink, one of the sentiments from Crushin' in turquoise ink, as well as one of the rows of hearts from Whole Lotta Hearts in yellow ink.  I used the coordinating dies to cut them out, then adhered the cards to the layout.  I used the Love Notes Confetti Cuts smaller heart die to cut out a mint heart, then adhered it to the yellow pocket card with pop dots.

Next up, I die cut two rows of hearts from the Love Notes Confetti Cuts in silver glitter paper, and adhered them to the layout.  To finish up my layout, I stamped the name of our beautiful girlie using the letters from Lighthearted Letters in gray ink onto light gray polka dot paper, trimmed a banner end, then adhered it to the layout with pop dots before embellishing with pop dots.


I hope you’ve enjoyed hopping with us today. Be sure and hop with us on the 8th of EVERY MONTH for more REVERSE CONFETTI inspiration! Now it’s time to hop on over to Joni Andaya’s blog. If you get lost along the way, you can find the hop order and list of all the participating designers over on the Reverse Confetti blog.

How would you like to win some Reverse Confetti goodies of your very own? Leave a comment on each stop along the way for a chance to win a $15 gift certificate to REVERSE CONFETTI. Comments are open until Tuesday, June 10 at noon CST, and the winner will be announced on the Reverse Confetti Blog!

A couple things before you hop along though, just to keep you “in the know”…

  • April’s SKETCH FOR YOU TO TRY is open for you to play along. Click HERE for a chance to win. 
  • AND, be on the lookout for another great COLOR challenge on June 16th and another way to win!
Have a great one.


4.30.2014

W&W Share the Love - Elle's Studio


Hello! :) This week over on the Winnie & Walter blog, they're hosting another "Share the love" feature, which is a series of posts showcasing projects that combine W&W stamps with other company's fabulous products.  This week, the DT has created projects using the Everyday Moments line from Elle's Studio. 

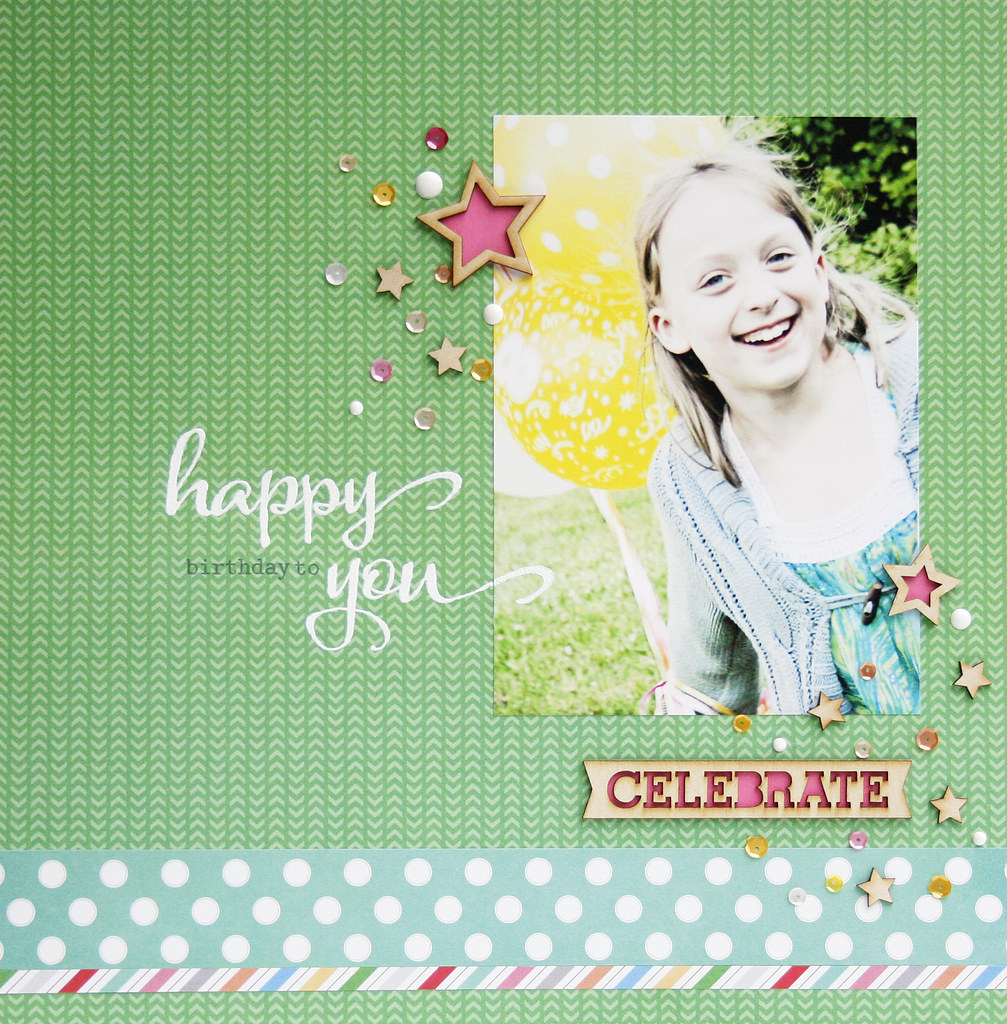
To create my project today, I started with a sheet of green patterned paper from their Paper Collection Pack, and cut two strips of varying widths from the polka dot and striped papers.  I adhered the strips of paper to the layout base, then adhered a super cute pic of my kiddo from her 8th birthday last year.  I then stamped the happy and you sentiments from "the Big, Bold and..." stamp series in Versamark ink before heat embossing with white powder. 


I then played with the arrangement of the stars from the Wood Veneers pack (backing the hollow ones with pink CS) before gluing them the layout.  Next, I backed the celebrate wood veneer with pink CS before securing it to the layout.  To finish up, I embellished the layout with pink/yellow/orange sequins and white enamel dots.

Stop on by the Winnie & Walter blog for more W&W + Lawn Fawn inspiration... Have a great one!

12.19.2013

Snow Day


Hello! Just popping in to share an 8 1/2 x 11 layout I created using some Reverse Confetti goodies, along with one of my favorite photos of my kiddo.  Our daughter *loves* to be outside! If it were up to her, she'd play from the moment she came home from school until the sun went down, regardless of the temps. :)

To create my layout, I started by cutting out circles of varying sizes with my nestabilities dies, and stamped the frame, arrow and "happiness is..." sentiment from Arrows 'n Elements onto white cardstock.  Next, I stamped one of the sentiments from Celebrate Cake in pink ink onto a pink patterned circle.  I then stamped a row of dots repeatedly from Whole Lotta Dots onto a green cardstock circle.  After that, I die cut three snowflakes, layered them with glossy accents, and covered them with glitter.


While the snowflakes were drying, I matted the photo onto pink cardstock, and stamped one of the stripe strips from So Stripey (hehe, say that three times fast!) onto yellow cardstock.  Then I arranged all my pieces and adhered them to the woodgrain kraft cardstock base.  To finish up, I wrapped some twine around the front, and added a title with thickers.


Have a great one!

Supplies:
Stamps - Celebrate Cake, Arrows 'n Elements, Whole Lotta Dots, So Stripey (Reverse Confetti)
Paper - Woodgrain Cardstock (Simon Says Stamp); Raspberry Fizz, Limeade Ice, Harvest Gold, Stamper's Select White (PTI); Echo Park Patterned Paper
Ink - Fresh Snow (PTI), Memento Luxe Ink
Miscellaneous - Pink/White Twine (The Twinery), Snowflake Die (PTI), Circle Nestabilities (Spellbinders), Thickers (American Crafts), Glitter (Art Glitter)

10.12.2013

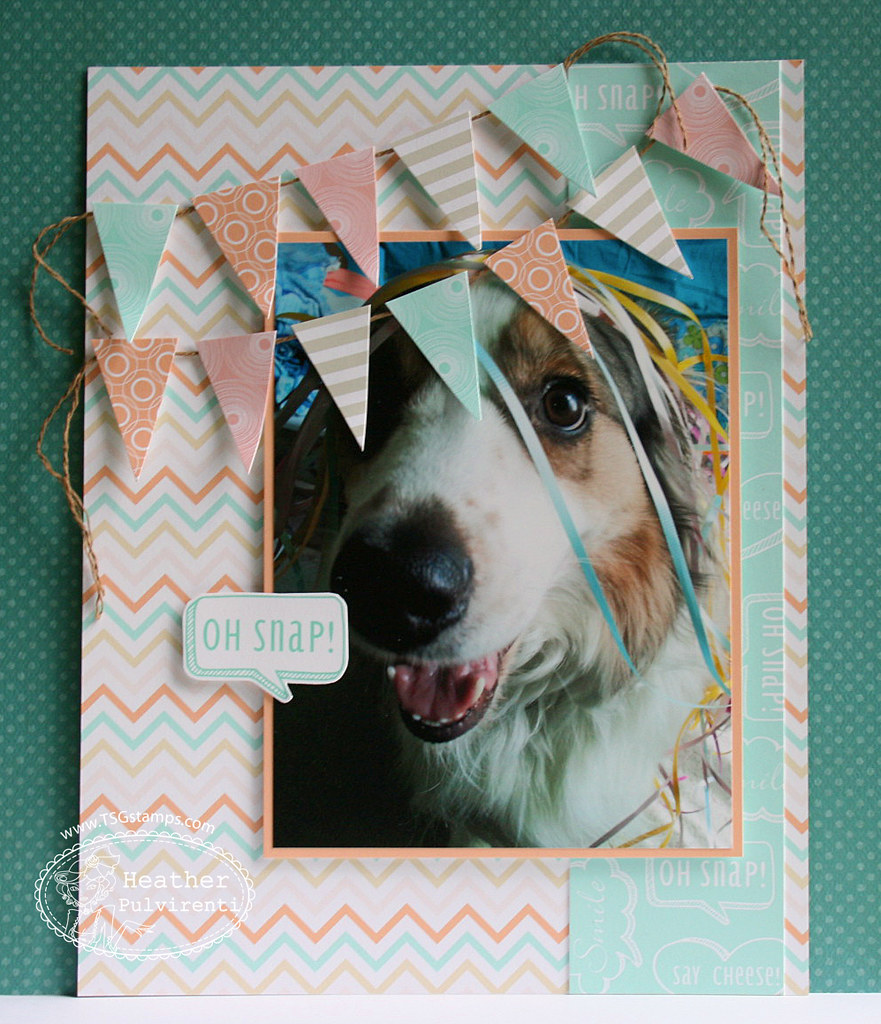
Oh Snap!


It's a dreary, rainy day here in the 'burbs, so I'm not sure if we'll be heading out to Piney Run Park to rent a boat or not... I like being on the lake, but prefer that the water is below us, not falling *into* our boat. :) 

I created this layout in August, but hadn't had a chance to post it until now.  I kept the design super simple, using images from the Oh Snap set from There She Goes, and left some space down at the bottom for journaling, should I decide to add any.  I snapped this photo of our pup back in May on my daughter's birthday.  I thought it would be fun to fill her room with balloons so when she came home from school and opened her door, she'd have a little surprise waiting for her. :) Lol, of course, our pup wanted in on the action, too! You should have seen him playing in all the ribbons, it was really cute. :)

Have a great one!

Supplies:
Stamps - Oh Snap (There She Goes)
Ink - Pool & Unicorn White (Hero Arts)
Paper - Aqua Mist (PTI), Digital Paper Prints
Miscellaneous - Twine

10.01.2013

October SFYTT - Glitter Makes Everything Better


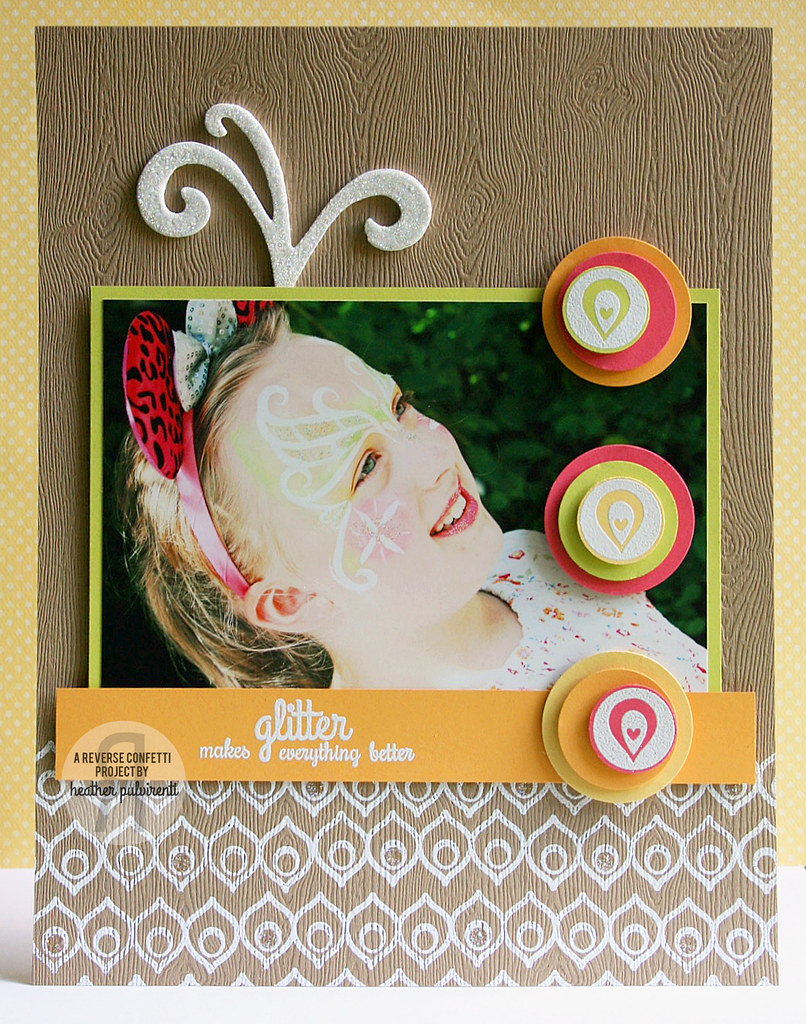
It's the beginning of a new month, which means it's time for another SFYTT from Reverse Confetti.  This past summer, we took our 8 year old daughter to Disney World for the first time.  She had a blast! We went in late August, so we had hot temps and crazy humidity to contend with (though the humidity reminded me of what we experience here in the DC area), but you'd never know it looking at our kiddo.  LOL... One of her favorite things about our trip was getting her face painted at the parks.  On this particular day, she had her face painted in the Tinkerbell theme.  No Tink is complete without glitter! :) (It's a little hard to see in the photograph, but it's on her cheeks, lips, eyes and forehead.)


To create my layout, I started with some kraft colored woodgrain paper, and stamped the bottom with one of the border stamps from Peacock Pretties.  I embossed the border strips with white powder and applied stickles to random circles within the border.  Next, I matted my photo, then added a sentiment from I Like You before attaching to the page.  Then I heat embossed some circle images, and layered them onto colorful circles.  To finish up my layout, I painted a chipboard embellishment white, then covered it with glitter.

Want to play along with us this month? Here's the October sketch:


To be entered for a chance to win a fabulous prize (the entire November stamp release!!), create a card/project using the sketch shown above, and link your creation between October 1st and October 14th on the Reverse Confetti blog... 

A few things to note:
  • New sketches are posted on the 1st of every month on the Reverse Confetti blog.
  • The sketch link list will be open from the 1st until noon CST on the 14th. The sketch will be posted in the sidebar and you will be able to click on it to get to that month’s SFYTT post with the link list during this time.
  • We originally stated that you must play with Reverse Confetti stamps to win; however, we are allowing “anything goes” until the end of the year. Note, that we will be adding this requirement in January.
  • You may enter as many times as you wish.
  • There will be a winner each month and that person will receive ALL OF THE STAMP SETS for the next release and be invited to share their creations during our sneak peeks and hop!  The winner of SFYTT will be posted on the Reverse Confetti blog on the 15th of each month.

Have a great one! 

Supplies:
Stamps - I Like You & Peacock Pretties (Reverse Confetti)
Paper - Kraft Woodgrain (Simon Says Stamp); Summer Sunrise, Harvest Gold, Berry Sorbet, Limeade Ice (PTI)
Ink - Versamark (Tsukineko)
Miscellaneous - White Embossing Powder (Hero Arts), Stickles (Ranger), Glitter (Art Glitter), Circle Punches, Chipboard Embellishment, White Craft Paint

11.24.2011

November Paper Smooches DT Blog Hop

It's Pep Rally week and we are here today to share a sampling of the Paper Smooches December stamp release with you!  The three NEW clear stamp sets will be available to purchase on December 1st.  You will find them HERE.  Follow the Paper Smooches blog for more sneak peeks.

To add extra fun to our blog hop...we are offering up a prize!  Just leave a comment on any of the five design team blogs listed below for your chance to win one of the three new December stamp sets!  (you do not need to comment on all blogs to qualify)  You have until midnight MT on Friday, November 25th to leave a comment.  Please check all five blogs on Saturday, November 26th to see if you are one of the five lucky winners.
To increase your chances of winning:
1. Leave a comment on this blog post
2. Tell us that you Facebooked about our blog hop
3. Tell us that you Tweeted about our hop
4. Tell us that you posted on your blog about our blog hop

(which means that you have up to four chances to win on each blog)

112411

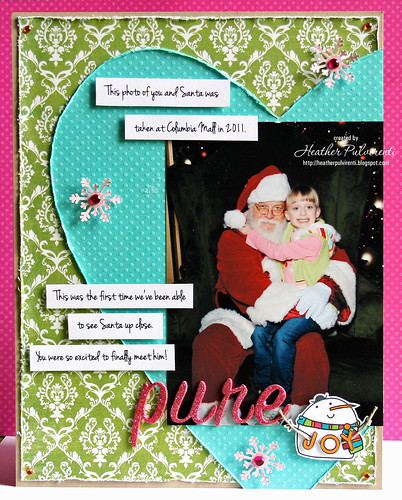
For my project today, I decided to create a scrapbook layout of my daughter's first visit with Santa.  I know, I know, what kind of meanie parents make their kids wait until they're SIX to see Santa??? We've taken her in previous years, but we've either shown up when Santa was taking a break for a few hours, or the line was so unbelievably long that she said forget it.  LOL! This year just *had* to work out! I mean, who even knows how much longer she's going to believe in Santa?? So, I came up with a plan.  They had half days of school on Monday and Tuesday, so I picked her up from the bus stop, came home for a quick lunch, then headed over to the mall in the hopes that we'd finally get to see him without having to spend hours in line.  We walk up, and no one was waiting ahead of us!! Score!! :) She had a lot of fun talking with him, and he was really sweet to just sit there and listen to her ramble on and on. :)

One of the sets that's being released this month is a fantastic sentiment set called Word Salad.  I am a huge lover of sentiment sets, and this one is no exception! For my layout, I chose to use the word "JOY" from the set.  A little stamping, coloring and fussy-cutting, and I have the perfect accent for my page! :)
Well, that's all for me today... Have a great one!

Supplies:
Stamps - Word Salad, Swanky Snowdudes
Paper - Kraft, Stamper's Select White, Pink Paislee (green pattern), Bo Bunny (teal dot)
Ink - Memento Black, Copics
Miscellaneous - Snowflake Punch, Rhinestones, Paper Distresser, Twine, Thickers, Sketch by Scrapbooks, Etc.

4.15.2011

Totally Hues Challenge #6

Hi, everyone! Whew, I'm getting this in juuuuuust under the wire! LOL :) It's the third Friday of the month, which means it's time for a new Totally Hues Challenge!

I know the last set of colors were a doozie, but you all did a wonderful job!! Here are the top picks from the last challenge...


Laurie •  Therese  •  Cristina  •  Laura  •  Lee
Congrats, ladies! 

Here are the colors for this round...


And here's my sample...

041511

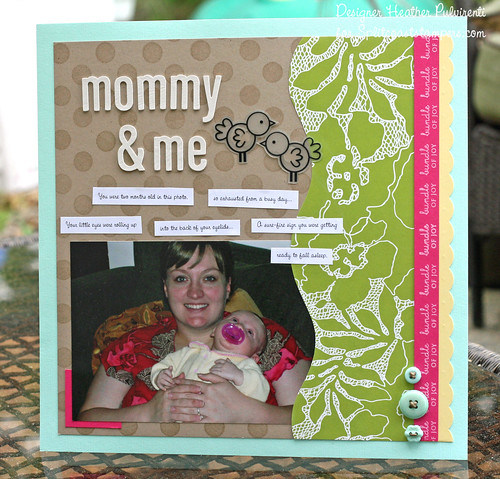
Another layout w/pics that were taken forever ago! :) It's hard to believe that my sweet little baby is going to be 6 on May 13th... Time sure flies!!

For this challenge, the corresponding PTI colors are Lemon Tart, Aqua Mist, Simply Chartreuse, Raspberry Fizz & the neutrals of your choice. If you have these colors, great! If you don't, please feel free to use whatever colors you have on hand that closest match the swatches shown above. As always, exact matches aren't necessary, this is supposed to be fun, not stressful. :)

If you'd like to play along, please feel free to link up your entries below by  Thursday, May 5th, at 11:59pm EST. 

Have a great one!

4.01.2011

Totally Hues Challenge #5

Hi, everyone! It's been a seriously long day, and it's only 2:30 in the afternoon... LOL, can I just tell you how glad I am that it's FRIDAY??? :)

Without further ado, here are my top picks for the last Totally Hues Challenge:


Xiumaiyuki •  Sarah  •  Kerry  •  Amber  •  Ally

Congrats, ladies!!

Here is the challenge for this week...


And my sample...

040111


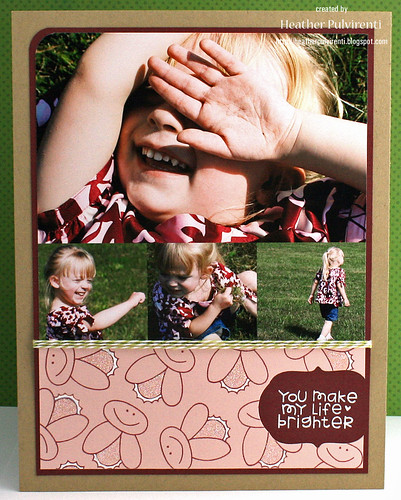
I created a layout for some photos that were taken back in September of '09... It was such a gorgeous day, and we had gone over to the local soccer field to run around and burn off some energy.  LOL, okay okay, you got me, we went so my abundantly energetic 4 year old could burn off some energy! :) She had a blast running all over the place, and I got some quiet time when we got back to the house.  That's a win-win if I ever saw one! *wink*


For this challenge, the corresponding PTI colors are Sweet Blush, Scarlet Jewel, New Leaf & the neutrals of your choice. If you have these colors, great! If you don't, please feel free to use whatever colors you have on hand that closest match the swatches shown above. As always, exact matches aren't necessary, this is supposed to be fun, not stressful. :)

If you'd like to play along, please feel free to link up your entries below by  Thursday, April 14th, at 11:59pm EST. 


Have a great one!

Supplies:
Stamps - Giddy Bugs (Paper Smooches)
Paper - Kraft, Scarlet Jewel, Sweet Blush
Ink - Versamark, Scarlet Jewel
Miscellaneous - White Embossing Powder, Green Baker's Twine, Corner Chomp, Stickles, White Gel Pen

2.28.2011

Love You Dearly

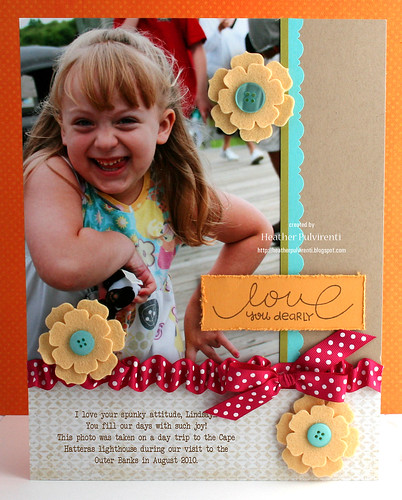
Hi, everyone! Hope your weekend was awesome. :) I'm just popping in to share a simple layout I made using the Pretty Phrases set from Paper Smooches, and the winner of the Vegtastic set from the March release!

I used to create layouts back when I first started crafting, but quickly gave it up when I realized just how long it was going to take me to get a single album done.  LOL, trust me when I say I am the world's sloooooooowest crafter.  Every now and then, I get the urge to create a layout, and I no longer stress over how quickly I am able to get these pages finished.  I have accepted the fact that it may take me a decade. LOL!

Okay... now on to the winner of the Paper Smooches Vegtastic stamp set... :) *drum roll*

Sharon - please email me at inglishrea@yahoo.com

Have a great one!

Supplies:
Stamps - Pretty Phrases (Paper Smooches)
Paper - Kraft, Summer Sunrise, Hawaiian Shores, Simply Chartreuse, Crate Paper
Ink - Dark Chocolate
Miscellaneous - Distresser, Harvest Gold Felt, Hawaiian Shores Buttons, Deco Scallop Punch, Hot Pink Polka Dot Ribbon